WireGuard 是一個點對點加密網路。一直以來,我都使用它來管理 / 互聯我所有的雲端主機。
而今天我們就來分享一下怎麼使用 WireGuard 吧!
安裝 WireGuard
基本上 WireGuard Install Page 已經非常完整的提供了各版本的安裝方法及指令,所以大家直接到上面參考就好~
創建 WireGuard Profile
首先,進入 WireGuard 安裝資料夾。如果不存在的話,請建立一下。
cd /etc/wireguard

使用指令來產生公私鑰,並搭配 cat 查看公私鑰內容。
wg genkey | tee privatekey | wg pubkey > publickey

將公私鑰記下來,並建立一個設定文件。
nano wg0.conf
進入 nano 編輯器後,我們將下方設定檔貼上,並修改公私鑰。
[Interface]
Address = 192.168.200.1/24 // 這邊可以自定網段
SaveConfig = true
ListenPort = 51820
PrivateKey = <修改為私鑰>

[Peer]
PublicKey = <對方的公鑰>
AllowedIPs = 192.168.200.2/24 // 對方的網段
輸入 Crtl + X 在輸入 y 退出編輯器。
使用指令來存檔並啟用 WireGuard
wg-quick save wg0
wg-quick down wg0
wg-quick up wg0
PS. 如果你需要在系統啟動後自動啟動 WireGuard,可以使用以下指令來寫入 systemctl。
systemctl enable wg-quick@wg0
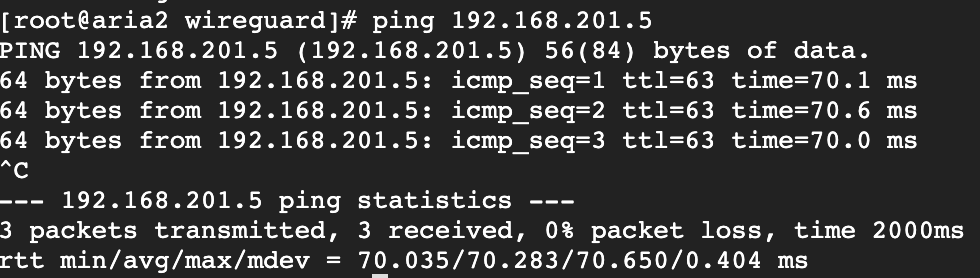
接著可以嘗試 ping 看看。如果有響應的話,代表成功了!