WireGuard is a point-to-point encryption network. I have been using it to manage/connect all my cloud servers.
Today, let’s share how to use WireGuard!
Install WireGuard
Basically, the WireGuard Install Page provides complete installation methods and commands for various versions, so you can refer to it directly.
Create WireGuard Profile
First, go to the WireGuard installation folder. If it does not exist, please create it.
cd /etc/wireguard

Use the command to generate a public and private key, and use “cat” to view the contents of the public and private keys.
wg genkey | tee privatekey | wg pubkey > publickey

Write down the public and private keys and create a configuration file.
nano wg0.conf
After entering the nano editor, we will paste the following configuration file and modify the public and private keys.
[Interface]
Address = 192.168.200.1/24 // You can customize the network segment here
SaveConfig = true
ListenPort = 51820
PrivateKey = <Replace with your private key>

[Peer]
PublicKey = <The other party's public key>
AllowedIPs = 192.168.200.2/24 // The other party's network segment
Enter Crtl + X and then y to exit the editor.
Use the following command to save and enable WireGuard.
wg-quick save wg0
wg-quick down wg0
wg-quick up wg0
PS. If you need to automatically start WireGuard after the system starts up, you can use the following command to write it into systemctl.
systemctl enable wg-quick@wg0
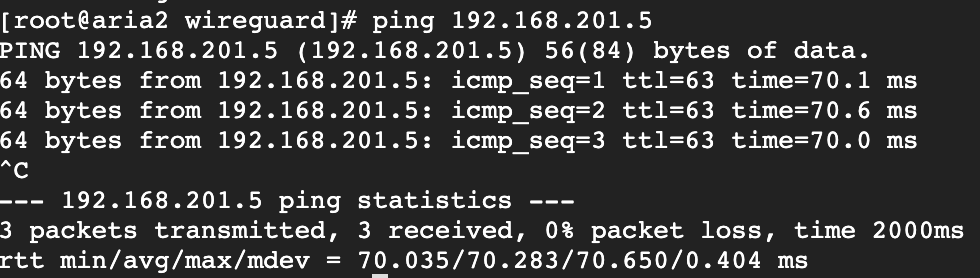
Then try pinging. If it responds, it means success!