
It is recommended to refer to the article Building an Internal Network with Friends via BGP on January 24, 2021.
This time, let’s share how to broadcast IP on Vultr!
Setting the AS number and IP prefix
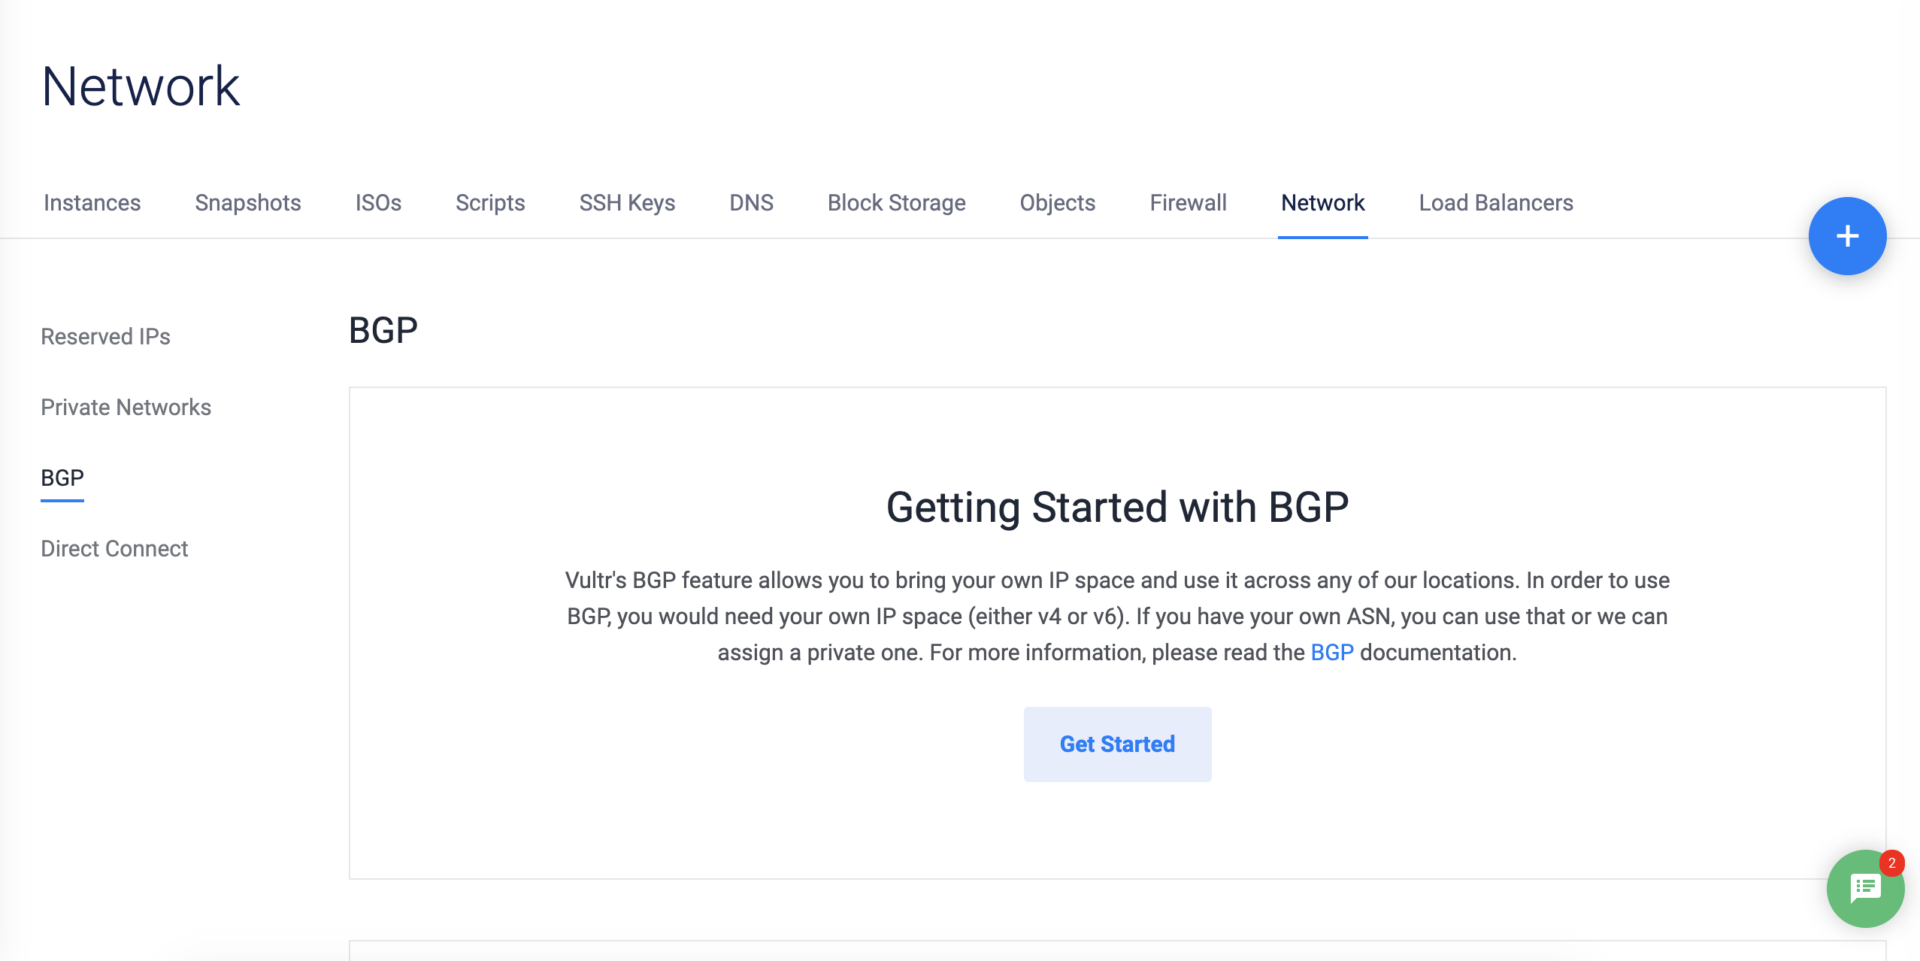
First, we need to activate the BGP function! Click here to go to the Vultr BGP page After entering this page, click Get Started.
Select I have my own IP space and I have own my ASN (if there is no ASN, you do not need to select it)
As for the LOA part, you can refer to this example document.
Then just keep the other settings as default.
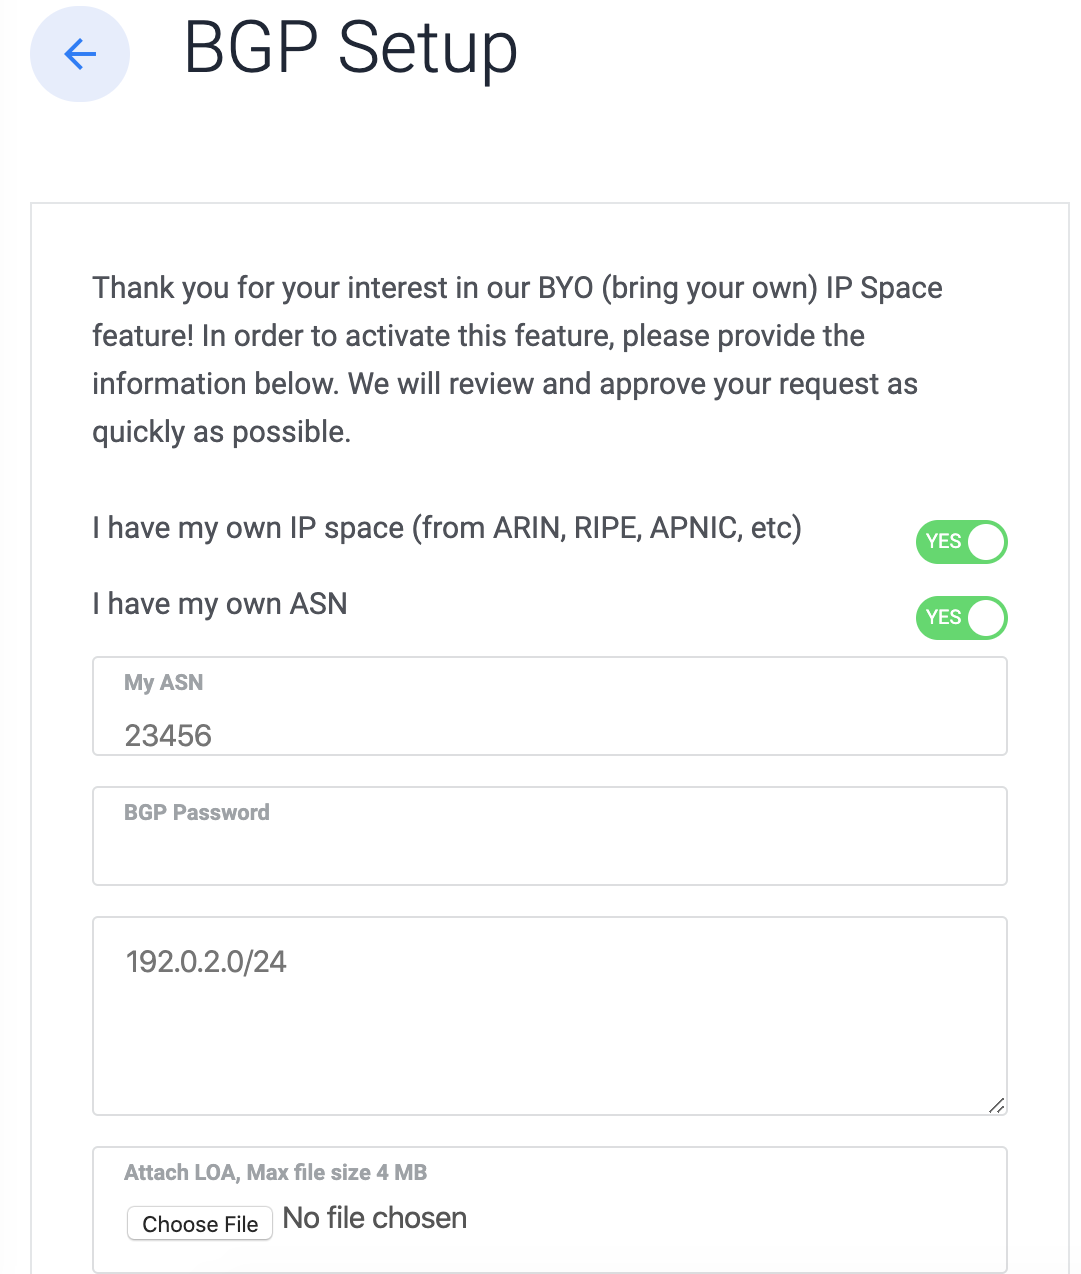
Then click Start to verify IP ownership or ASN.

The system will send an email to the Whois email for verification!
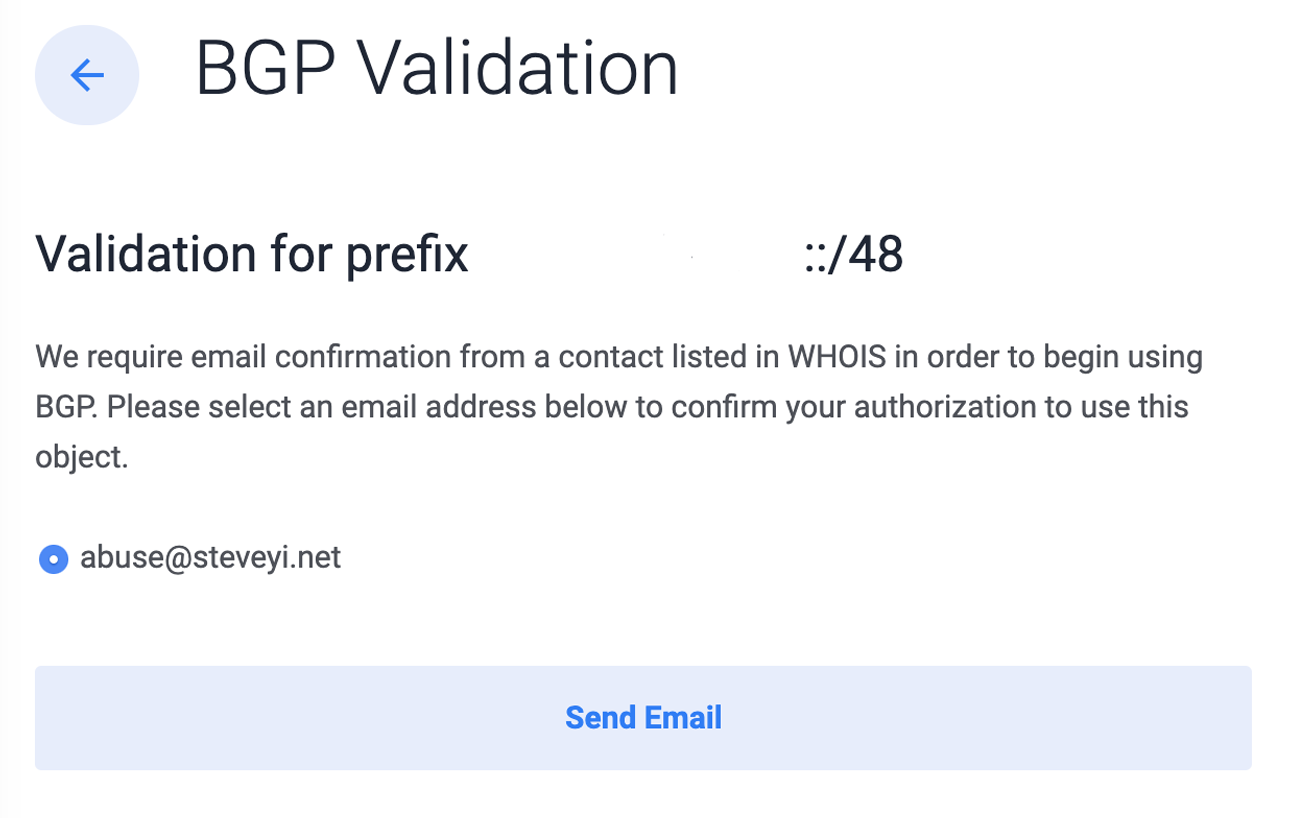
After the verification is completed, we wait for the staff to set up.
Broadcasting
This time we use Ubuntu 18.04 to make the announcement, CentOS and Debian should be similar.
First, let’s install a few packages.
apt-get update -y
apt-get install bird6 -y
After the installation is complete, we enter the /etc/bird folder.
cd /etc/bird
Delete bird6.conf.
sudo rm -rf bird6.conf
Next, we add a new configuration file.
router id 0.0.0.0; # Change 0.0.0.0 to your host IPv4

protocol bgp vultr
{
   local as 209557;
   source address Change to the host IPv6;
   import none;
   export all;
   graceful restart on;
   multihop 2;
   neighbor 2001:19f0:ffff::1 as 64515; # Vultr's IP and private AS number
   password "123456789"; # BGP password set earlier
}
protocol static
{
    route prefix to be announced via gateway IP;
}
protocol device
{
    scan time 5;
}
After setting, we restart bird6.
service bird6 restart
Then we can try to trace the route!