I’ve been playing with virtual machines for some time, but I used VMware Workstation on Windows systems. Later, I had a few idle computers and came across Proxmox VE, an open-source virtualization system. So, let’s install and try it out!
Preparation:
- Proxmox VE installation disc
- A high-core and idle computer (otherwise, it will run very slowly)
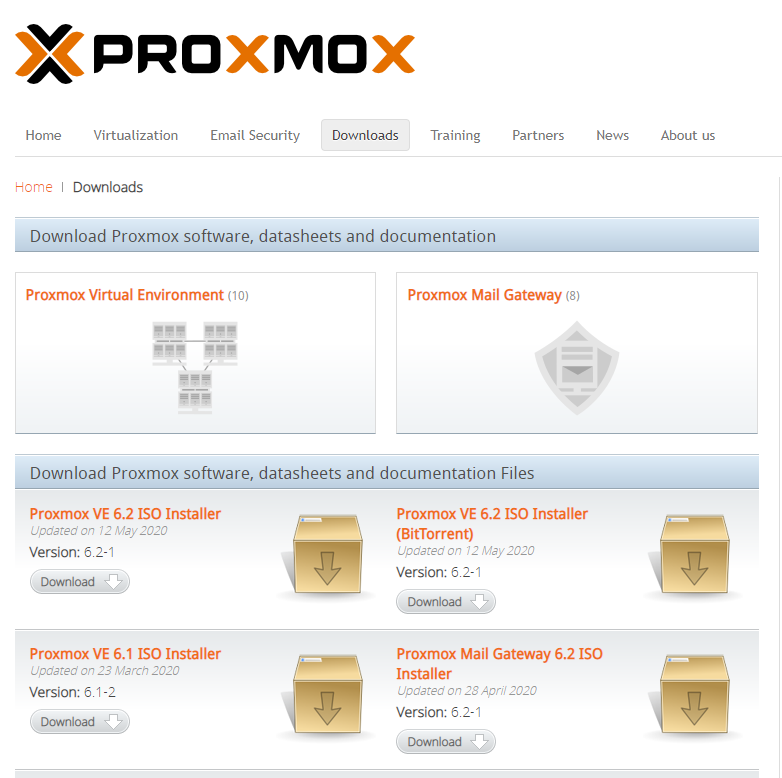
First, let’s go to the official website to download the PVE ISO file Official website link. Click on the left side of the Proxmox VE 6.2 ISO Installer to download (6.2 is the version number, and the right side is the torrent download).
After downloading, we write the file to the USB and make an installation disc. Here, I recommend using Etcher to write it Official website link.
After making the installation disc, we enter the BIOS and adjust the boot order (set the installation disc as the first priority).
Then we can start the installation!
First, select the first option, “Install Proxmox VE.”

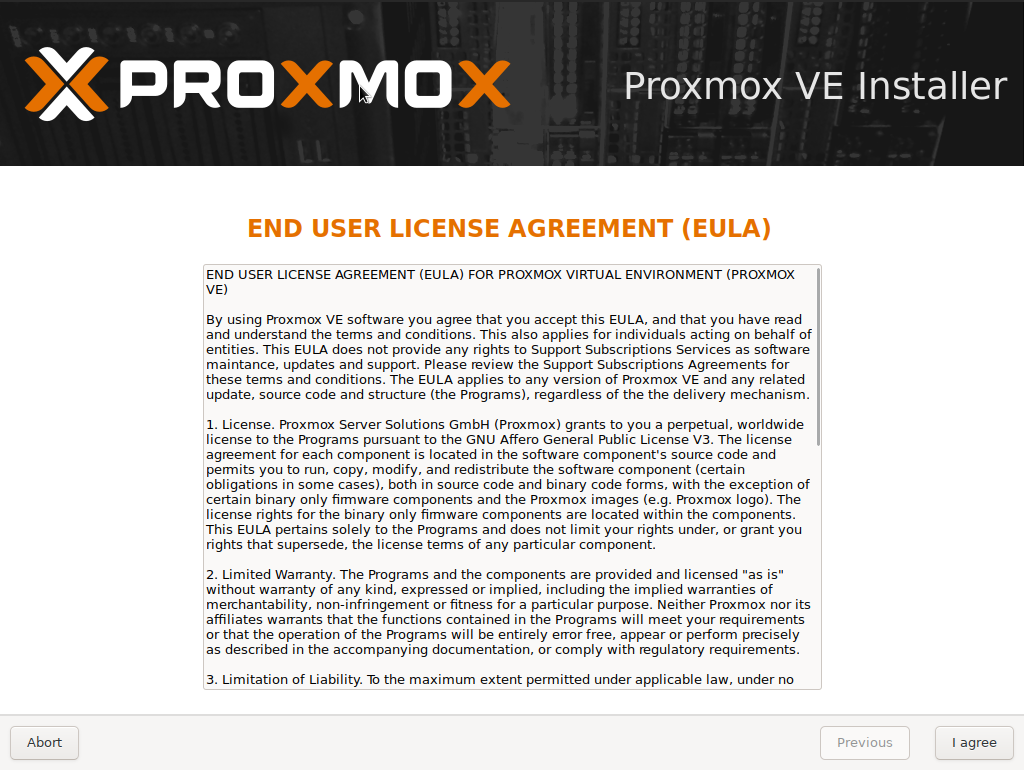
Then agree to the terms of service.
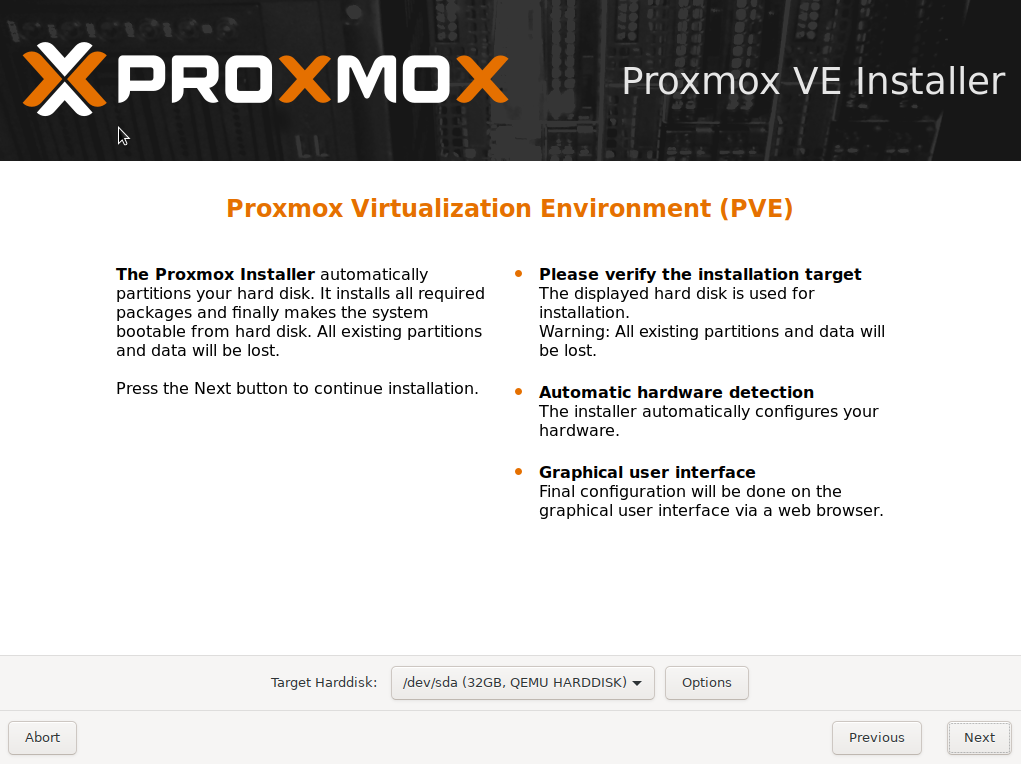
Select the hard disk.
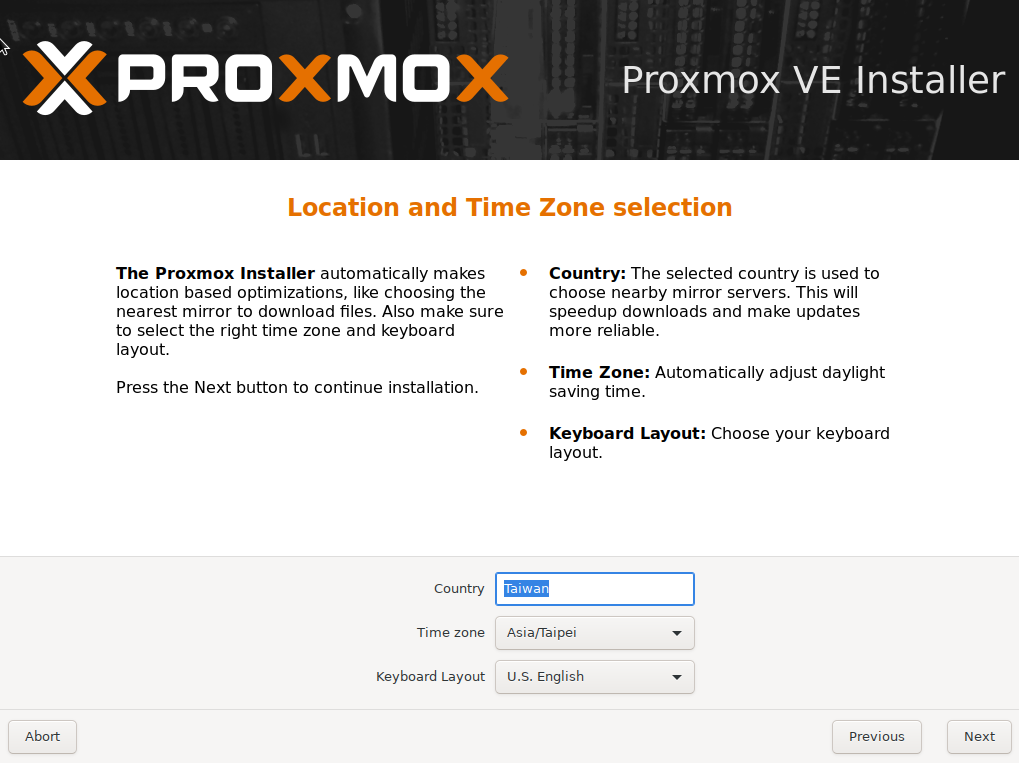
Select the country and time zone.
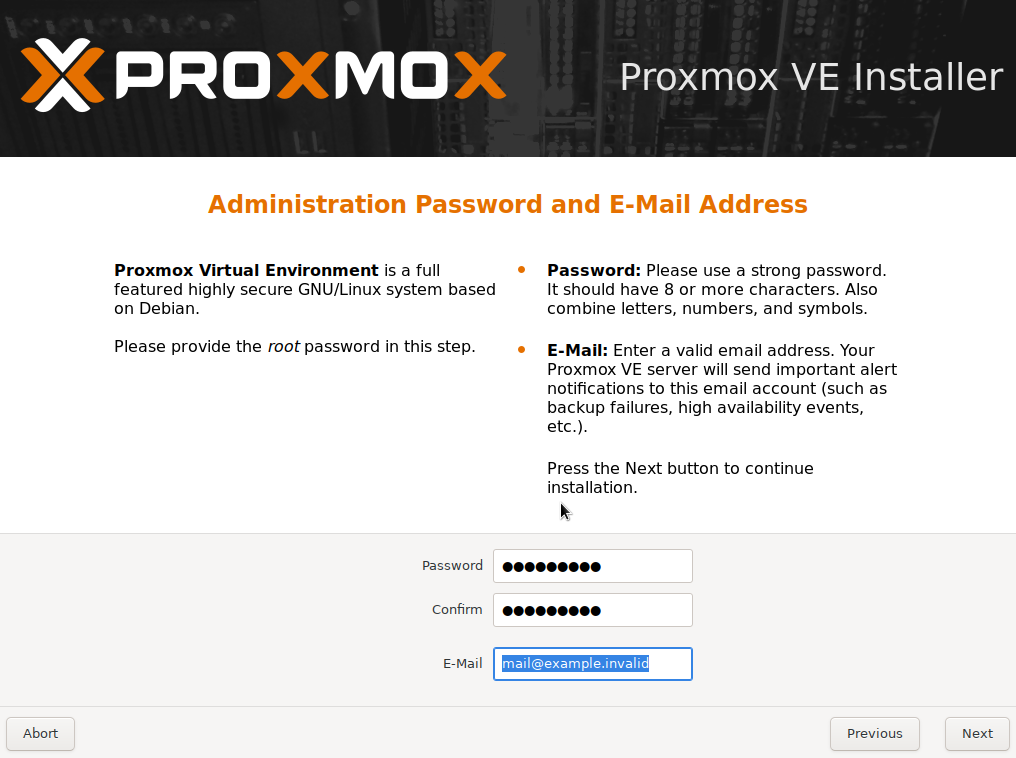
Set the root password and email address.
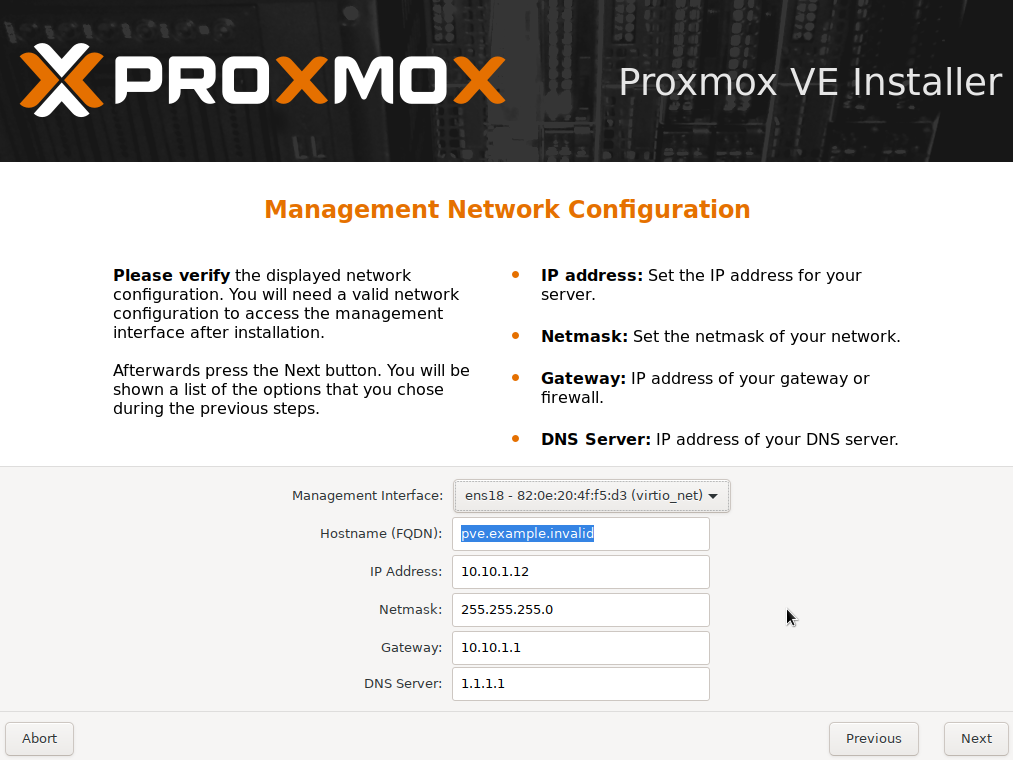
Set the hostname and network (I recommend setting it up at once, otherwise, it will be a bit tricky to change the IP later).
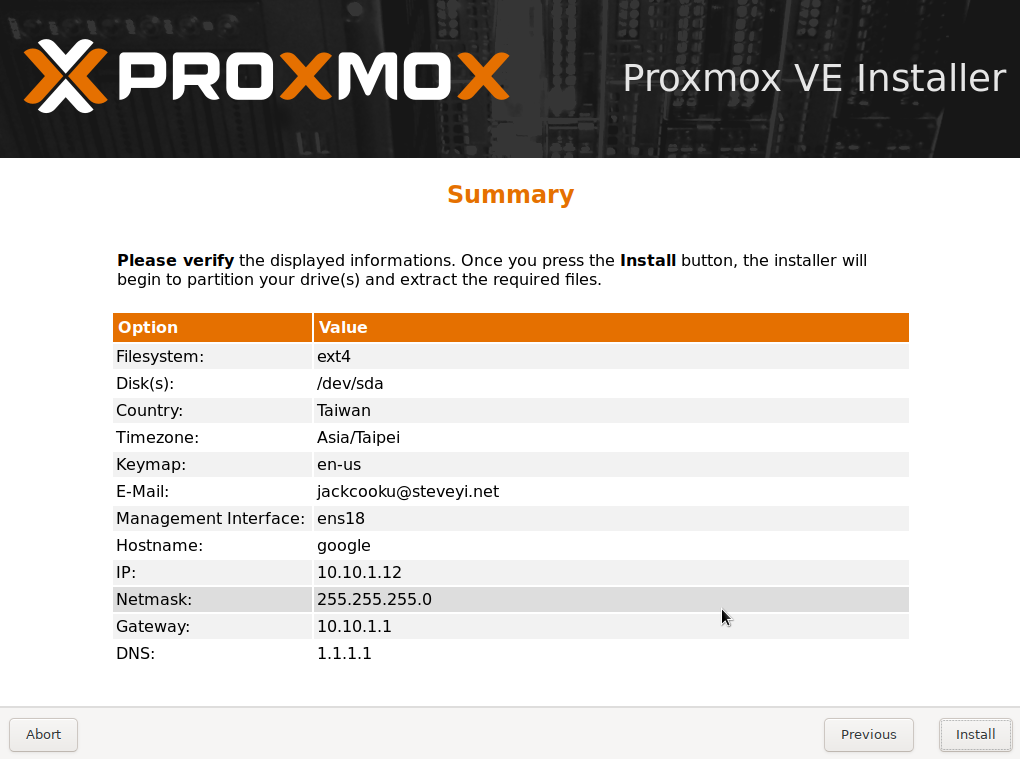
After completing all the steps, click on “Install” to start the installation!
After the installation is complete, we can use https://yourIP:8006 to enter the management panel!
In the next article, we will share some configuration processes with you.