Some computers may still work perfectly fine, but they may be removed from the upgrade list by official sources due to multiple considerations, such as performance, commercial, or functional considerations. Isn’t it a shame?
At this time, dosdude1 has solved this problem with the Catalina Patcher.
This is the official support list:
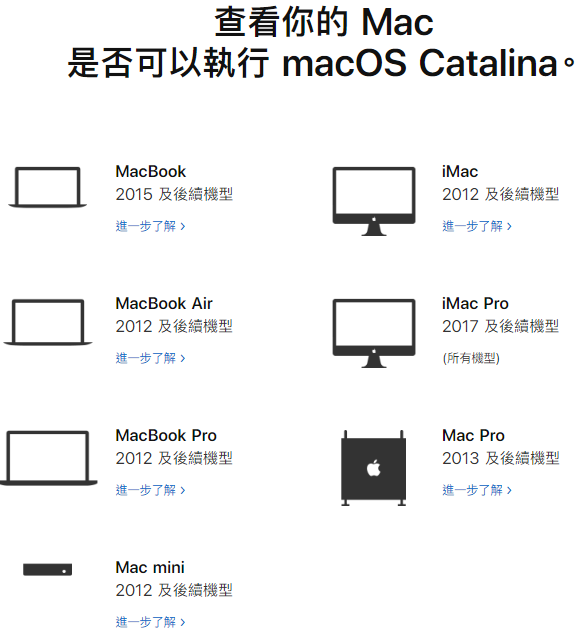
Screenshot from Apple official website
Below is the Catalina Patcher support list, which is consistent with the OS X El Capitan system requirements:
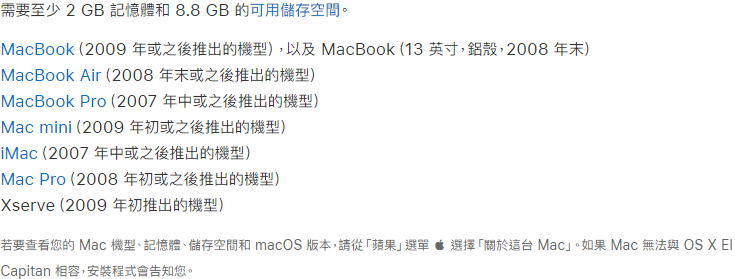
Screenshot from Apple official website
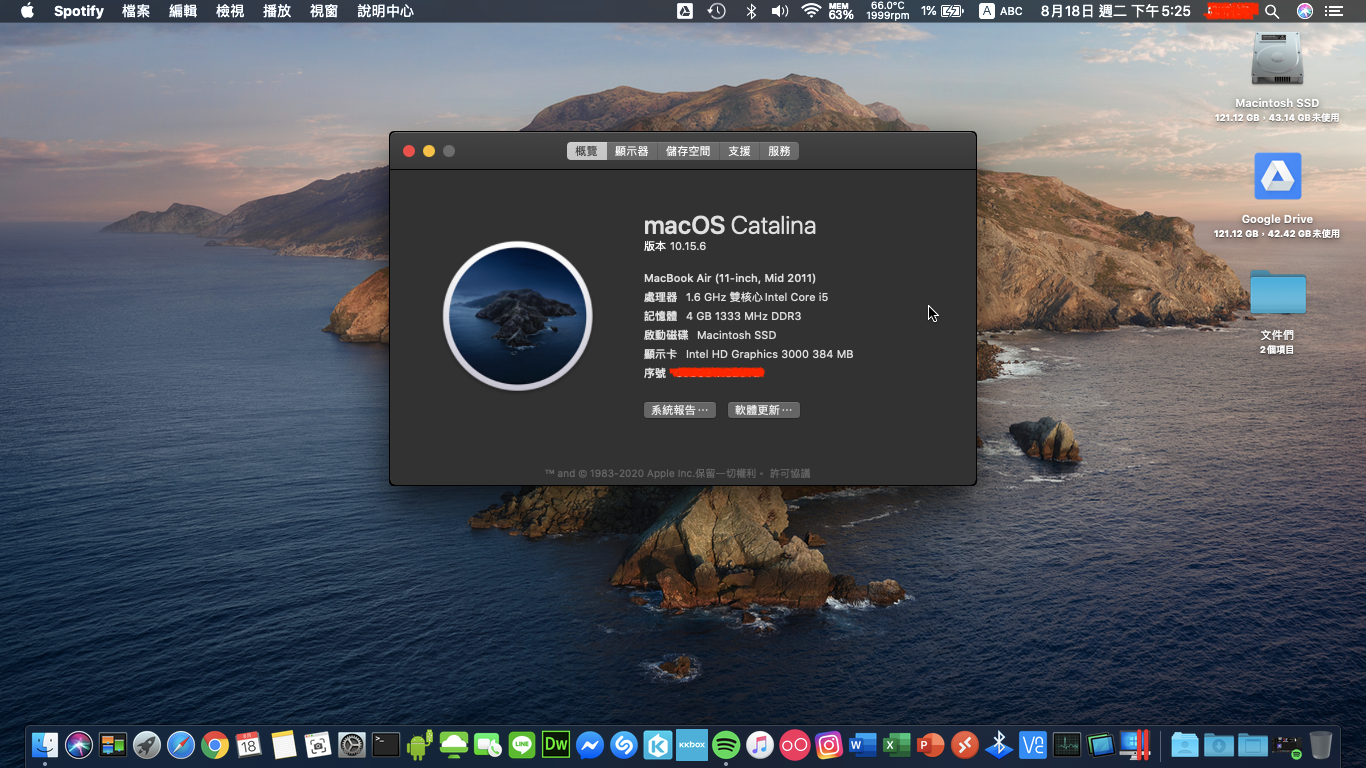
This tutorial uses MacBook Air 2011 as an example, and the steps are similar for other models.
Note:
- If your computer supports official High Sierra, please upgrade to High Sierra before following this tutorial.
- Since Catalina Patcher is not adjusted and released by Apple officially, there may be some known or unknown bugs, so proceed only if you can accept them.
- Known issues with Catalina Patcher: If your computer is paired with an AMD Radeon 5000 series or 6000 series graphics card, the graphics card cannot use hardware acceleration, making the operation sluggish. The frosted glass effect will be disabled, and more gorgeous dynamic effects will be very stuck, and some programs that require hardware acceleration, such as iMovie, cannot be executed.
Step-by-step instructions:
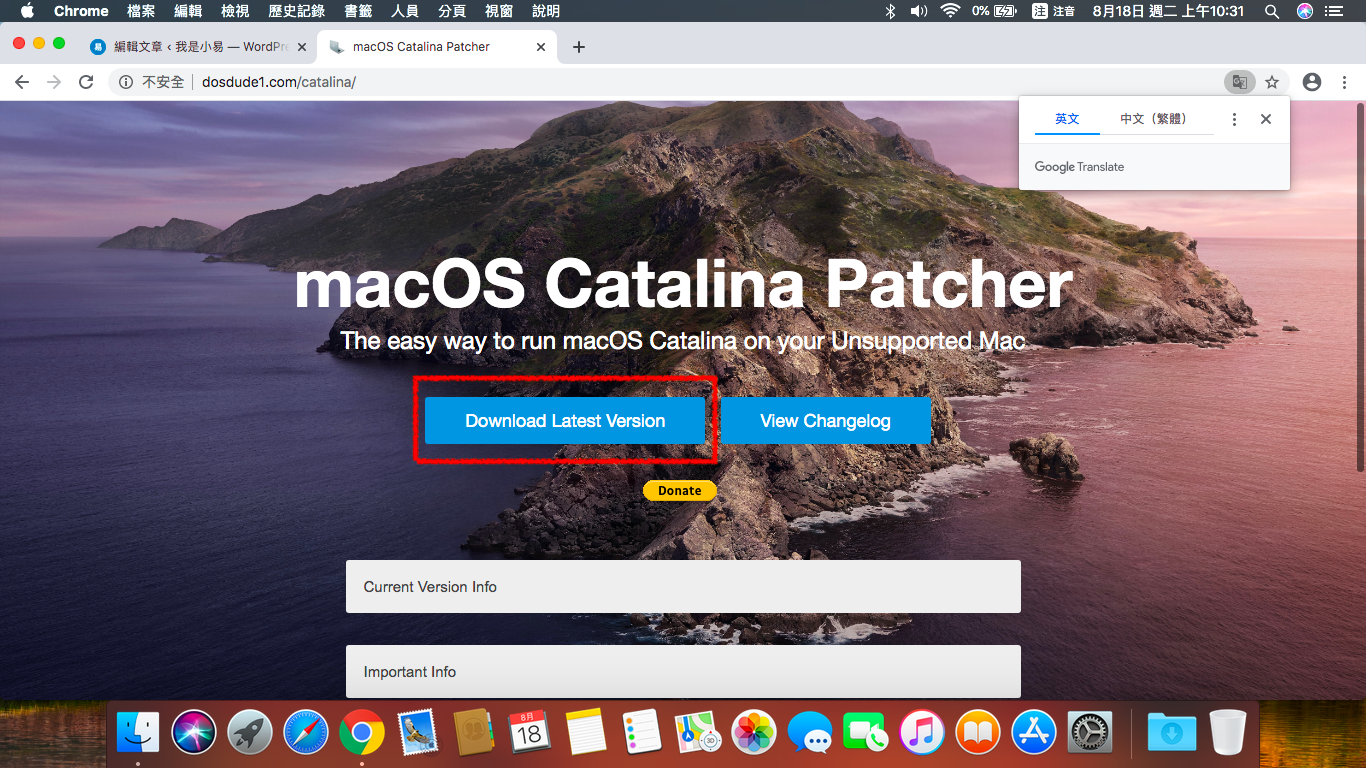
Please go to the Catalina Patcher website and click Download Latest Version to download the latest version.
After the download is complete, open the image file and you will see an app. Click on it.
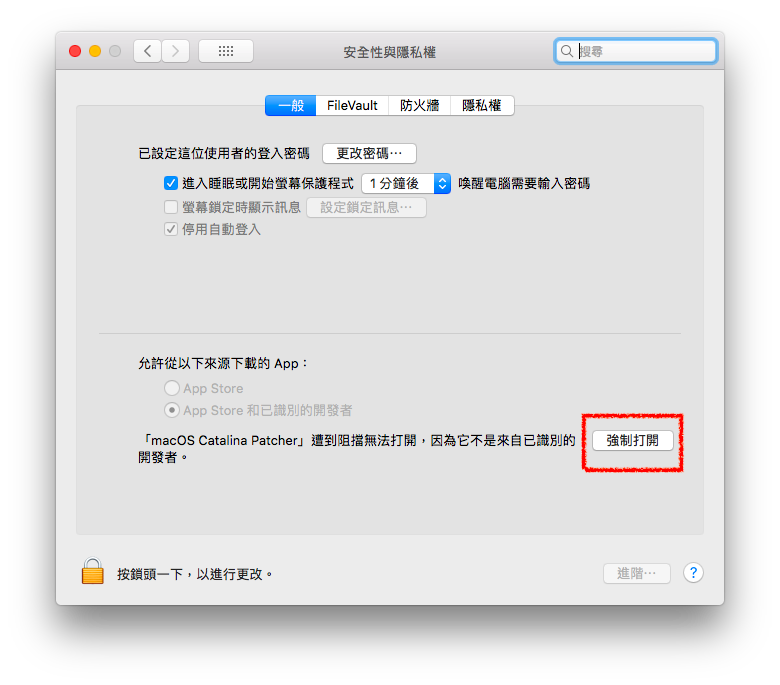
Then go to “System Preferences” and “Security and Privacy” and force it to open.
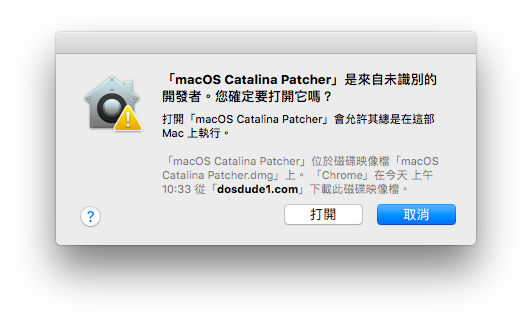
Then click the white “Open” button.
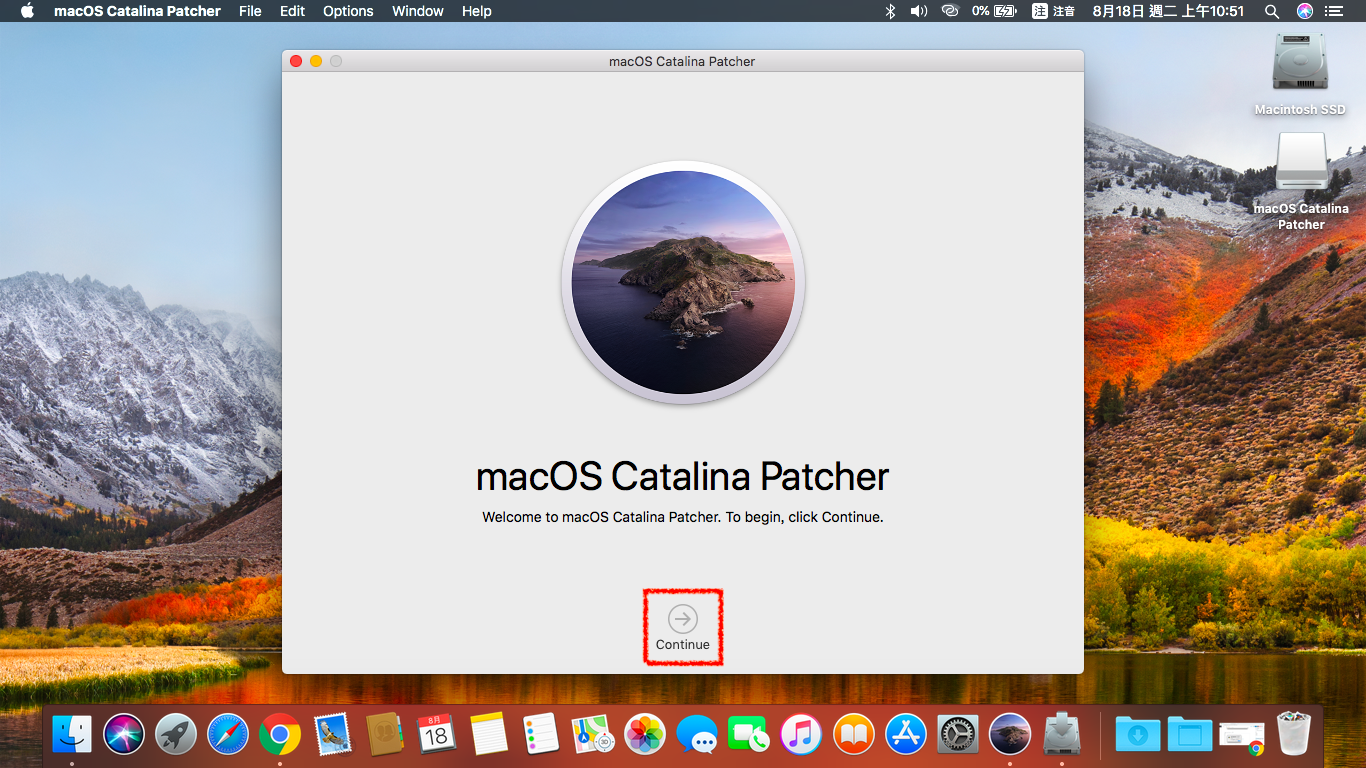
Then click Continue all the way and enter your password when necessary to allow changes.
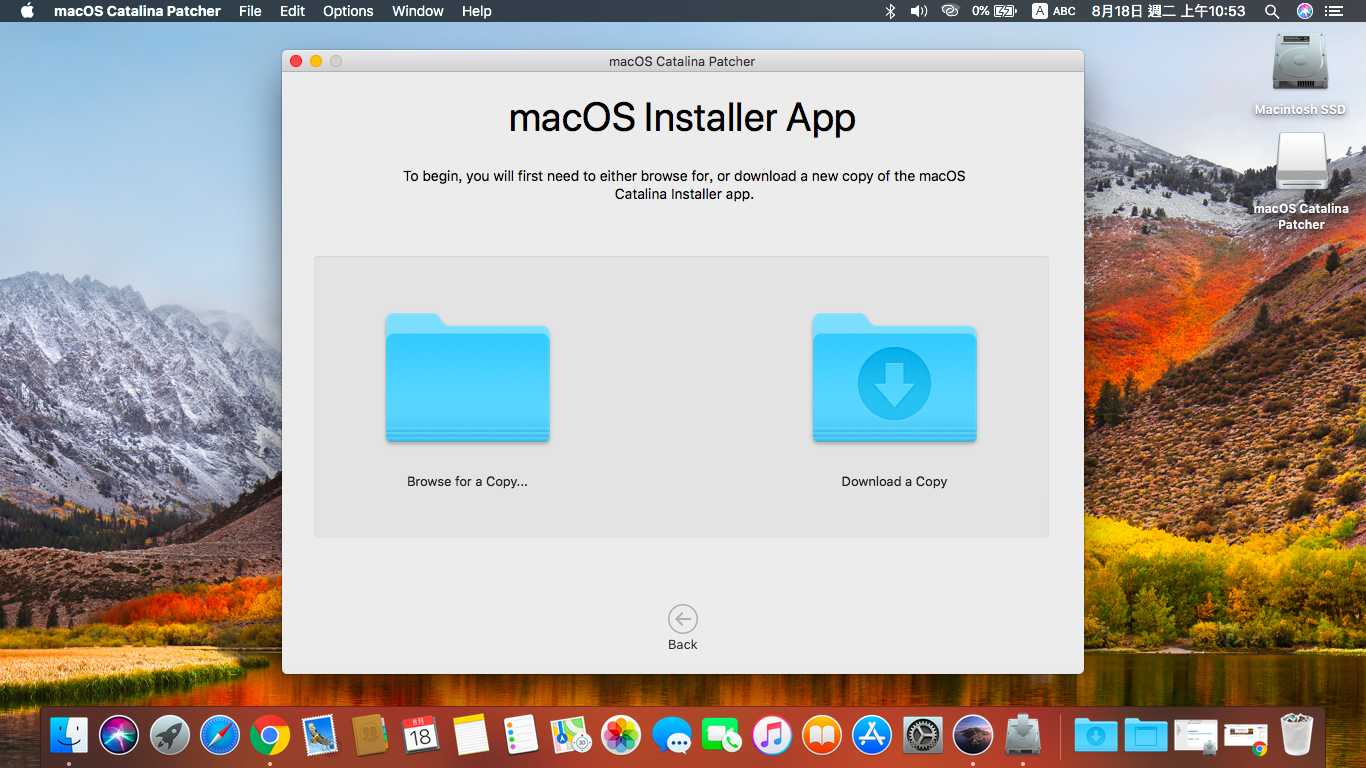
Click the blue “Download a copy” button on the right.
Then click “Start Download”.

After the download is complete, you can choose to install it directly (left), create a bootable installer (center), or create an ISO image (right).
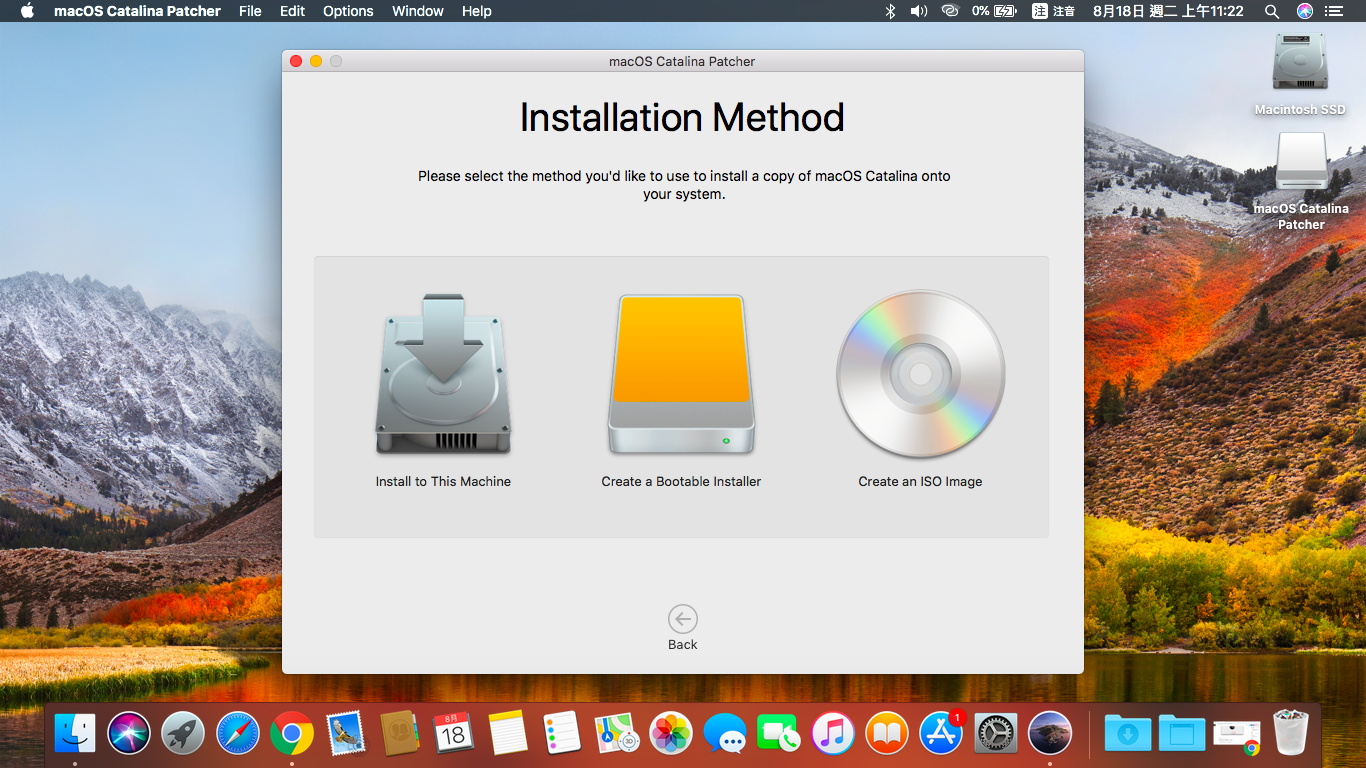
If you choose “Install to This Machine”, it will be installed directly on the machine, and you need to turn off the SIP security protection. The writer has not tried this.
Choosing “Create a Bootable Installer” will create a bootable installer USB drive.
Choosing “Create an ISO image” will create an image file that can be used to burn a DVD.
The writer uses “Create a Bootable Installer” as an example for this article.
After clicking “Create a Bootable Installer”, choose where to install it, click Start, then Yes, and then enter your password to start clearing the data on the USB drive and creating a bootable installer USB drive.
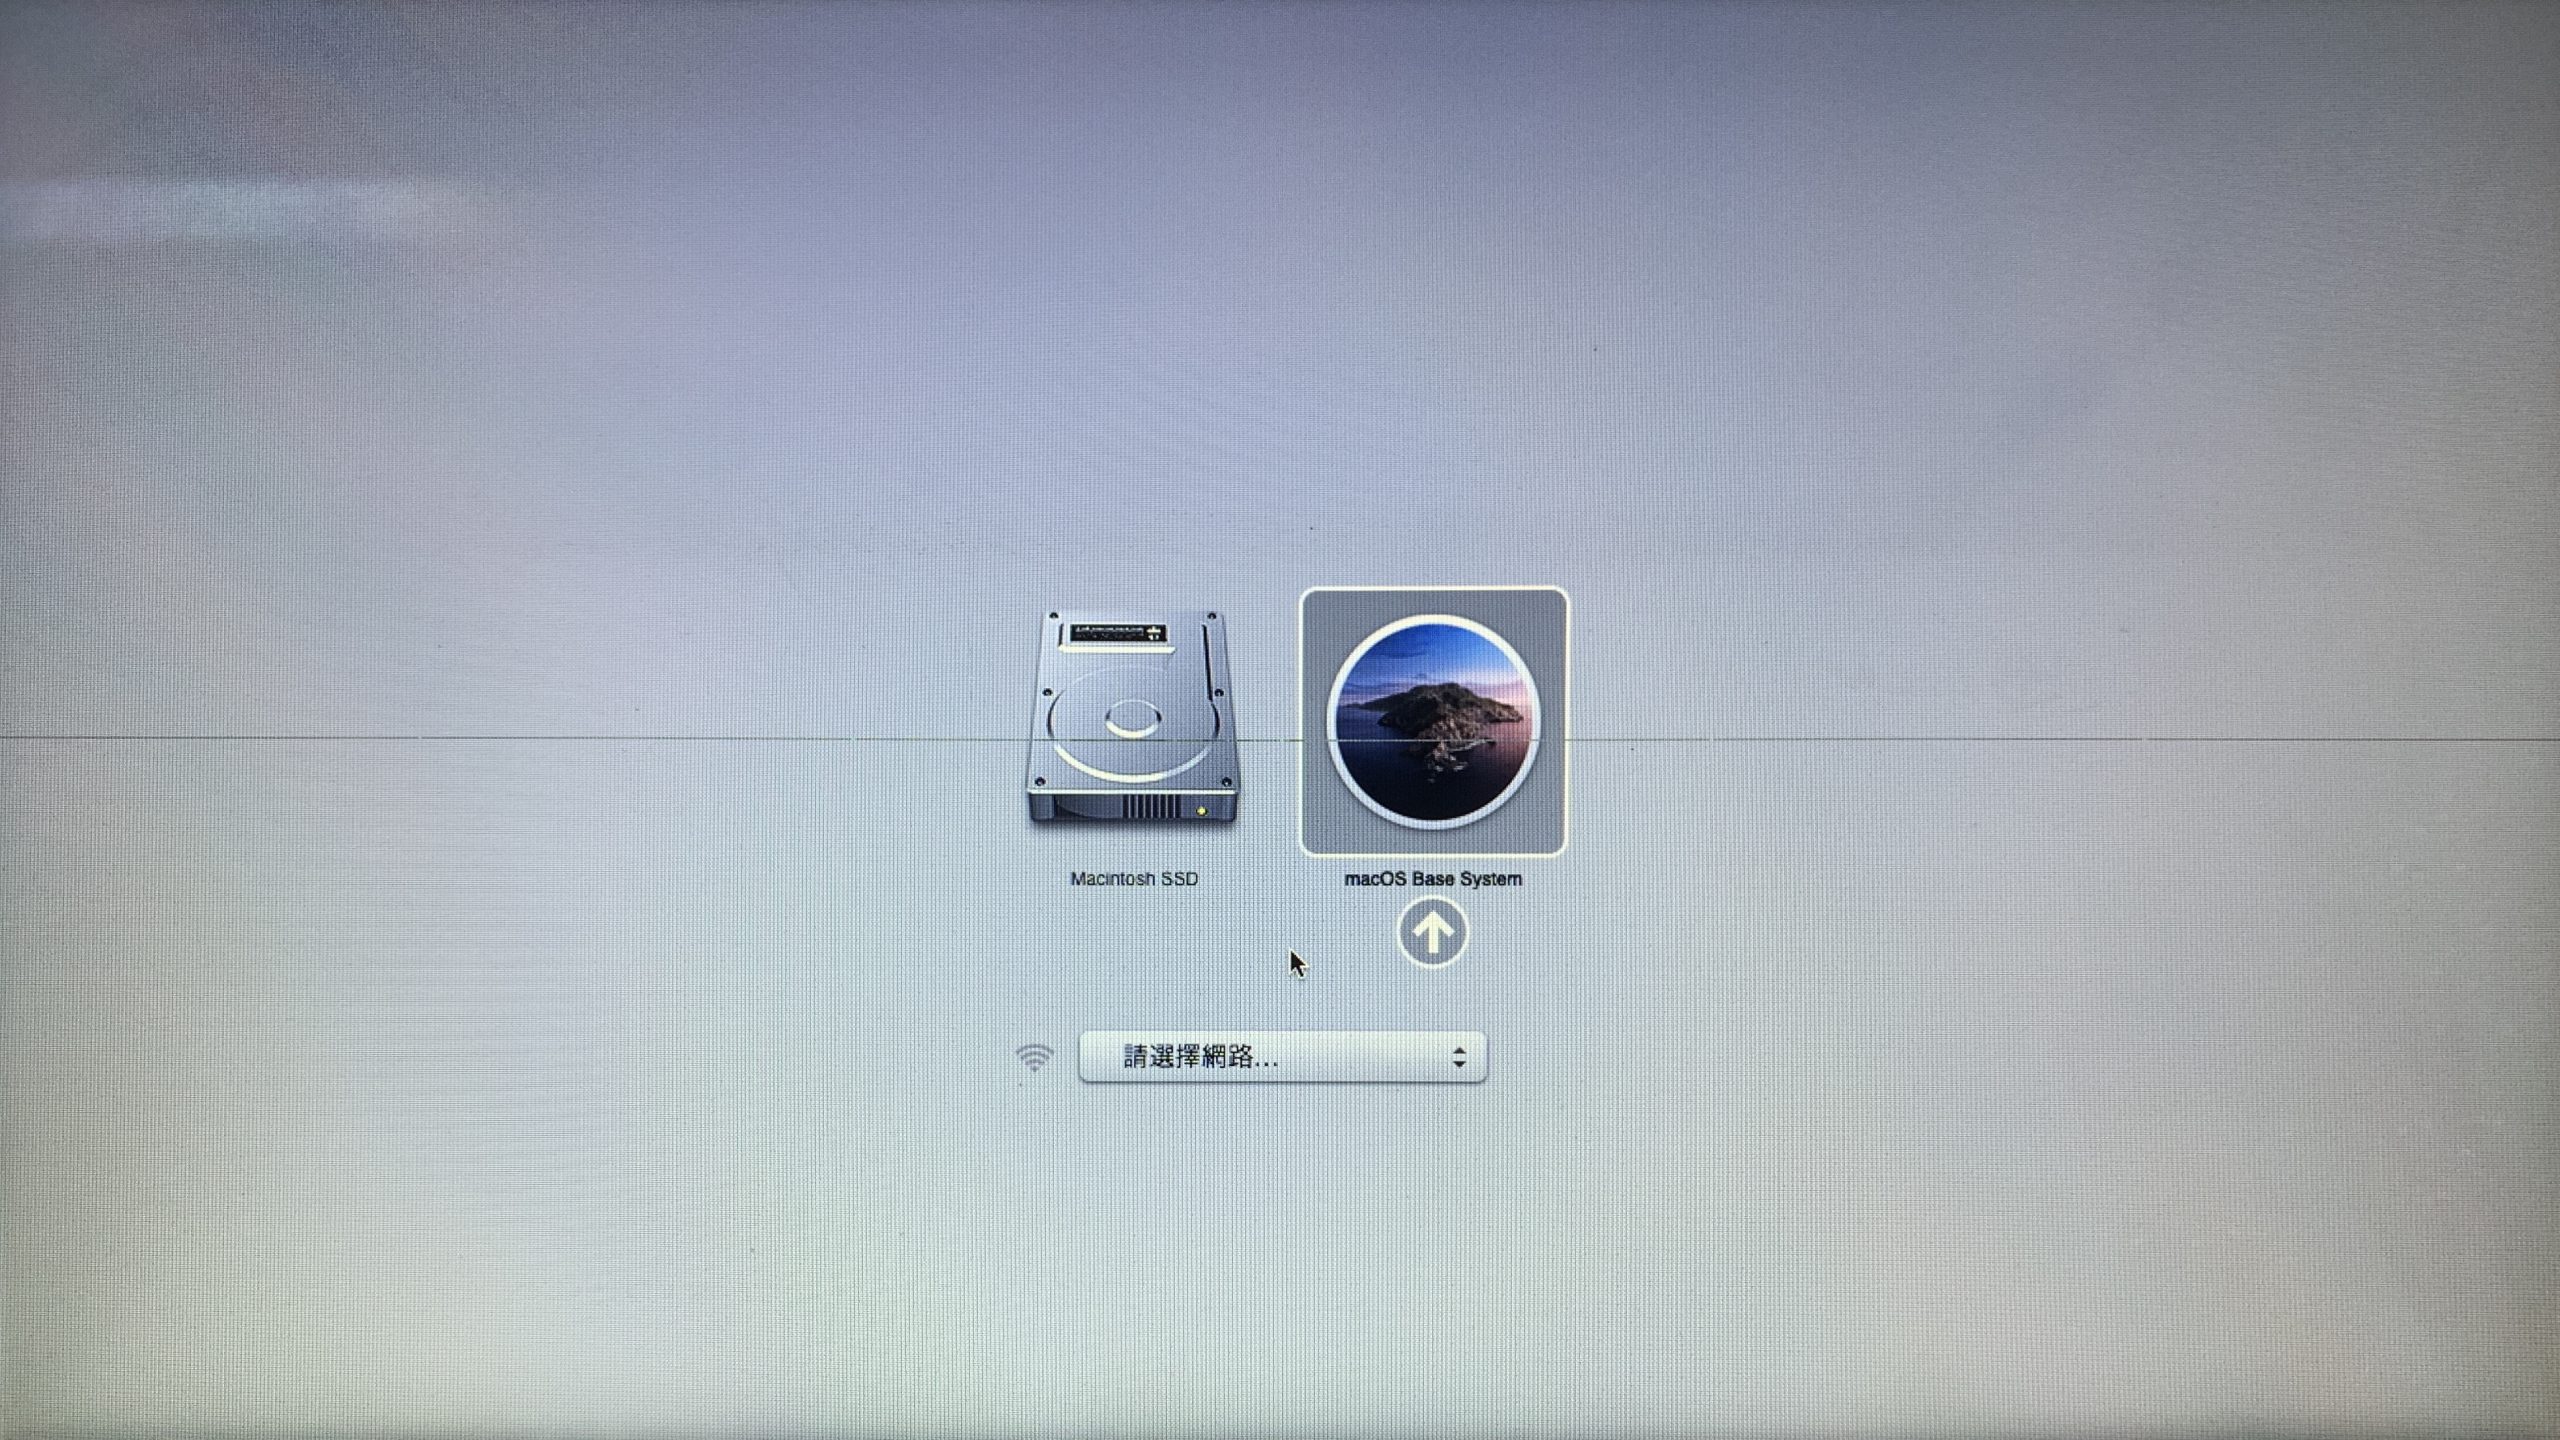
After completion, restart your computer and hold down the option key to see macOS Base System. Click on it to boot into the macOS Catalina macOS utility program.
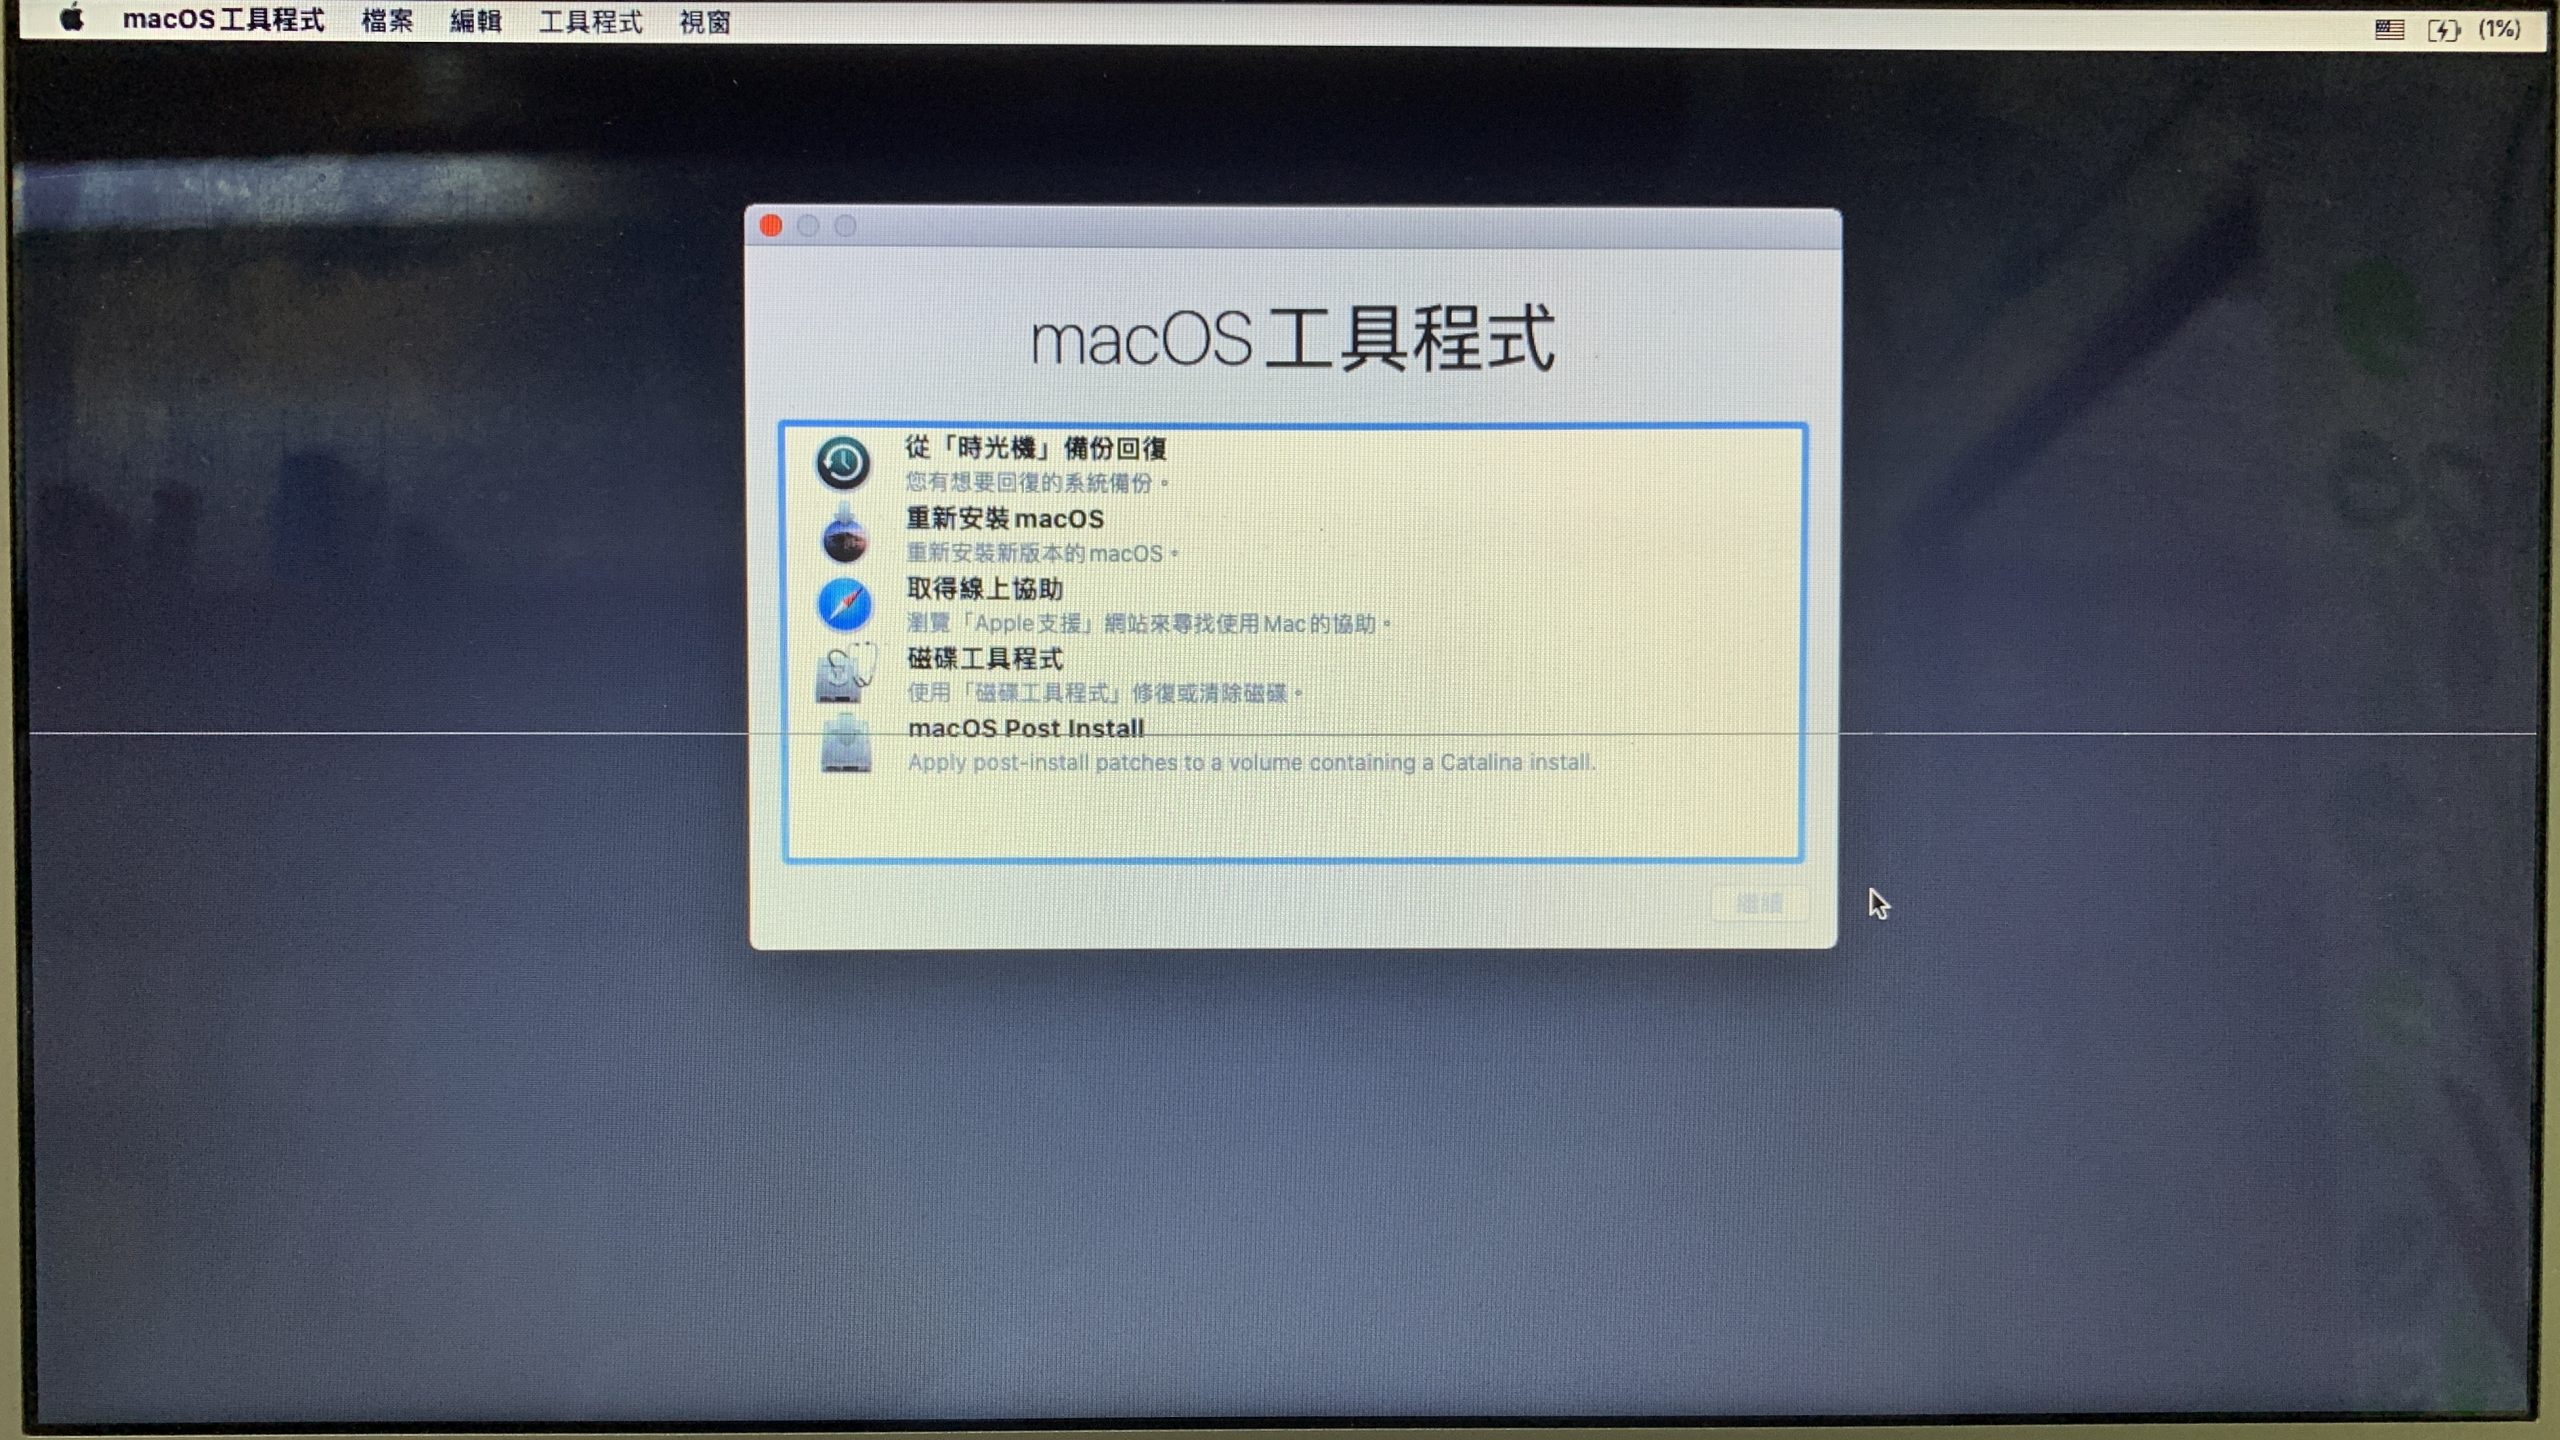
Next, click “Reinstall macOS”.
After entering the installation program, click “Continue” and agree to the terms.
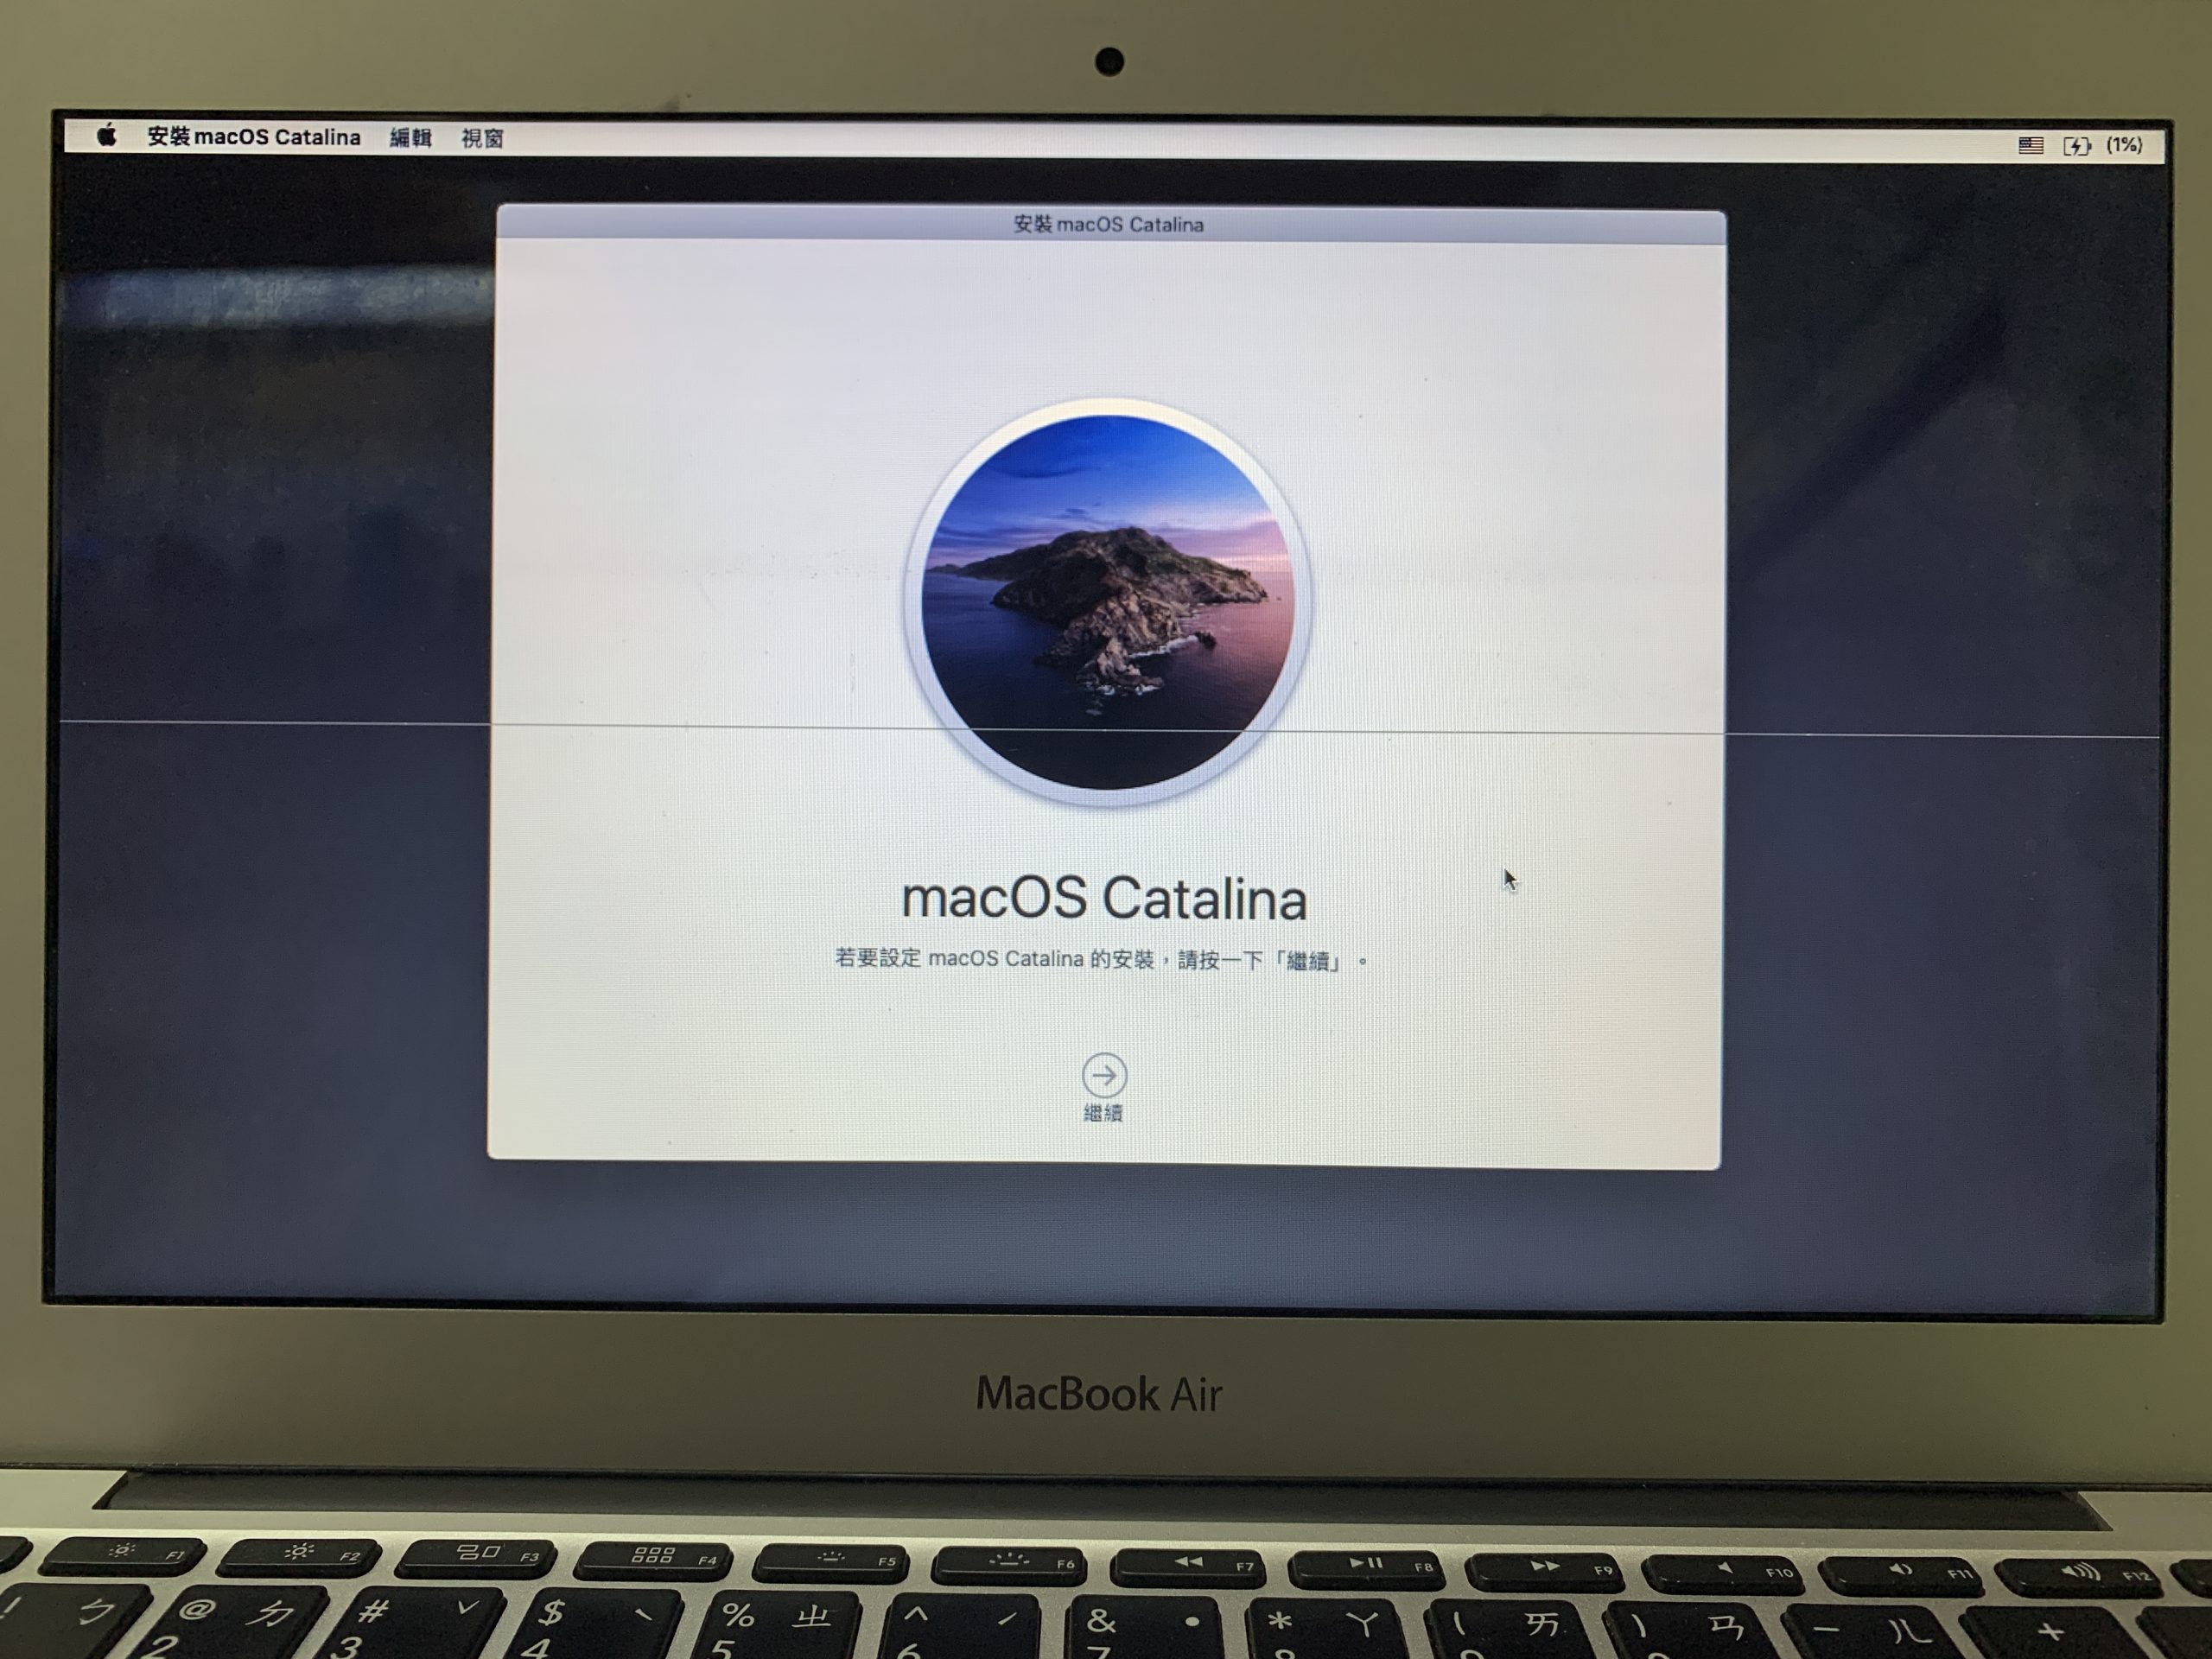
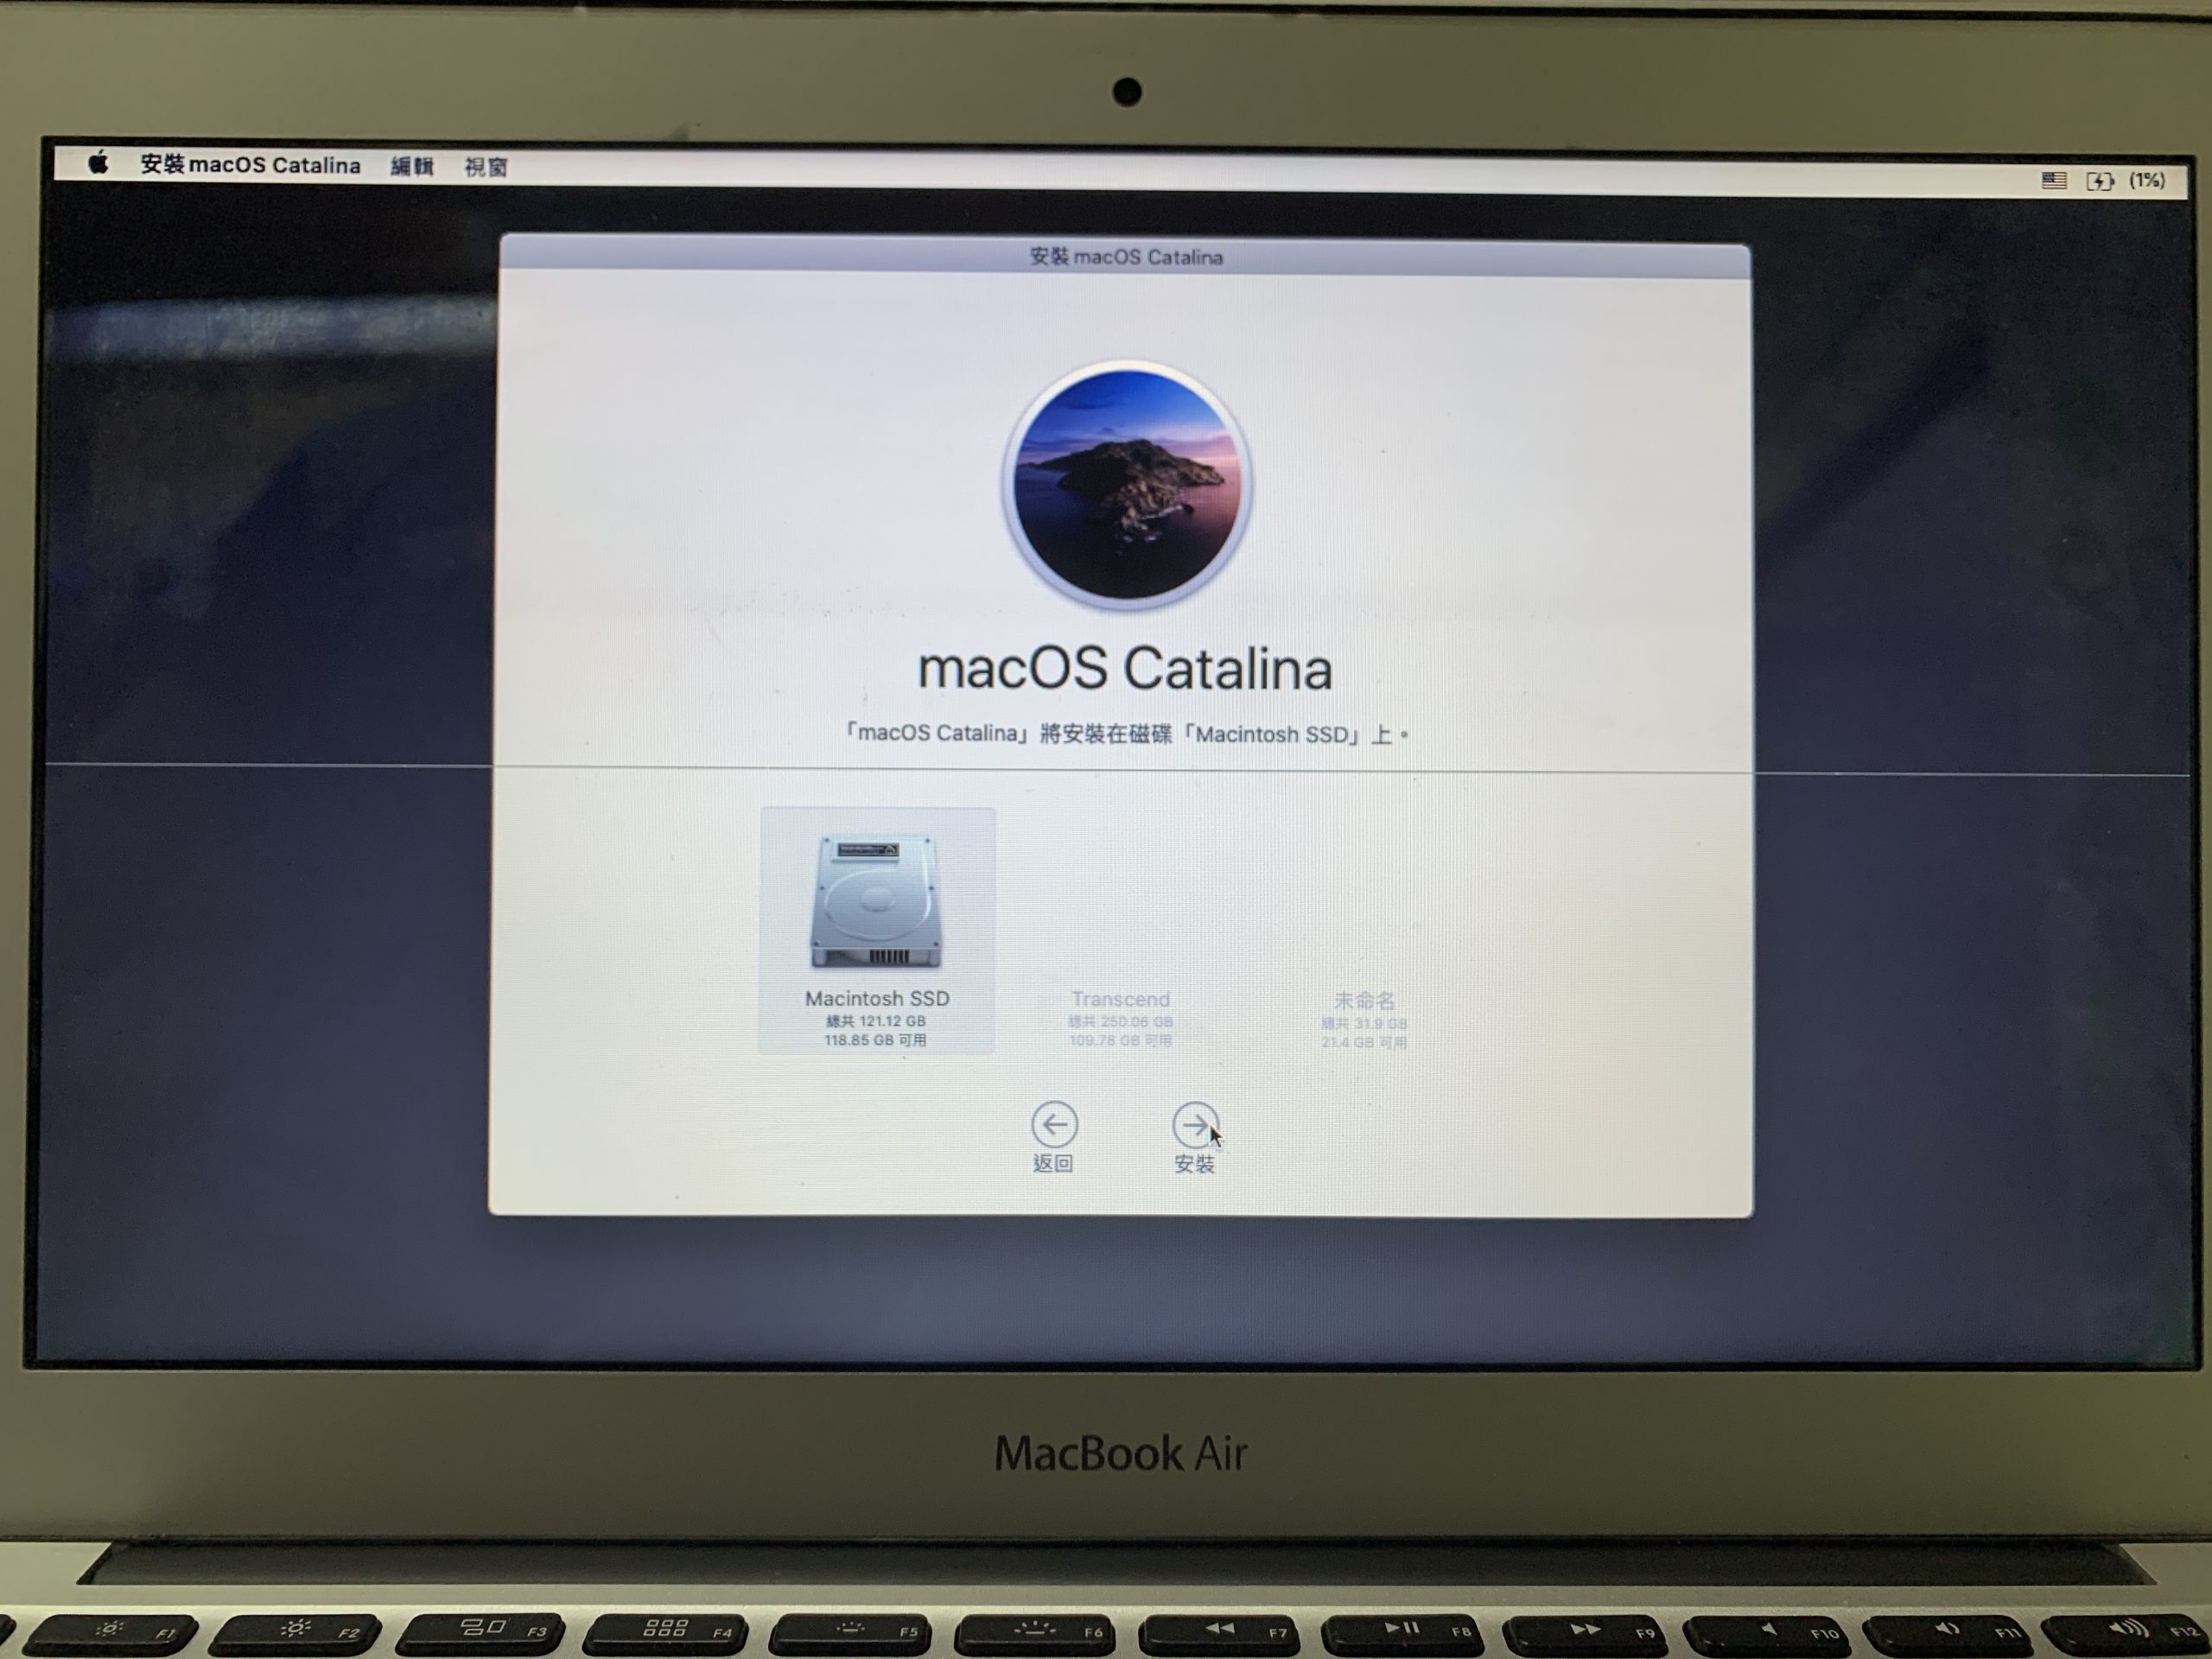
Next, choose which disk or folder to install it on.
After the upgrade, if the progress bar gets stuck and does not display the remaining installation time, try to force a shutdown (do not unplug the USB drive), then boot up again while holding down option and select macOS Base System to boot up.
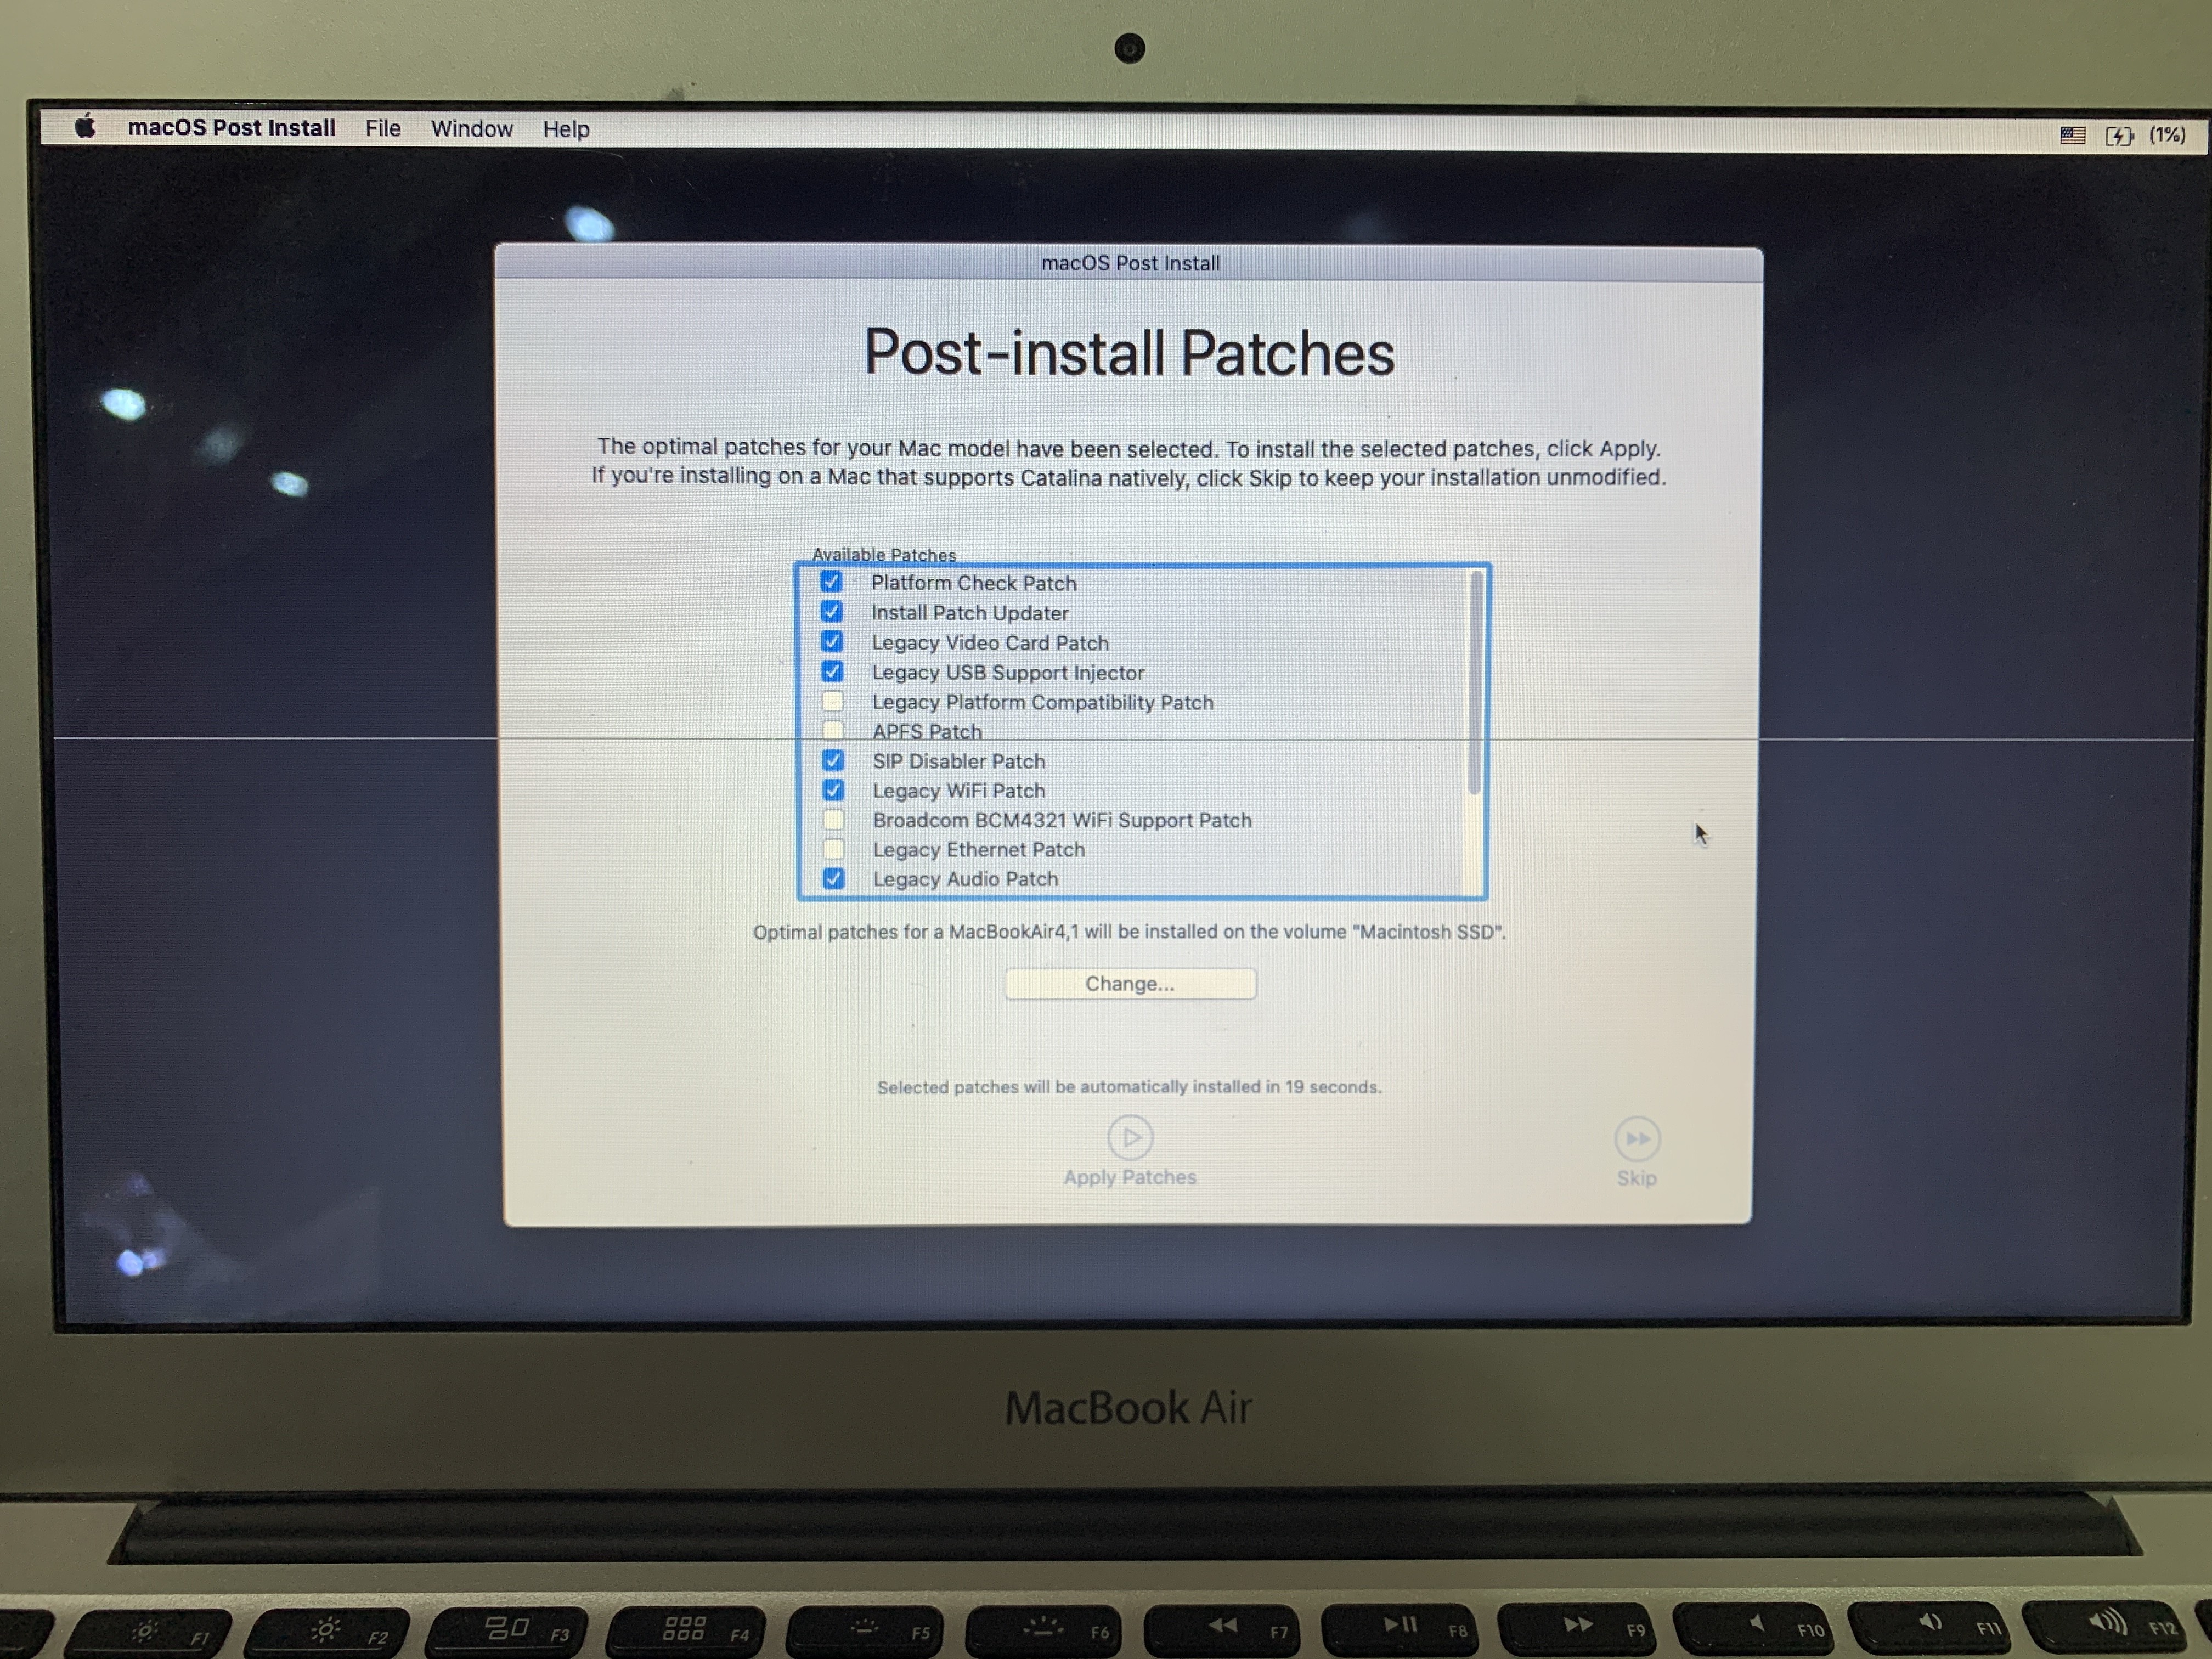
Then go back to the macOS utility program, and this time select “macOS Post Install” to resolve any driver issues, etc.
Next, the installation will proceed according to the machine model used, and you don’t need to manually change the options, just click “Apply Patches” below.
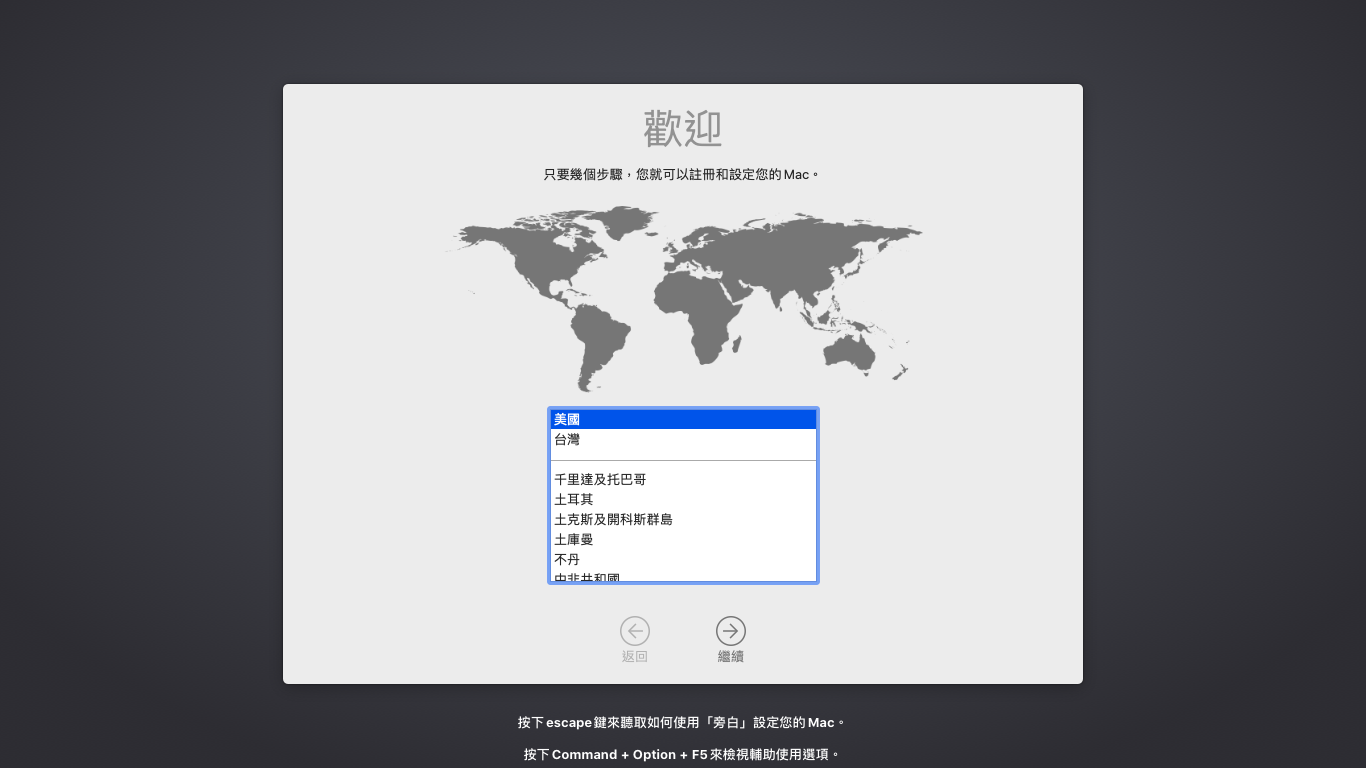
After completion, the computer will restart, and the welcome screen will appear.
If necessary, you can also complete the restoration of Time Machine backups or transfer data from other computers here, or open “System Migration Assistant” after setup.
Next, set it up and you can use it normally.