Have you ever experienced a situation where your old computer is struggling to handle basic tasks like document processing and web browsing? You may not want to use an outdated operating system that is no longer supported by the official provider, including the browser. In this case, you can download the latest version of CloudReady Home Edition to breathe new life into your computer. It comes with the latest browser and many Web Apps that you can use. As it is a browser-based operating system, it requires fewer resources compared to many other operating systems. You don’t need to worry about getting used to a Linux operating system (the installation process is different, and the logic of use is also very different, and using the command line all the time is not a very intuitive way). Therefore, as long as the computer supports 64-bit, almost everyone can use CloudReady (tested on the only 32-bit computer at home, unable to use the 32-bit version of CloudReady to boot).
Let’s get started!
Preparation:
- 8GB USB drive (data will be erased, please remove the data first)
- The computer to be installed
First, please go to the official website and click “DOWNLOAD 64-BIT IMAGE” to download the 64-bit version of the installation file (*.zip) (the 32-bit version is no longer supported). Regardless of which system you are using, please do not choose USB Maker as it has a high failure rate, according to the tests conducted by the author and friends.

After downloading, unzip the file to get a (*.bin) file.

Next, please use Chrome to open this link, install it, and then open it.
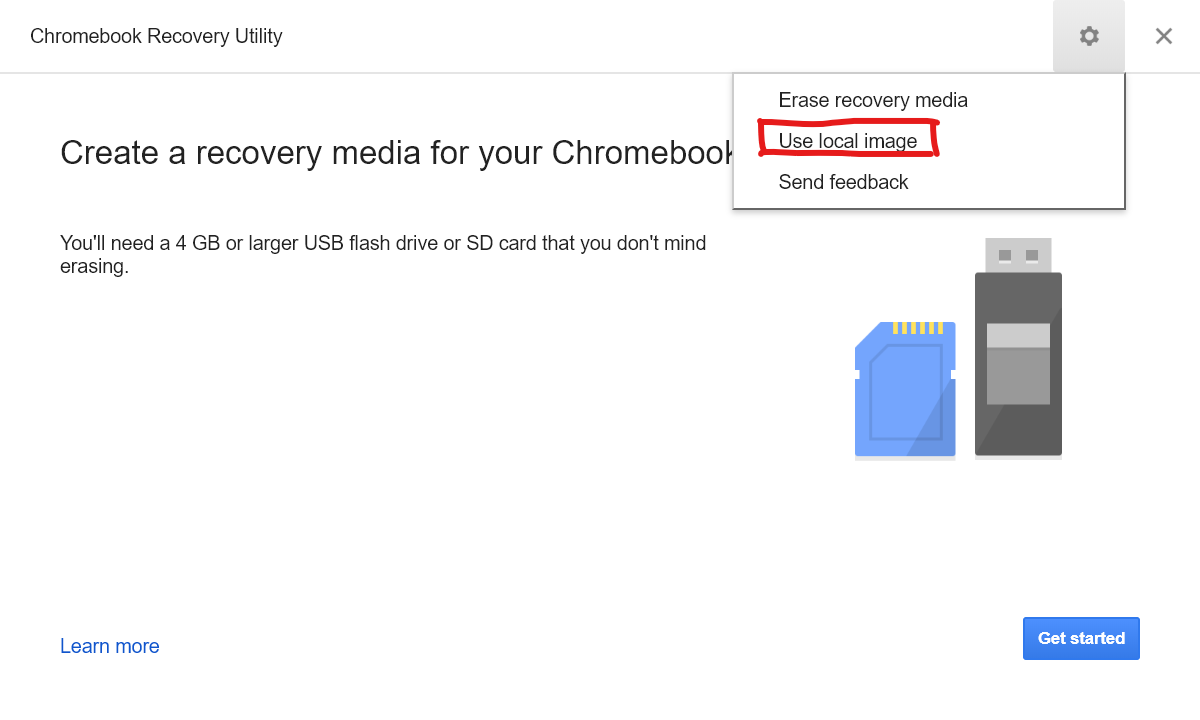
After plugging in the USB drive, click the gear icon and click “Use local image.”
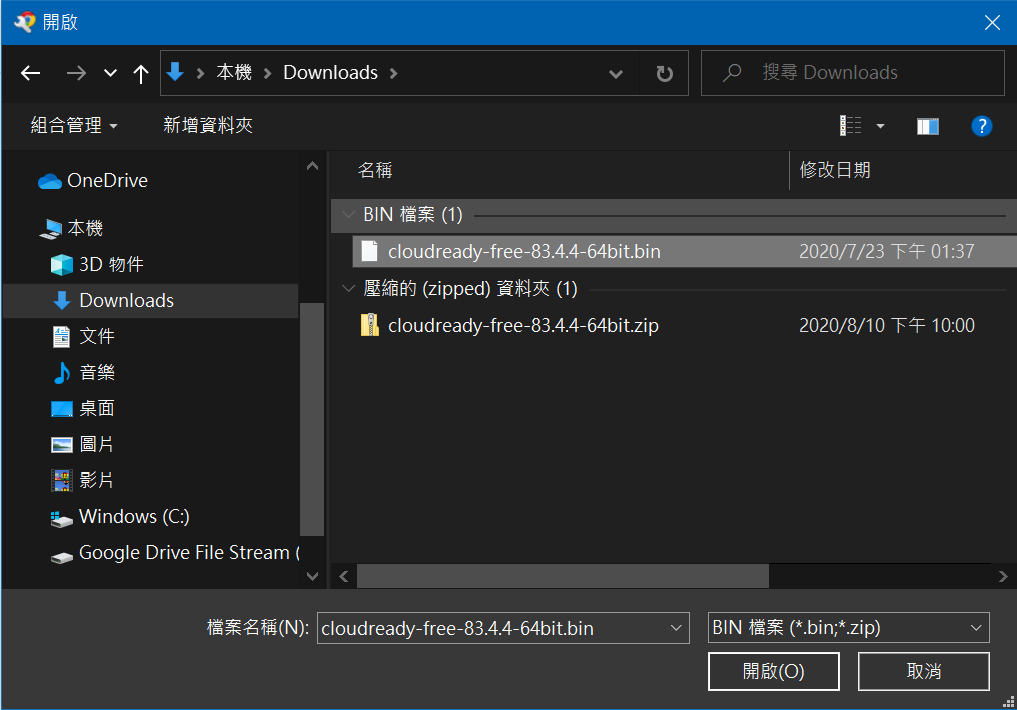
Select the BIN (*.bin) file that was just unzipped.
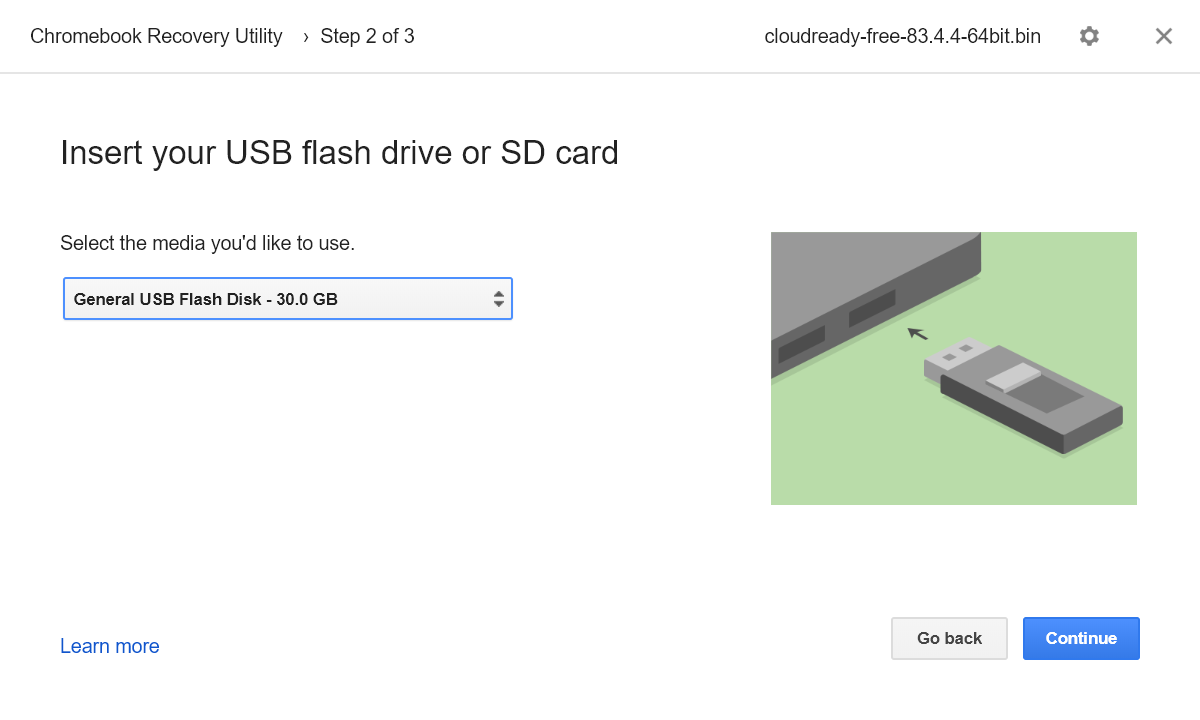
Then insert and select the USB drive that was prepared earlier.
Next, click the blue button twice and grant user account control permissions, and wait for the process to complete.
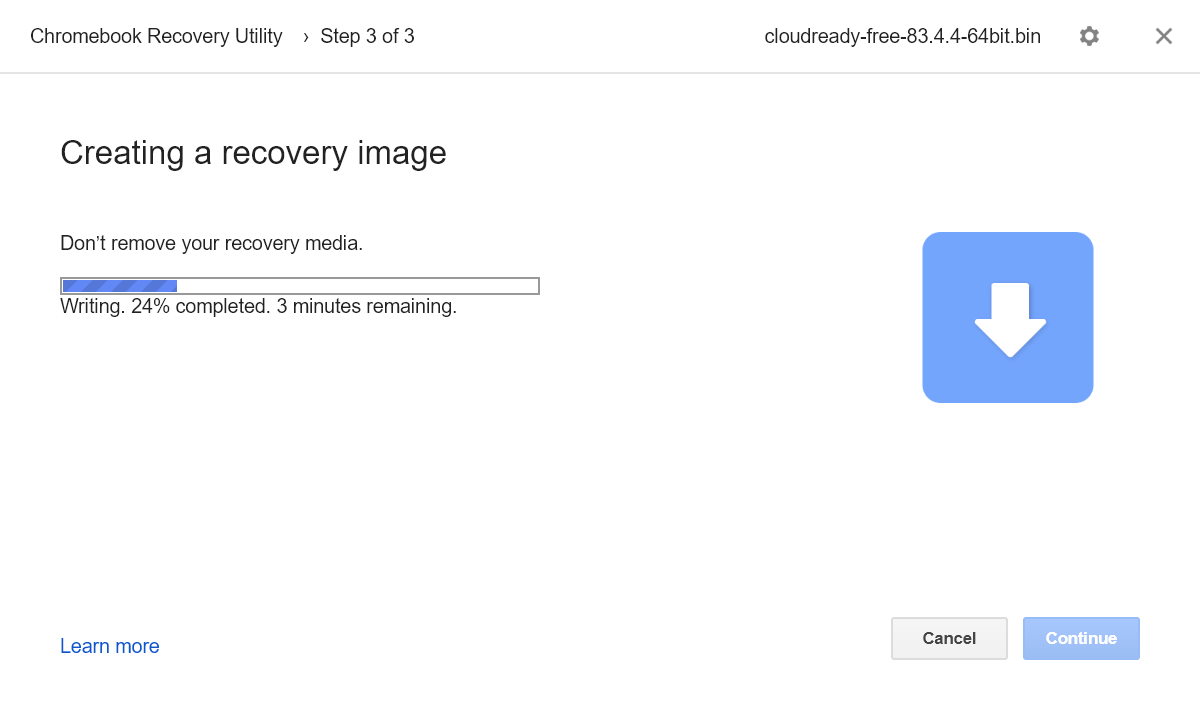
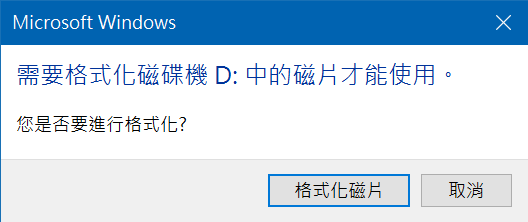
If a window pops up during the process asking you to format the USB drive, please click Cancel!
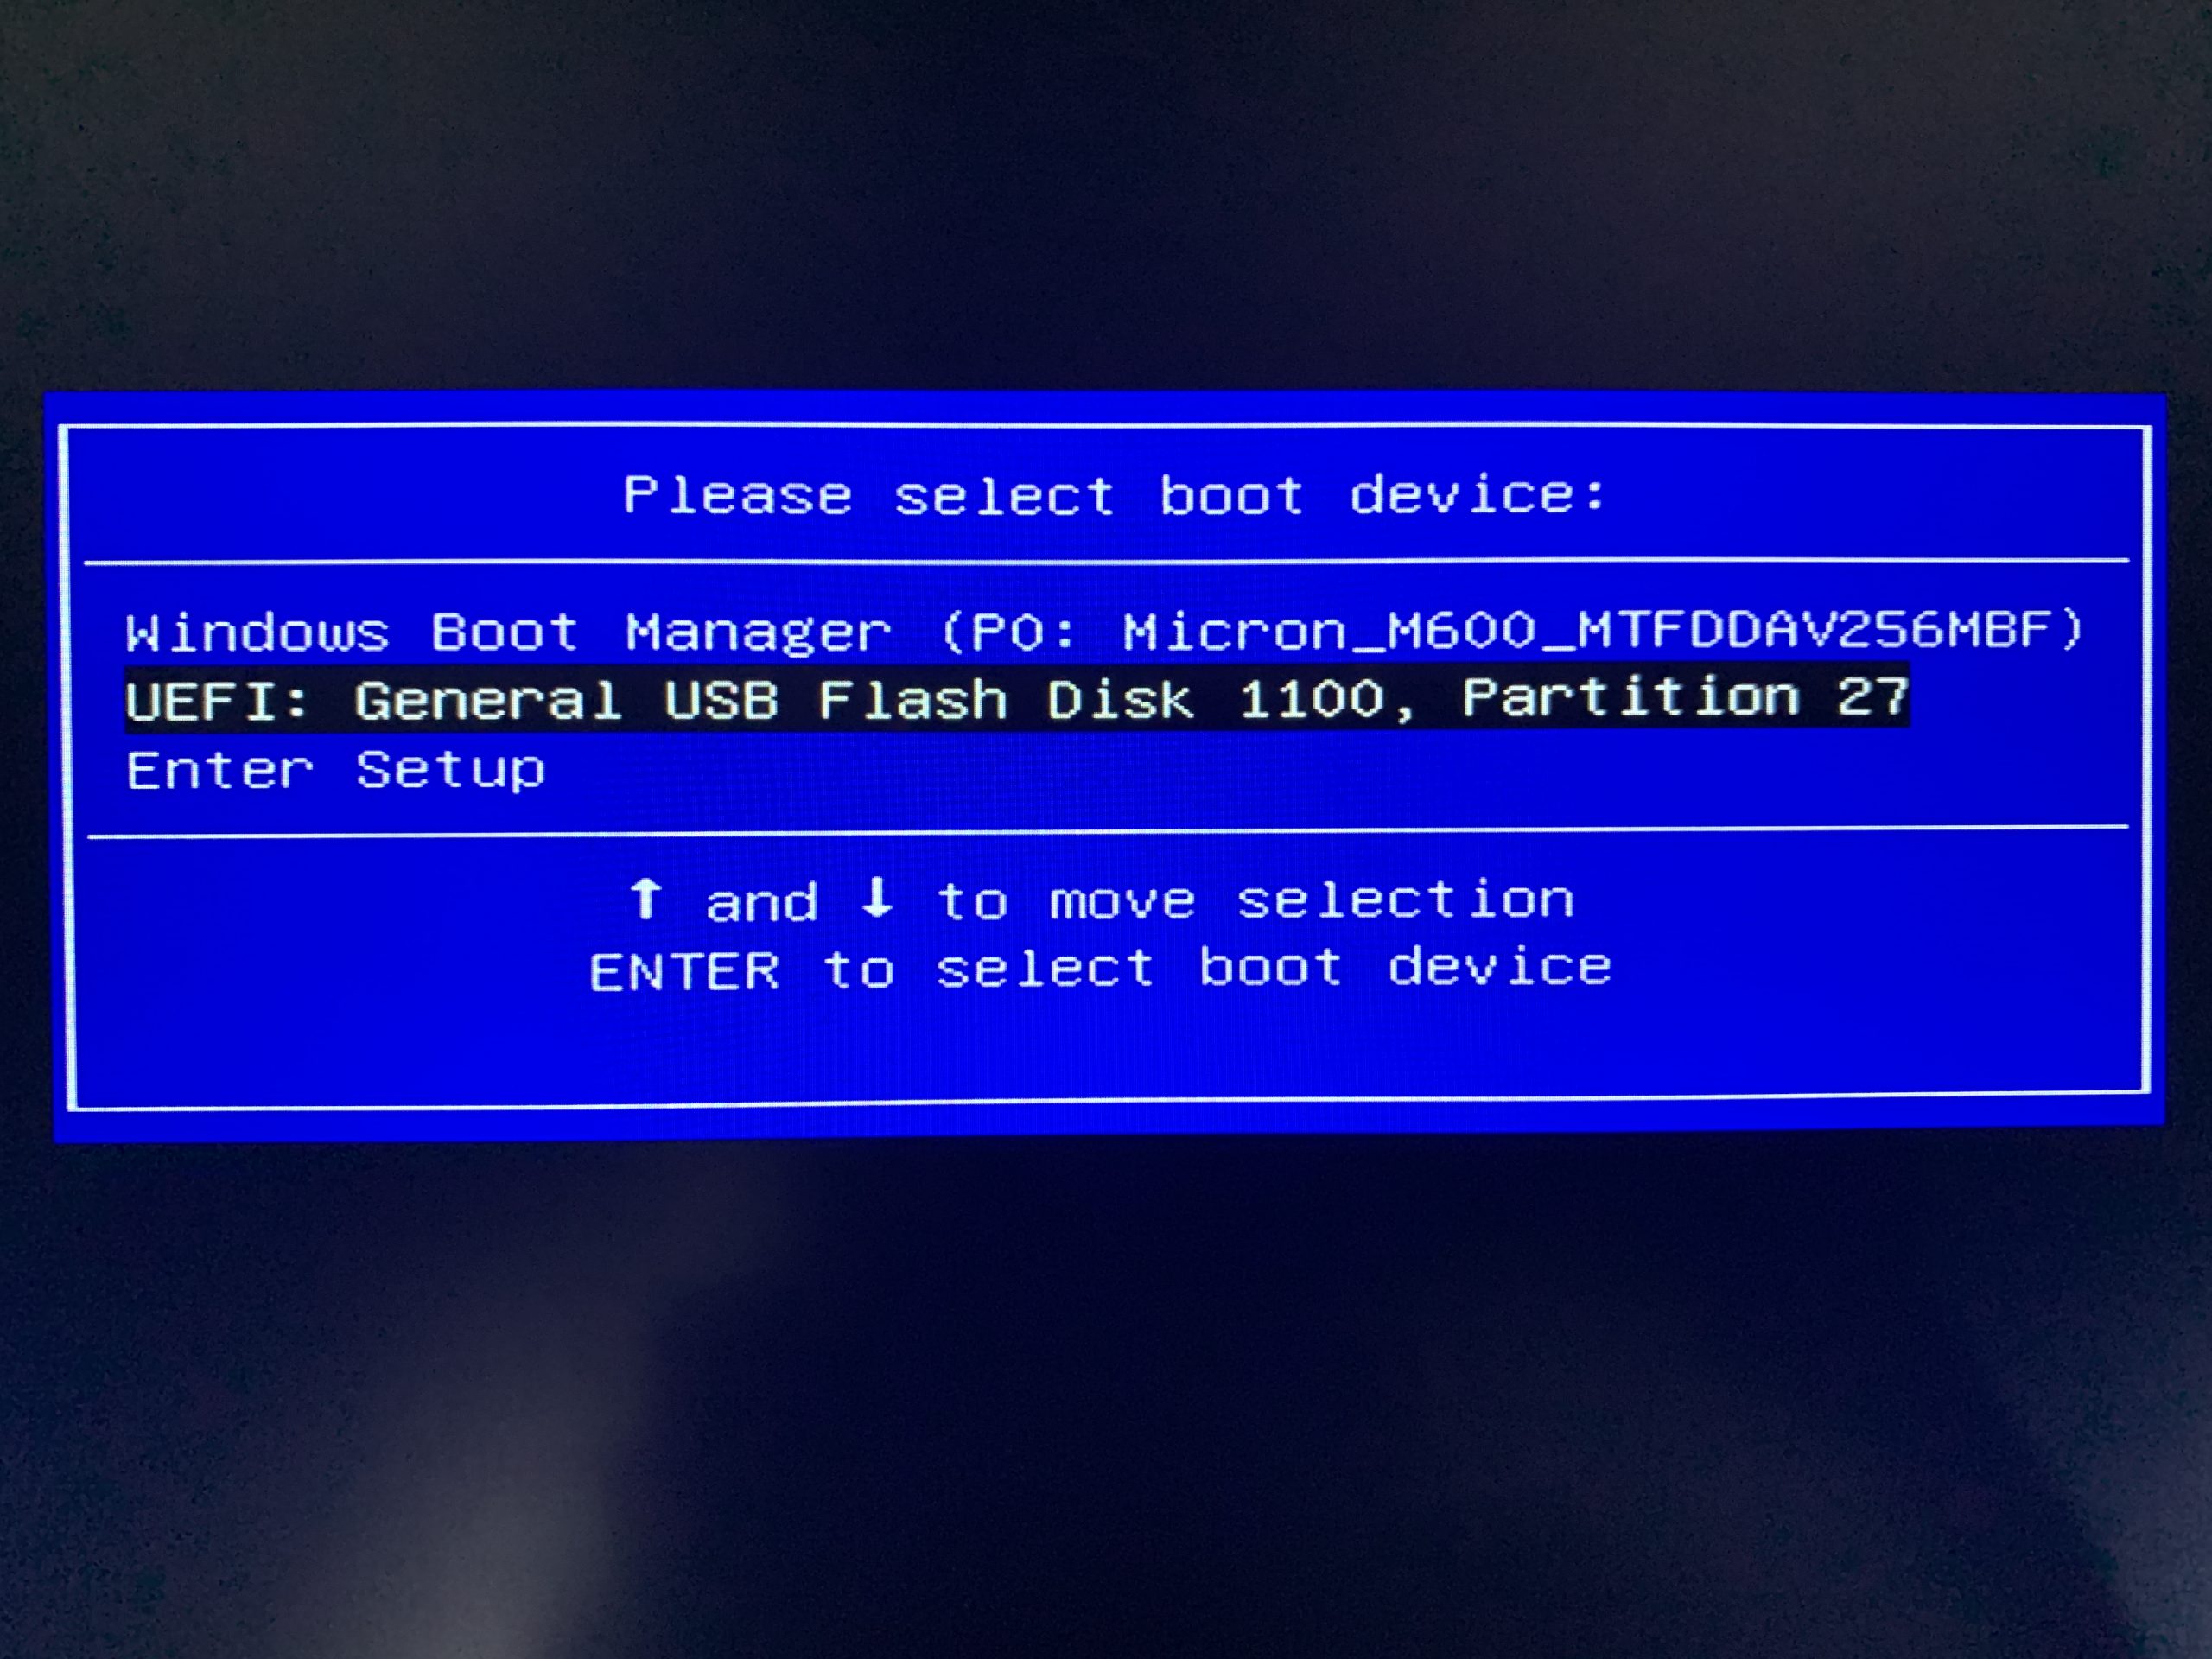
After the process is complete, please turn off the computer, enter the BIOS settings, boot menu, or Mac boot manager according to the method provided by the computer manufacturer, and select to boot from the USB drive that was just created (depending on the situation, you may need to enter the BIOS password or firmware password).
This article uses a PC as an example, so use the Boot Menu to select the USB drive (the name of the USB drive may be different).
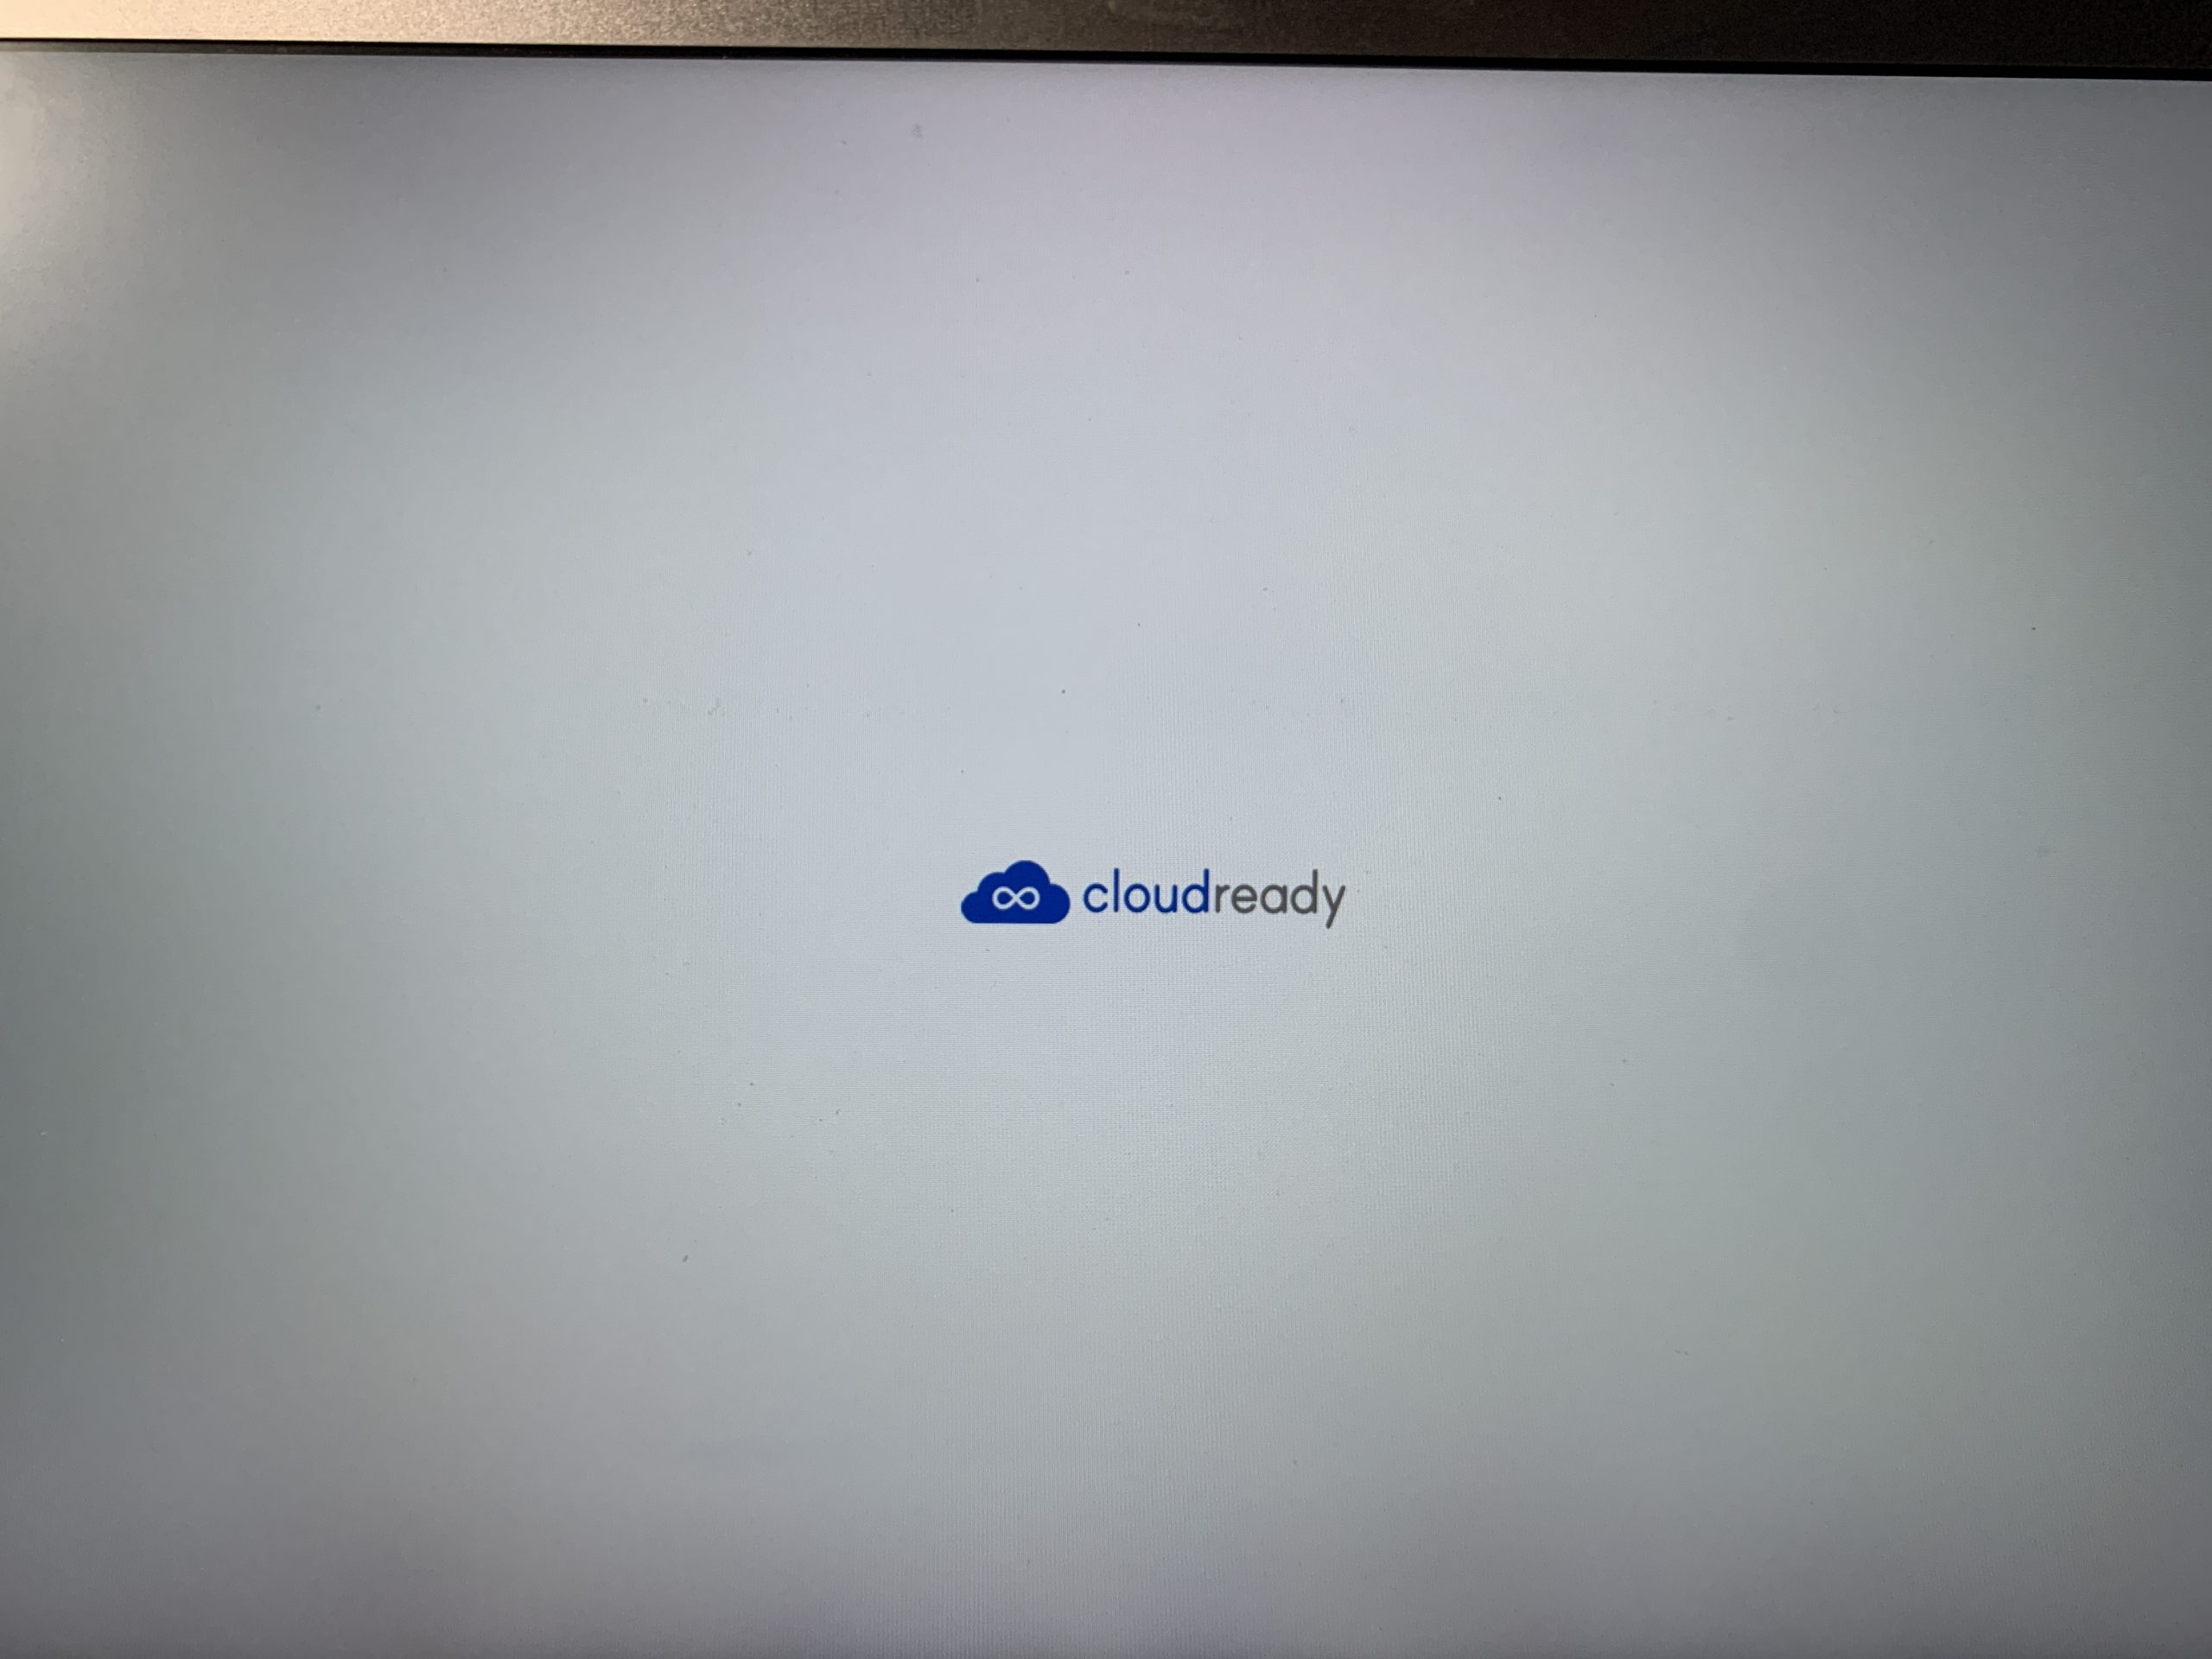
Then the boot screen will appear.
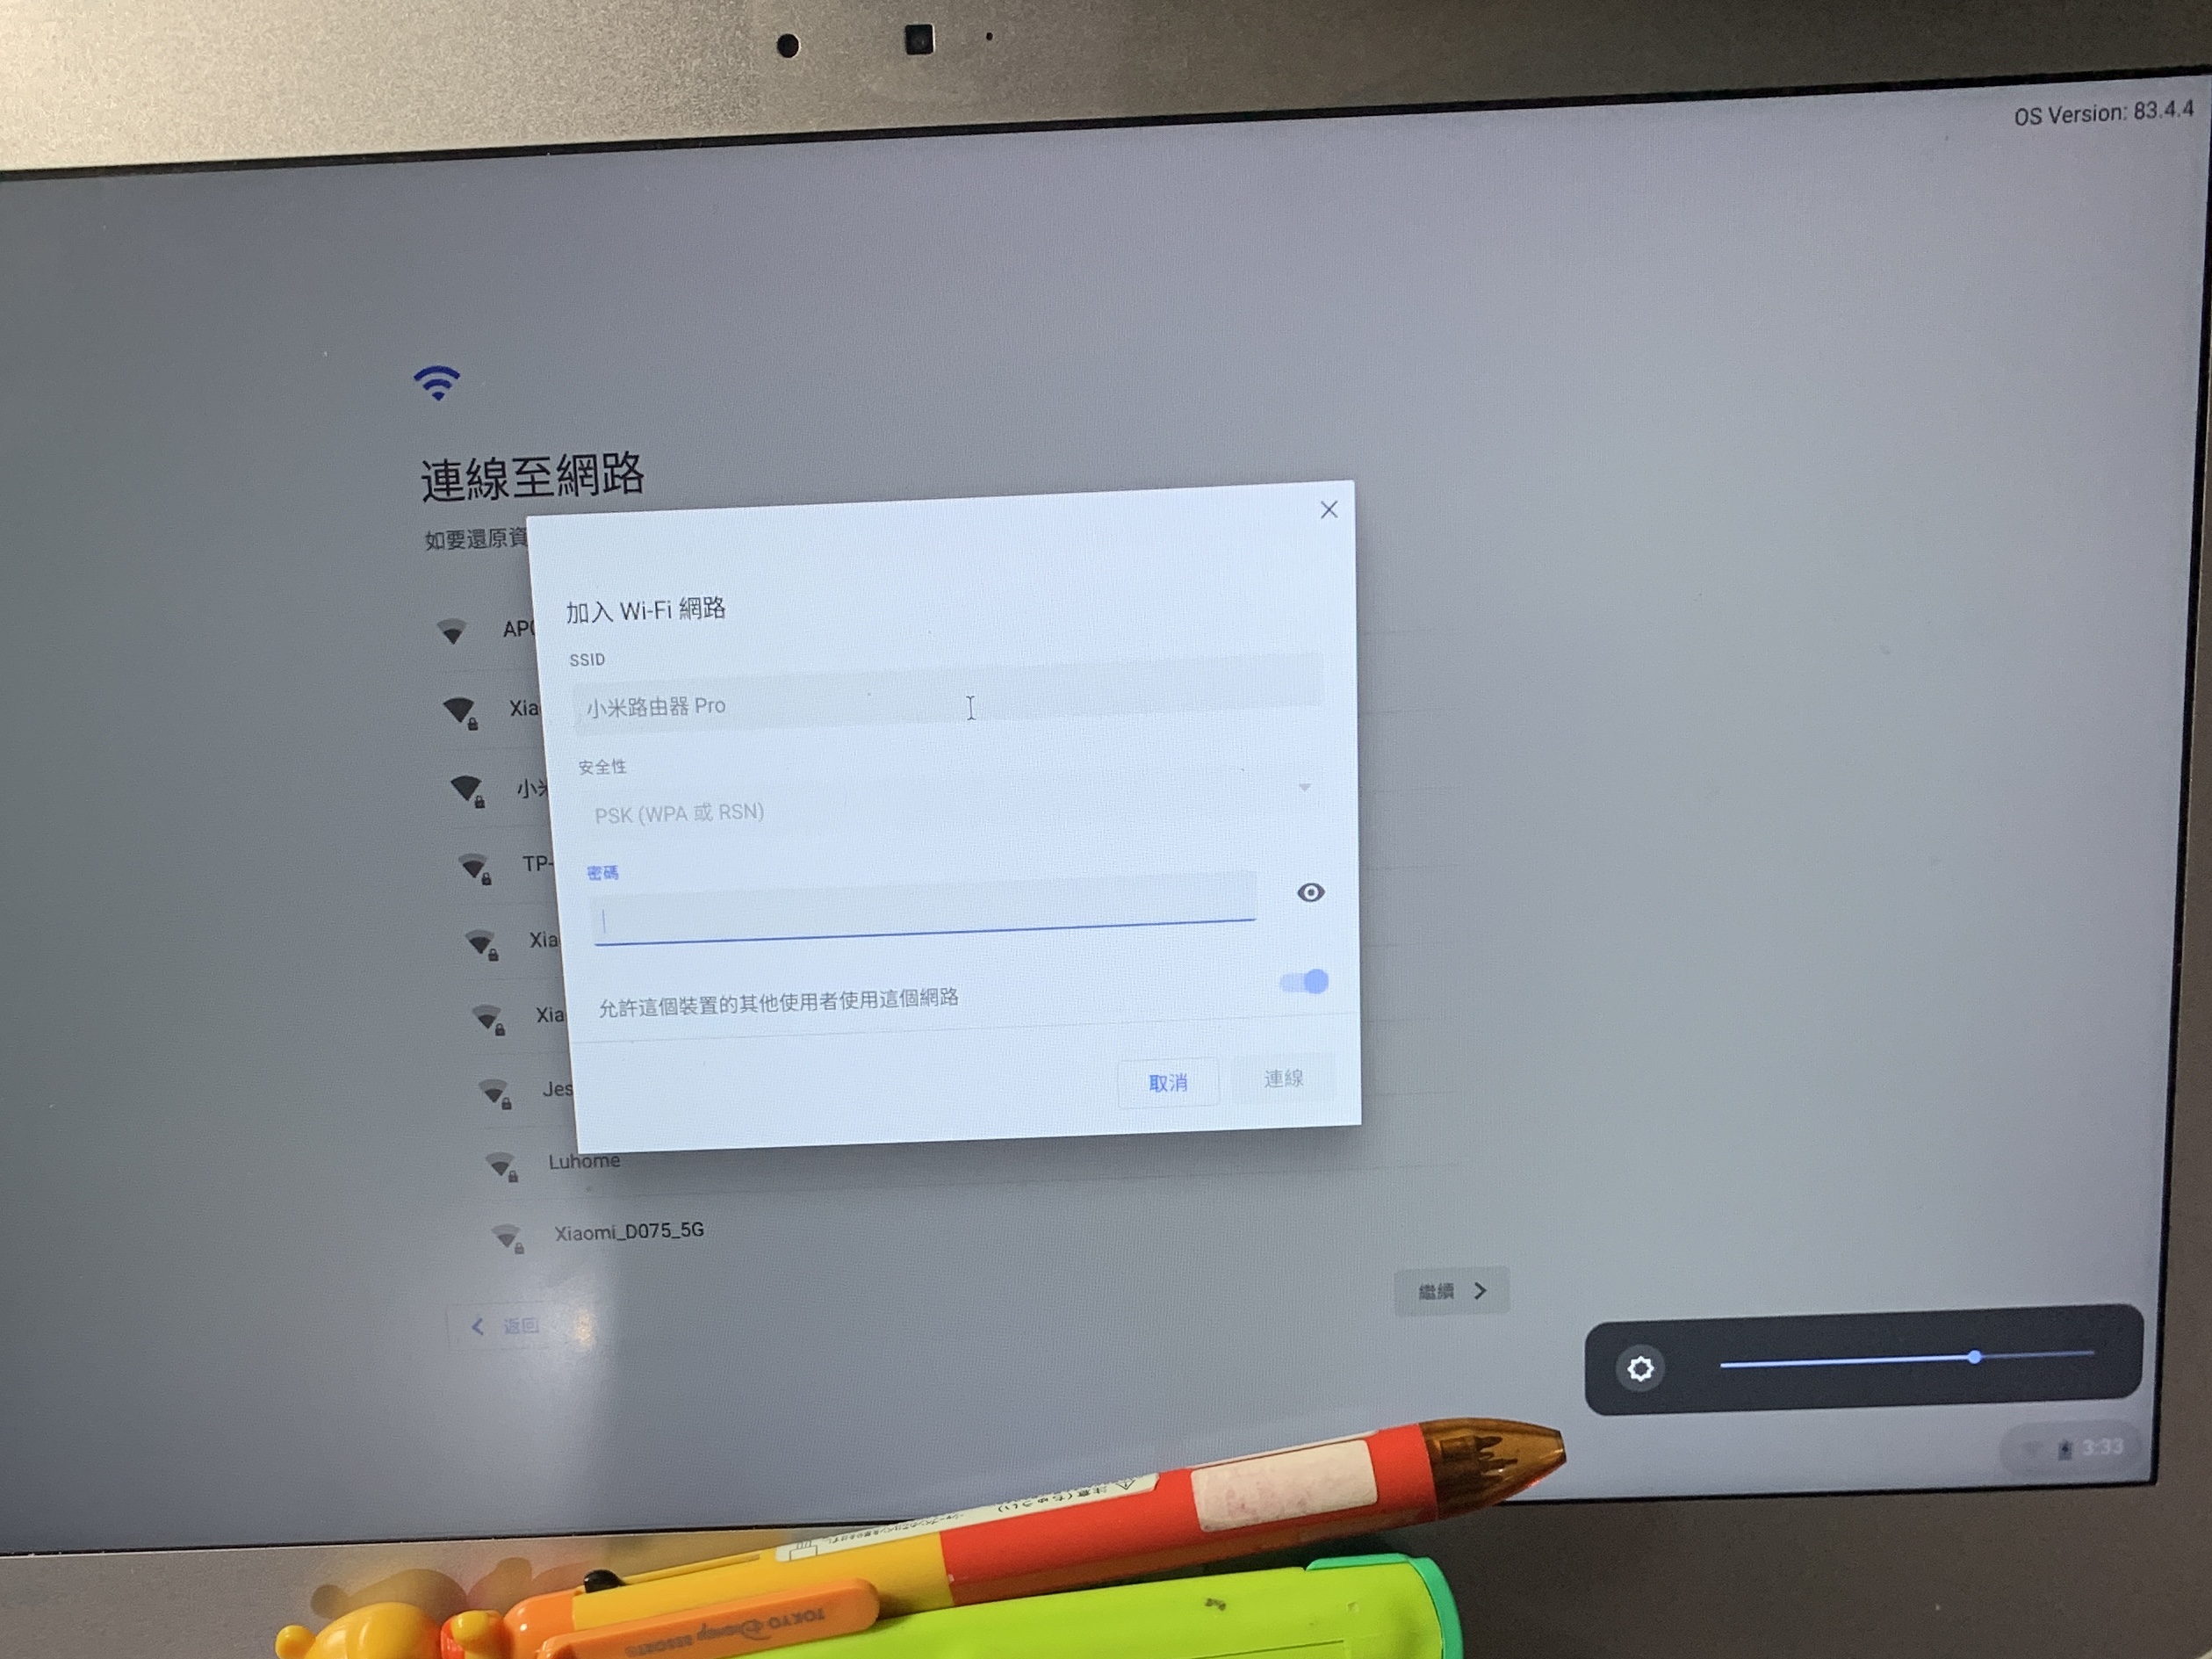
After the boot is complete, you can choose basic settings such as language and network.
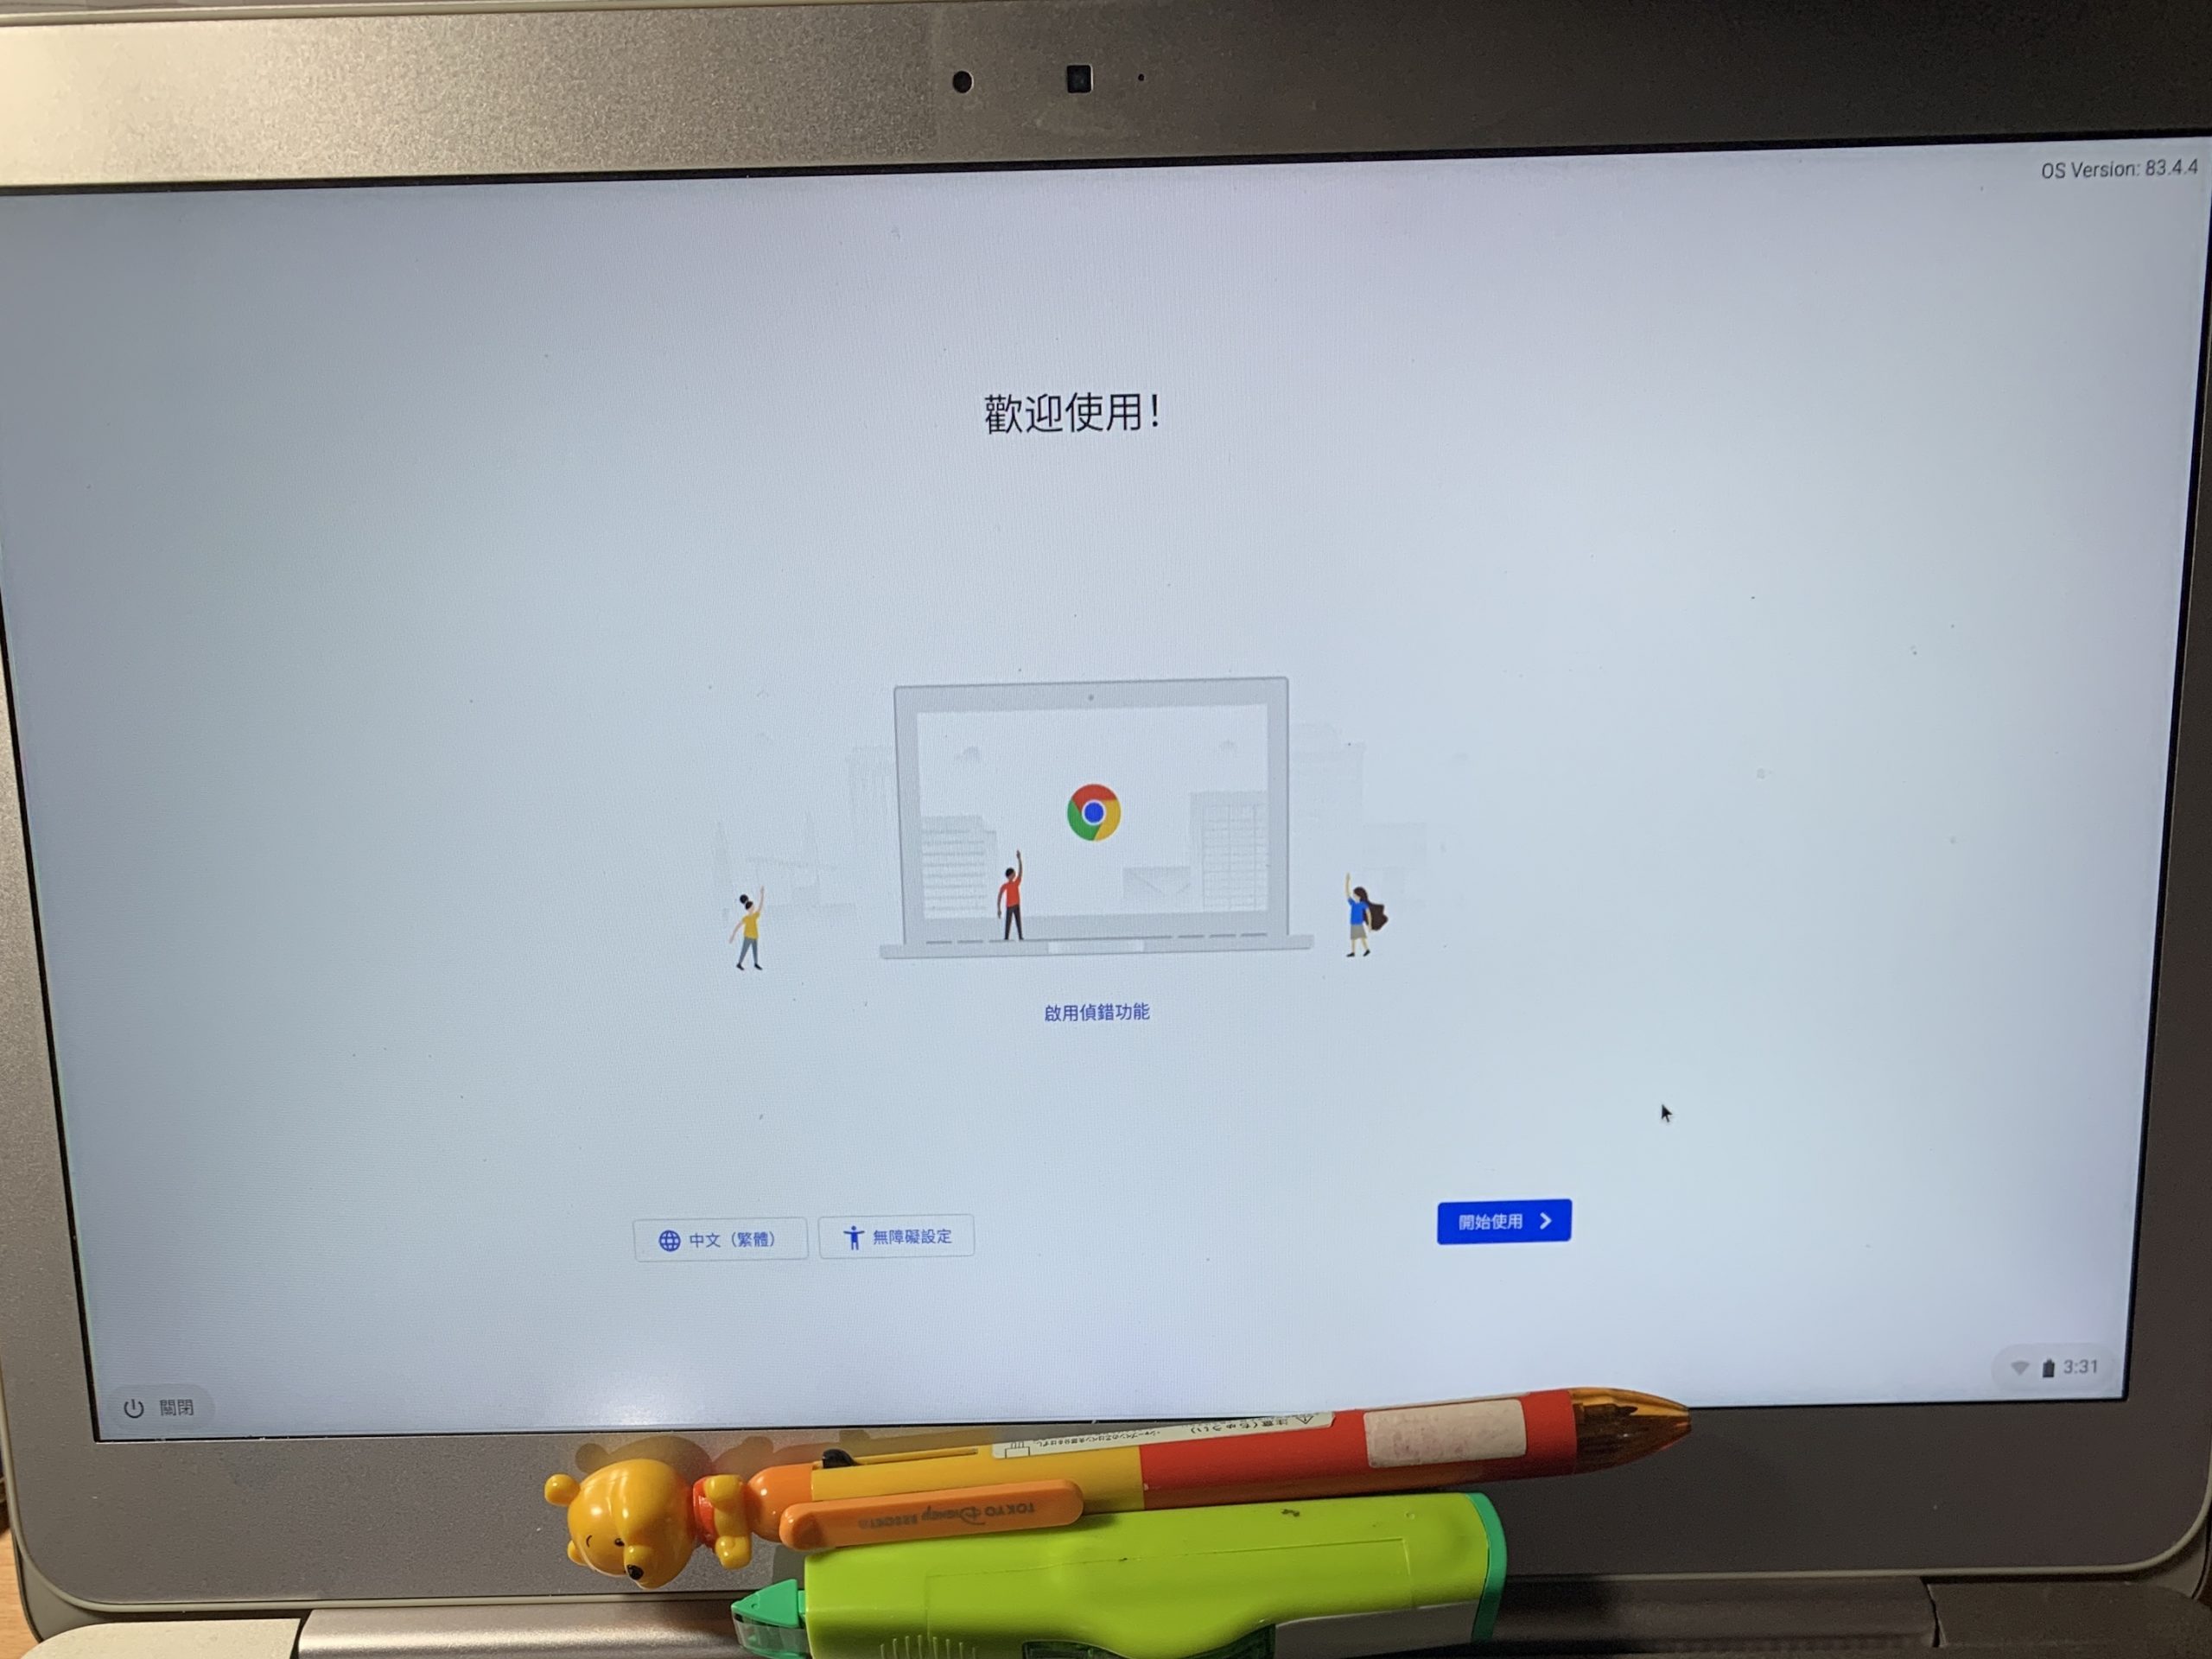
After the settings are completed, you can click “Start using” in blue.

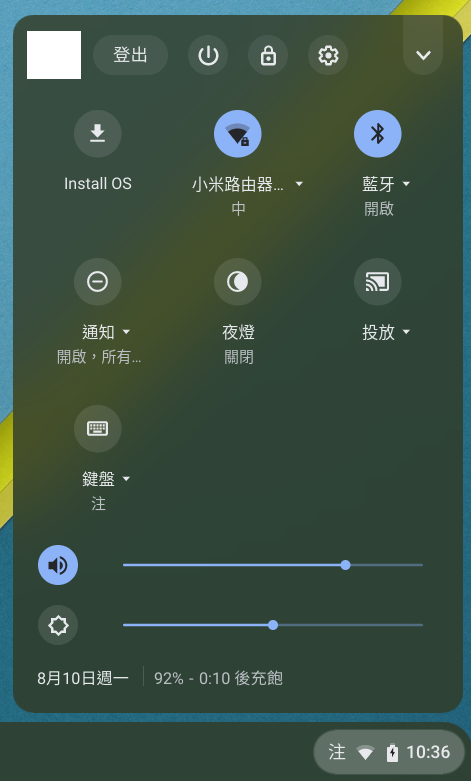
Clicking the button on the bottom right will expand the control center (bottom half) and notification center (top half). The control center can control various switches, shutdown, lock, and open system preferences. Click “Install OS” to install it to the hard drive, so you don’t have to rely on this USB drive to boot in the future. However, it will clear the hard drive data, so please be careful.
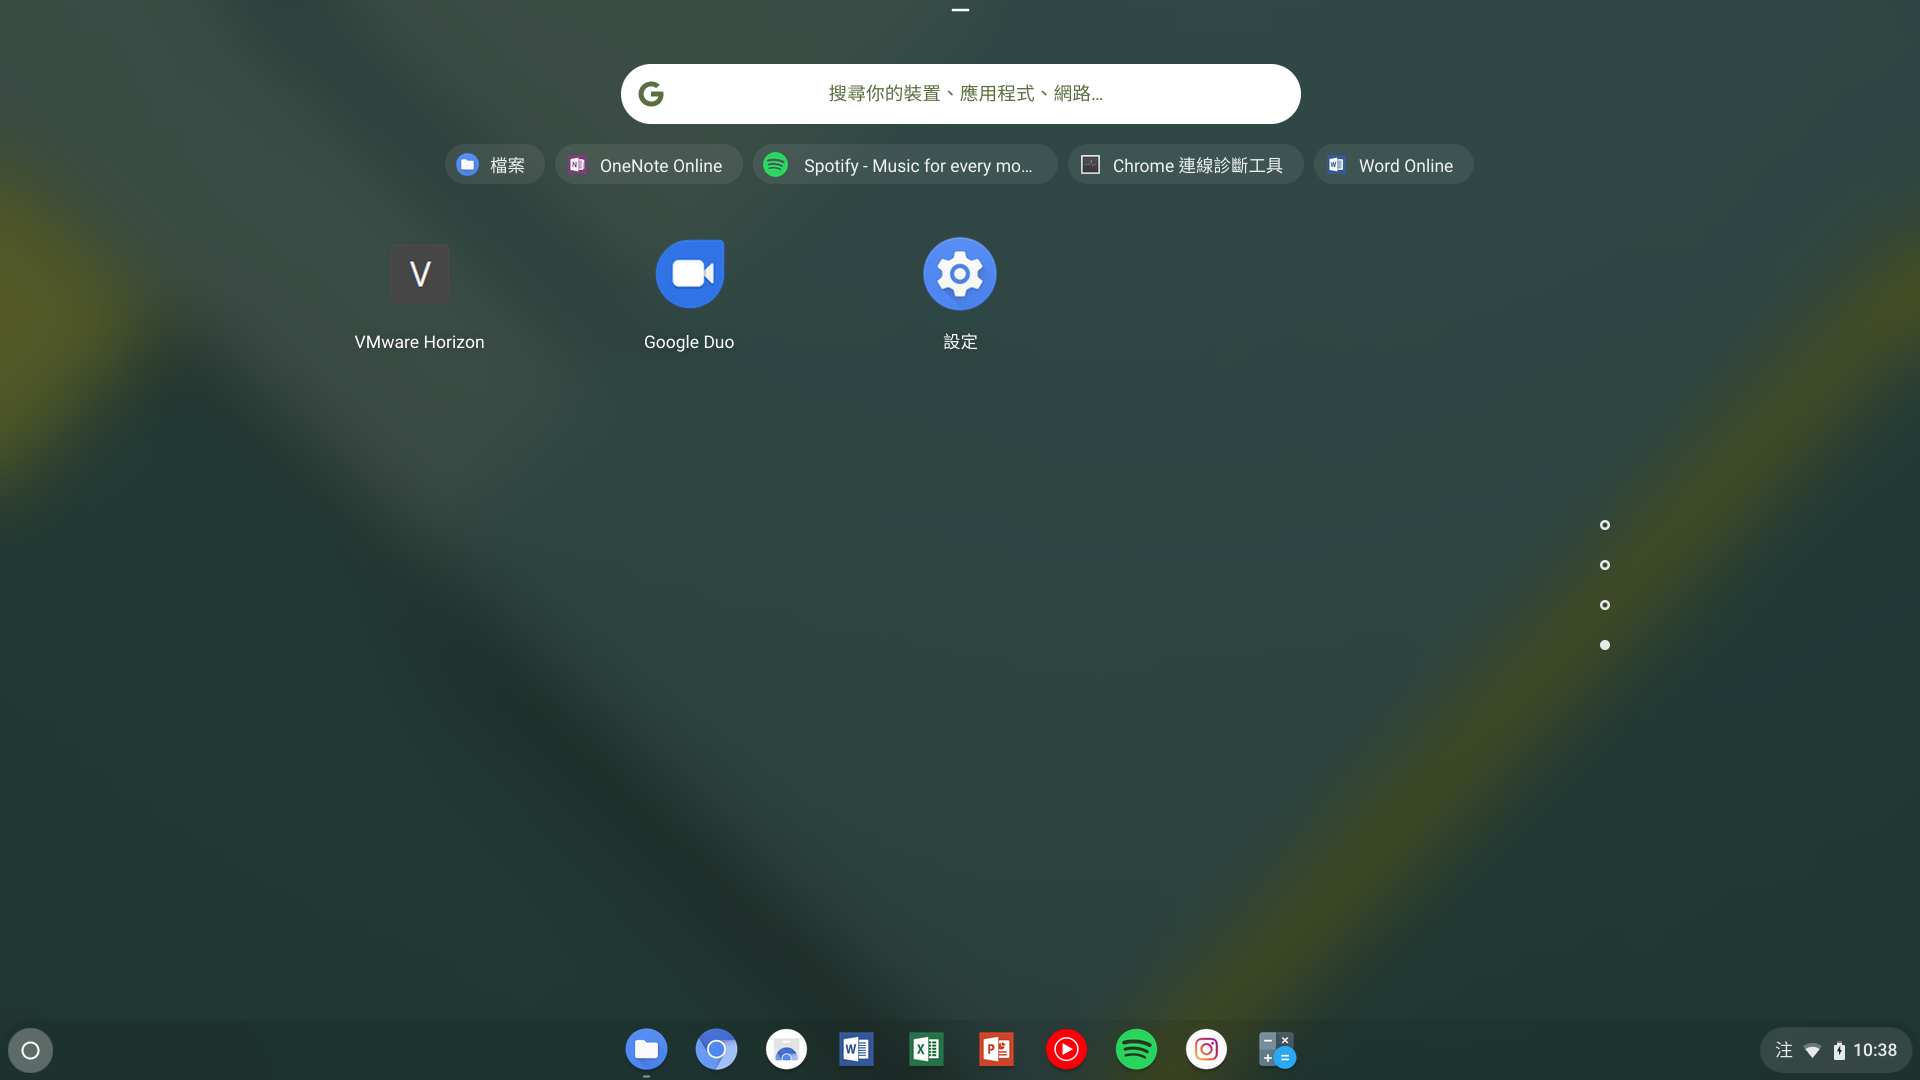
The circular button in the lower-left corner is the launcher, where you can find the Chromium App Store to download various Chrome Apps and extensions. It is worth mentioning that the downloaded Chrome App will be synced with your account, which means that it will be installed on a different CloudReady computer, Chromebit, Chromebox, or Chromebook when you reinstall, or switch to a different device.
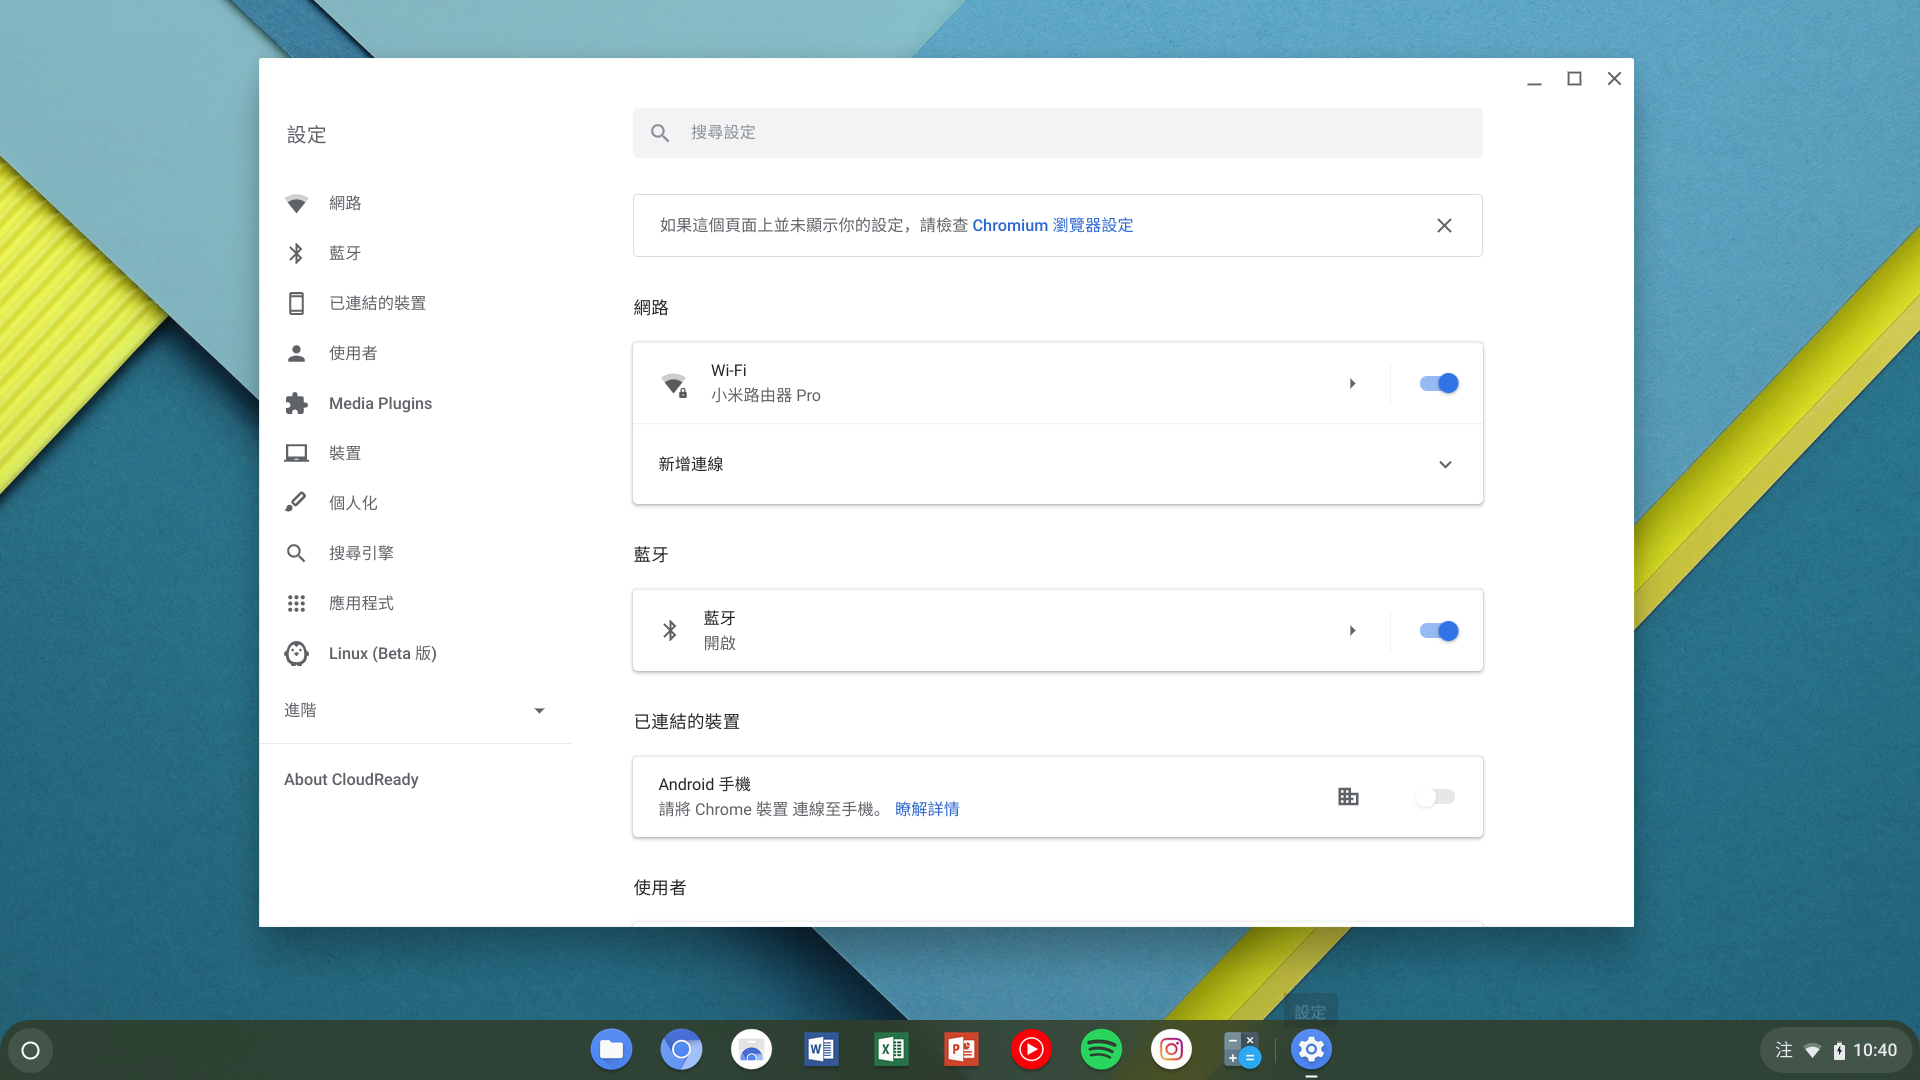
In the settings, you can adjust various options, and the settings values will also be synced.
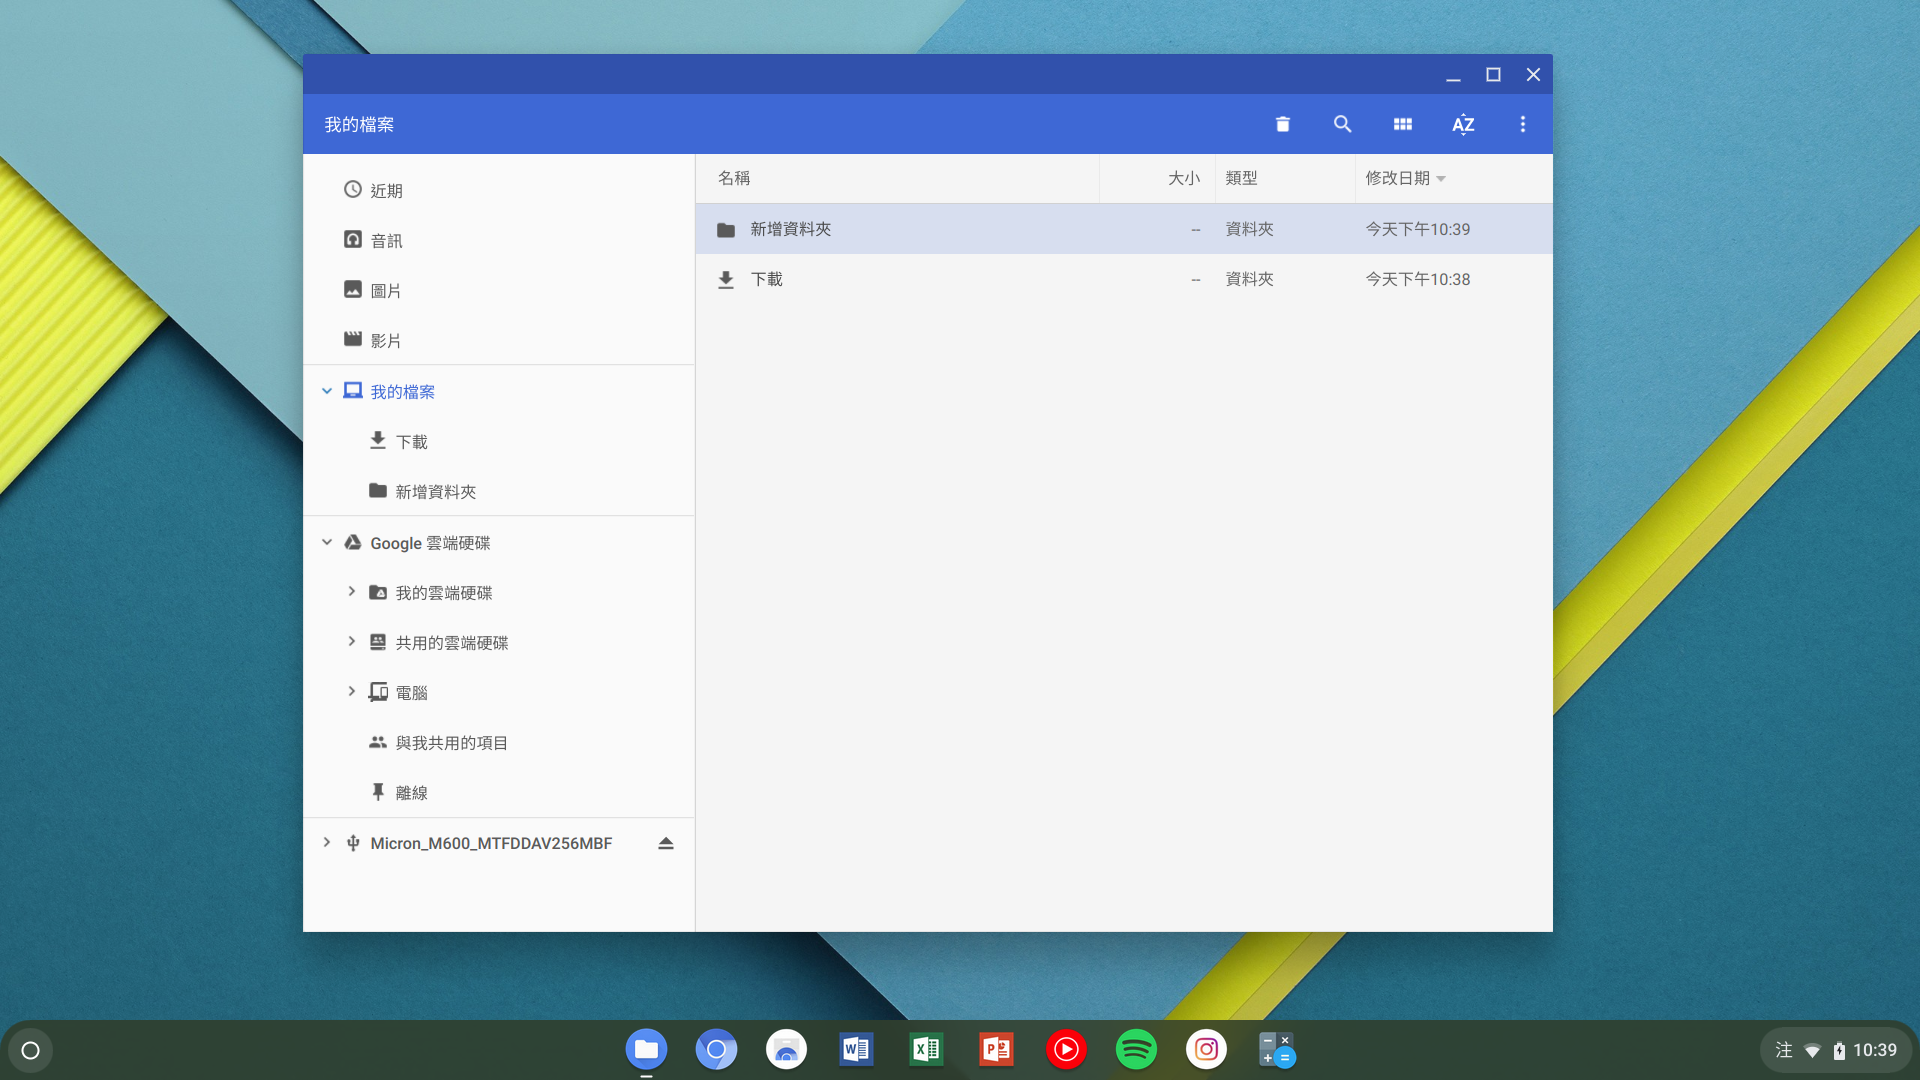
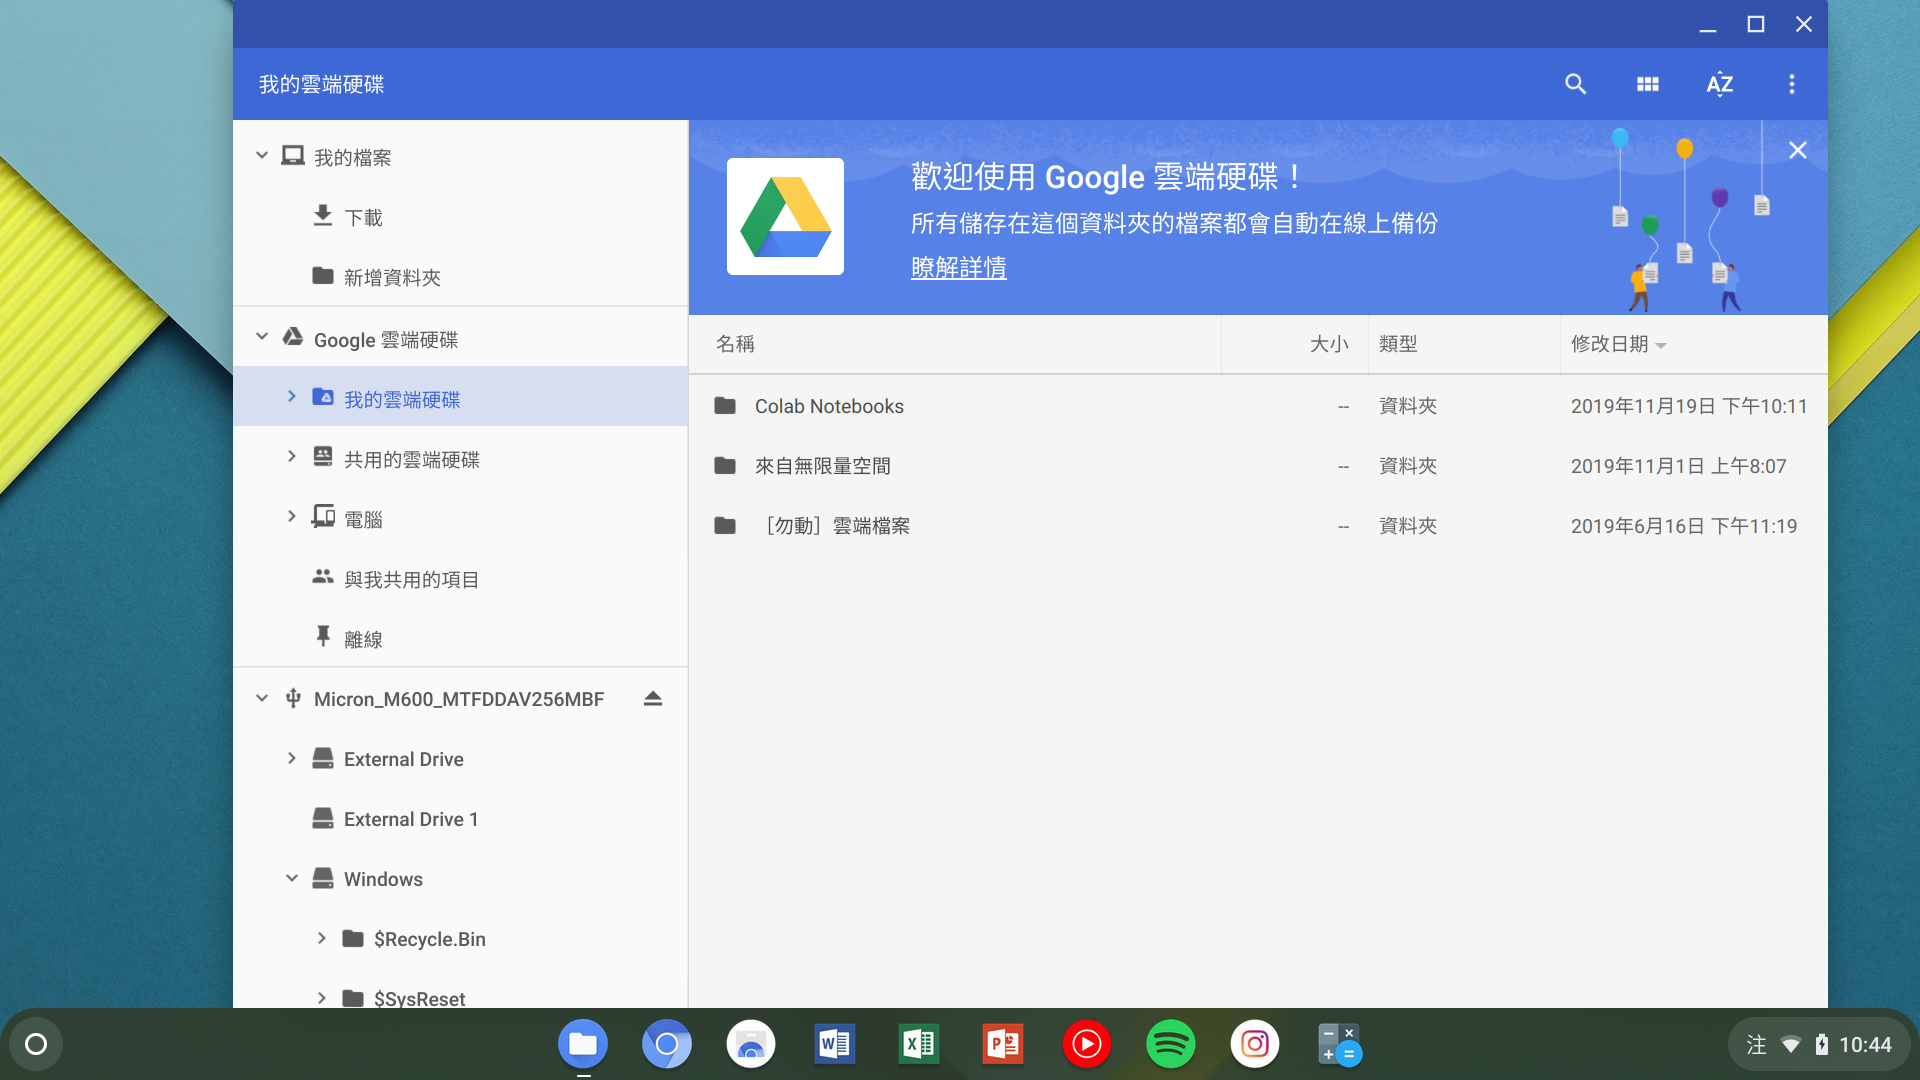
There is an App called “Files,” which is equivalent to Finder and File Explorer, and can manage files. It will also automatically connect to Google Drive, making it very convenient.
That’s about it! I hope you enjoy using it. The shortcut key for taking a screenshot is Ctrl+F5, and it will be stored in the download folder. Almost all other shortcut keys are the same as Windows, you can refer to this official article.