Since 2017, after registering my first domain, DNS hosting has always been a part of my research!
Today, I want to recommend DNS hosting service Route 53 launched by AWS.
Prerequisites:
AWS account
Domain
Create Hosted Zone
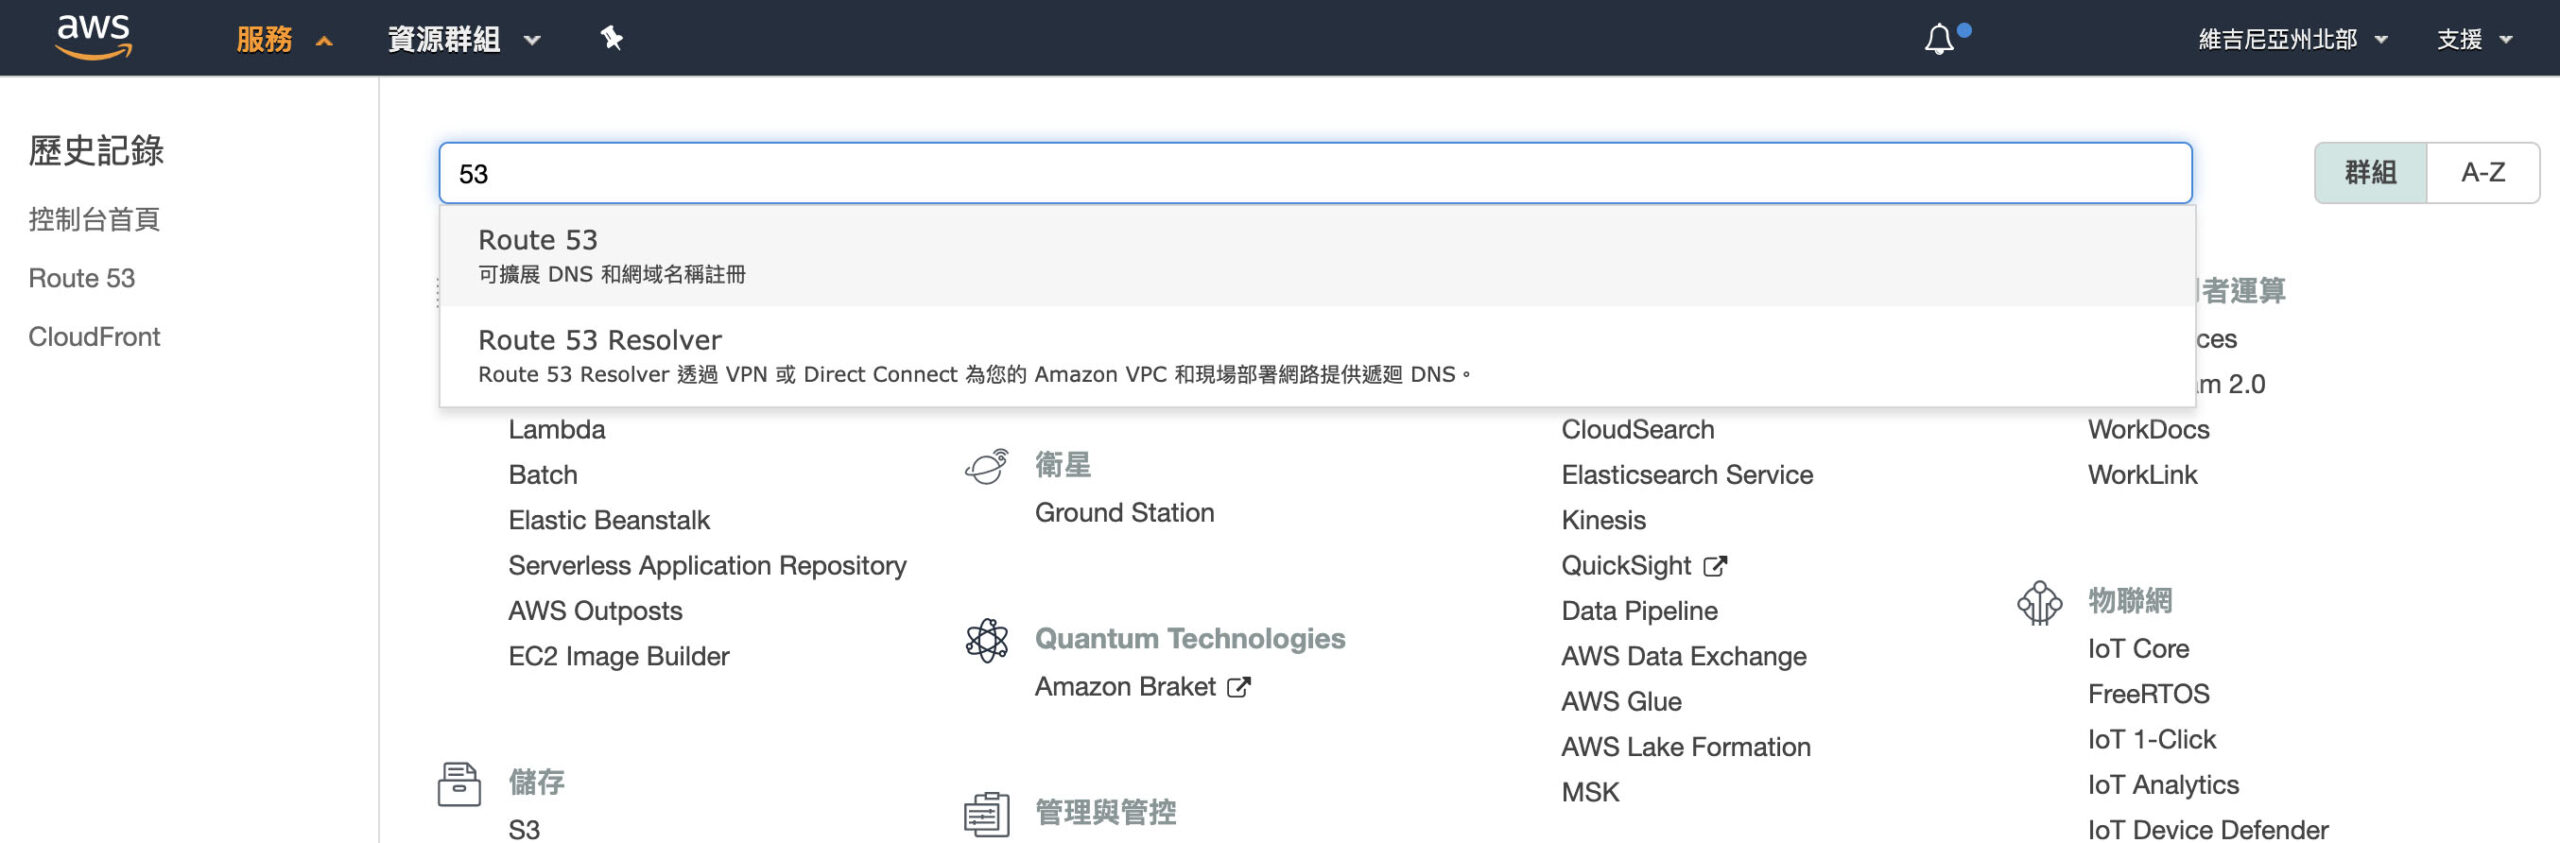
First, enter the AWS console and search for Route 53.
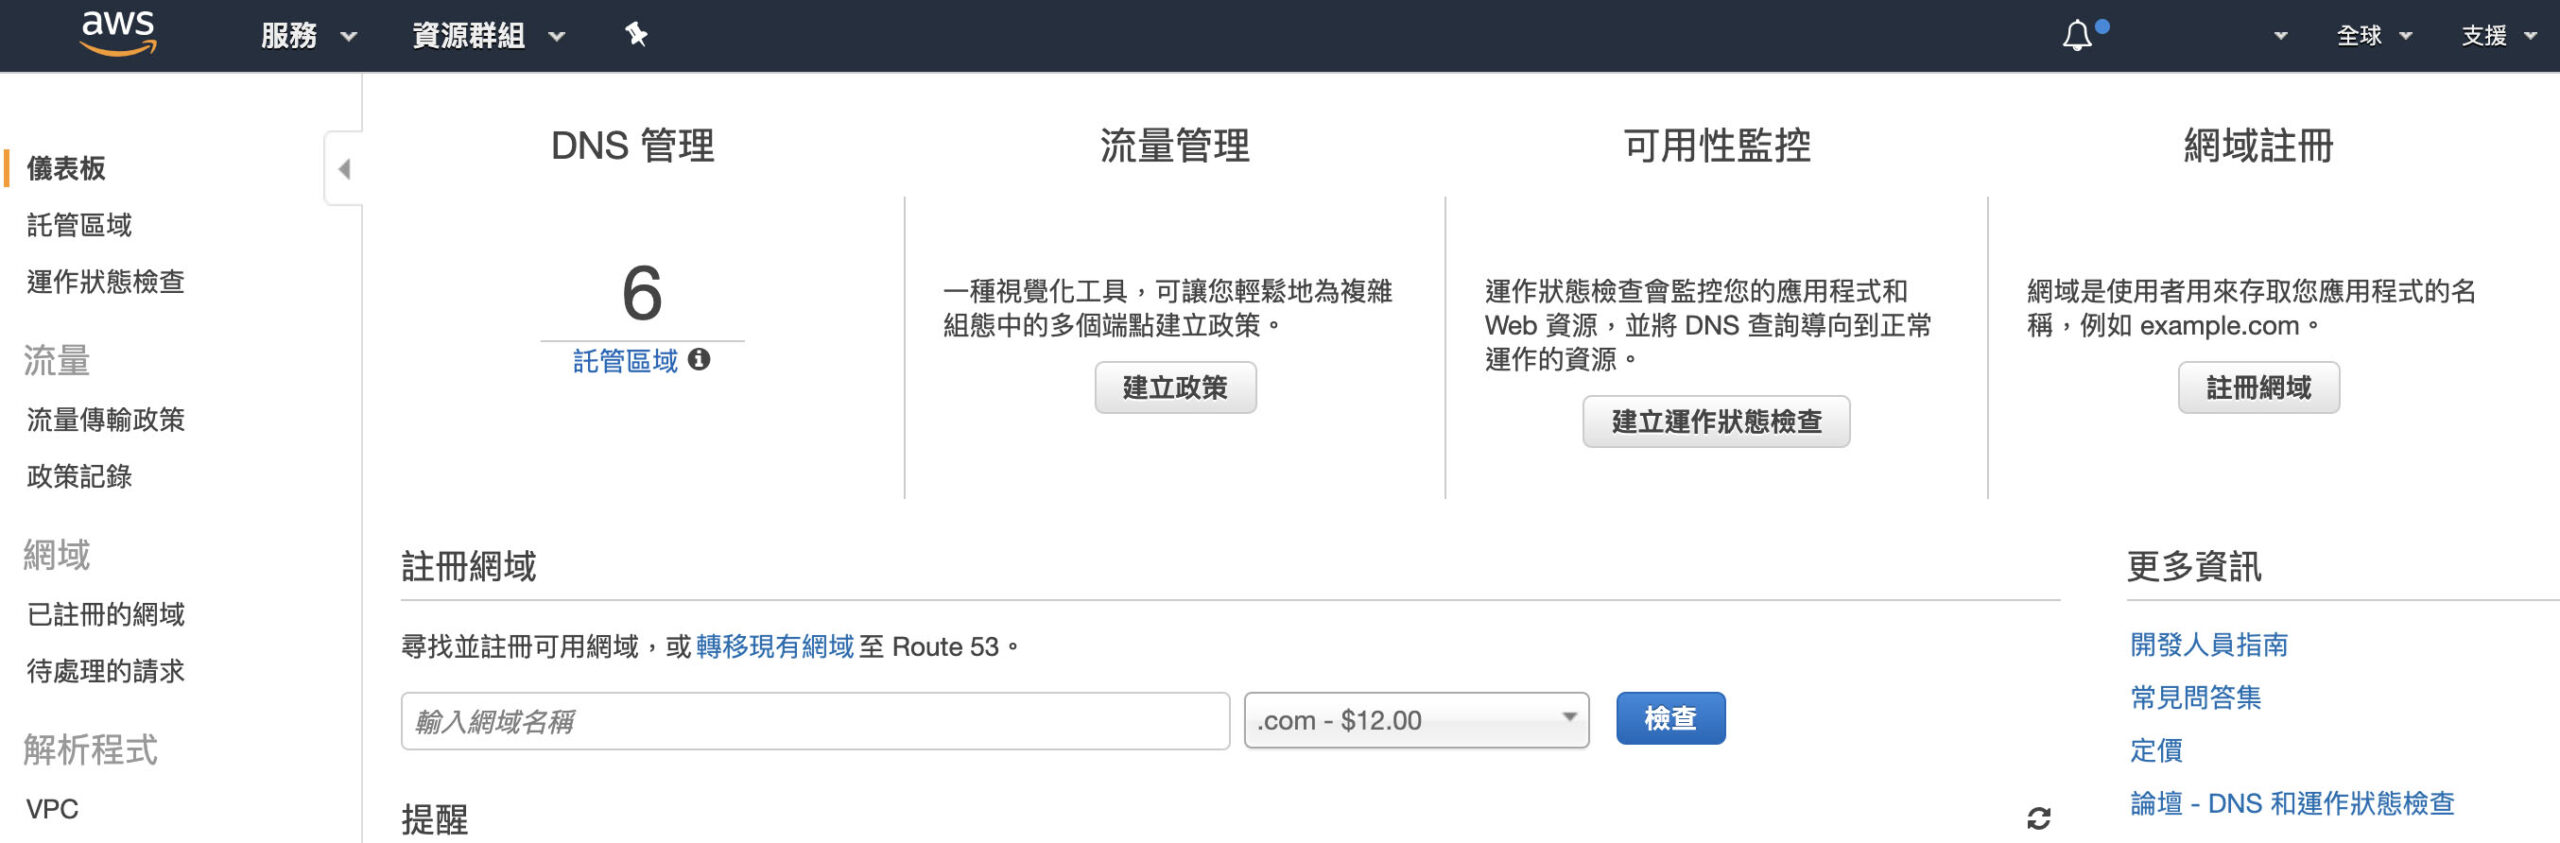
Then click on Hosted Zones at the top left.
Click on Create Hosted Zone on the upper left, and then enter your domain name on the right.
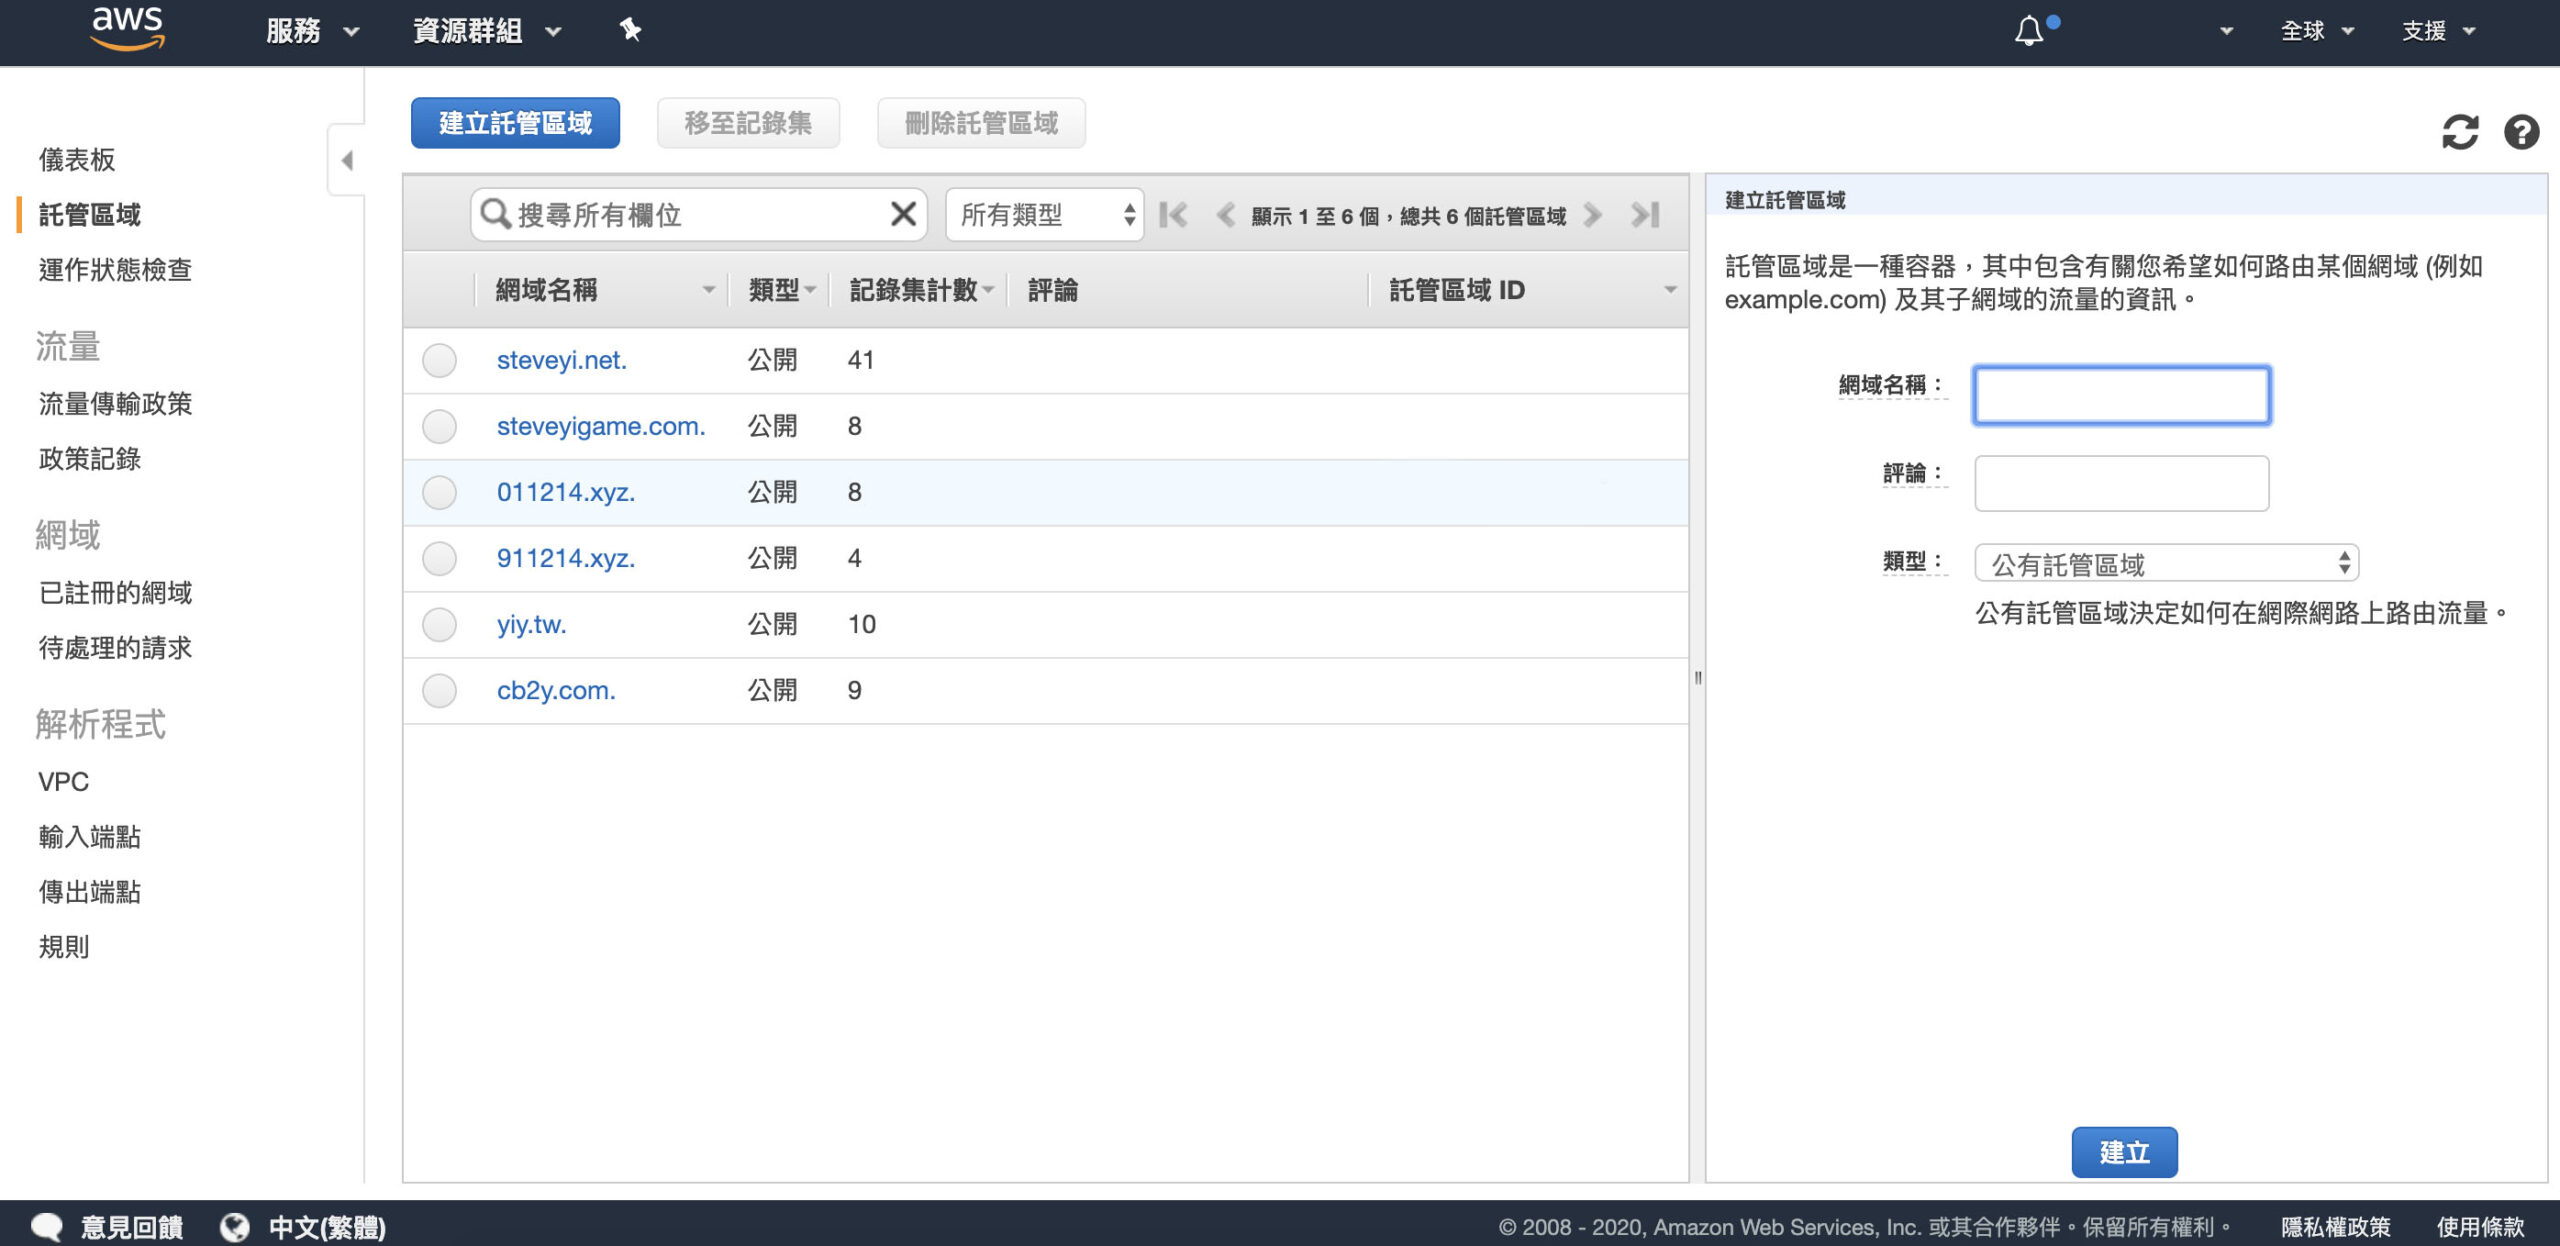
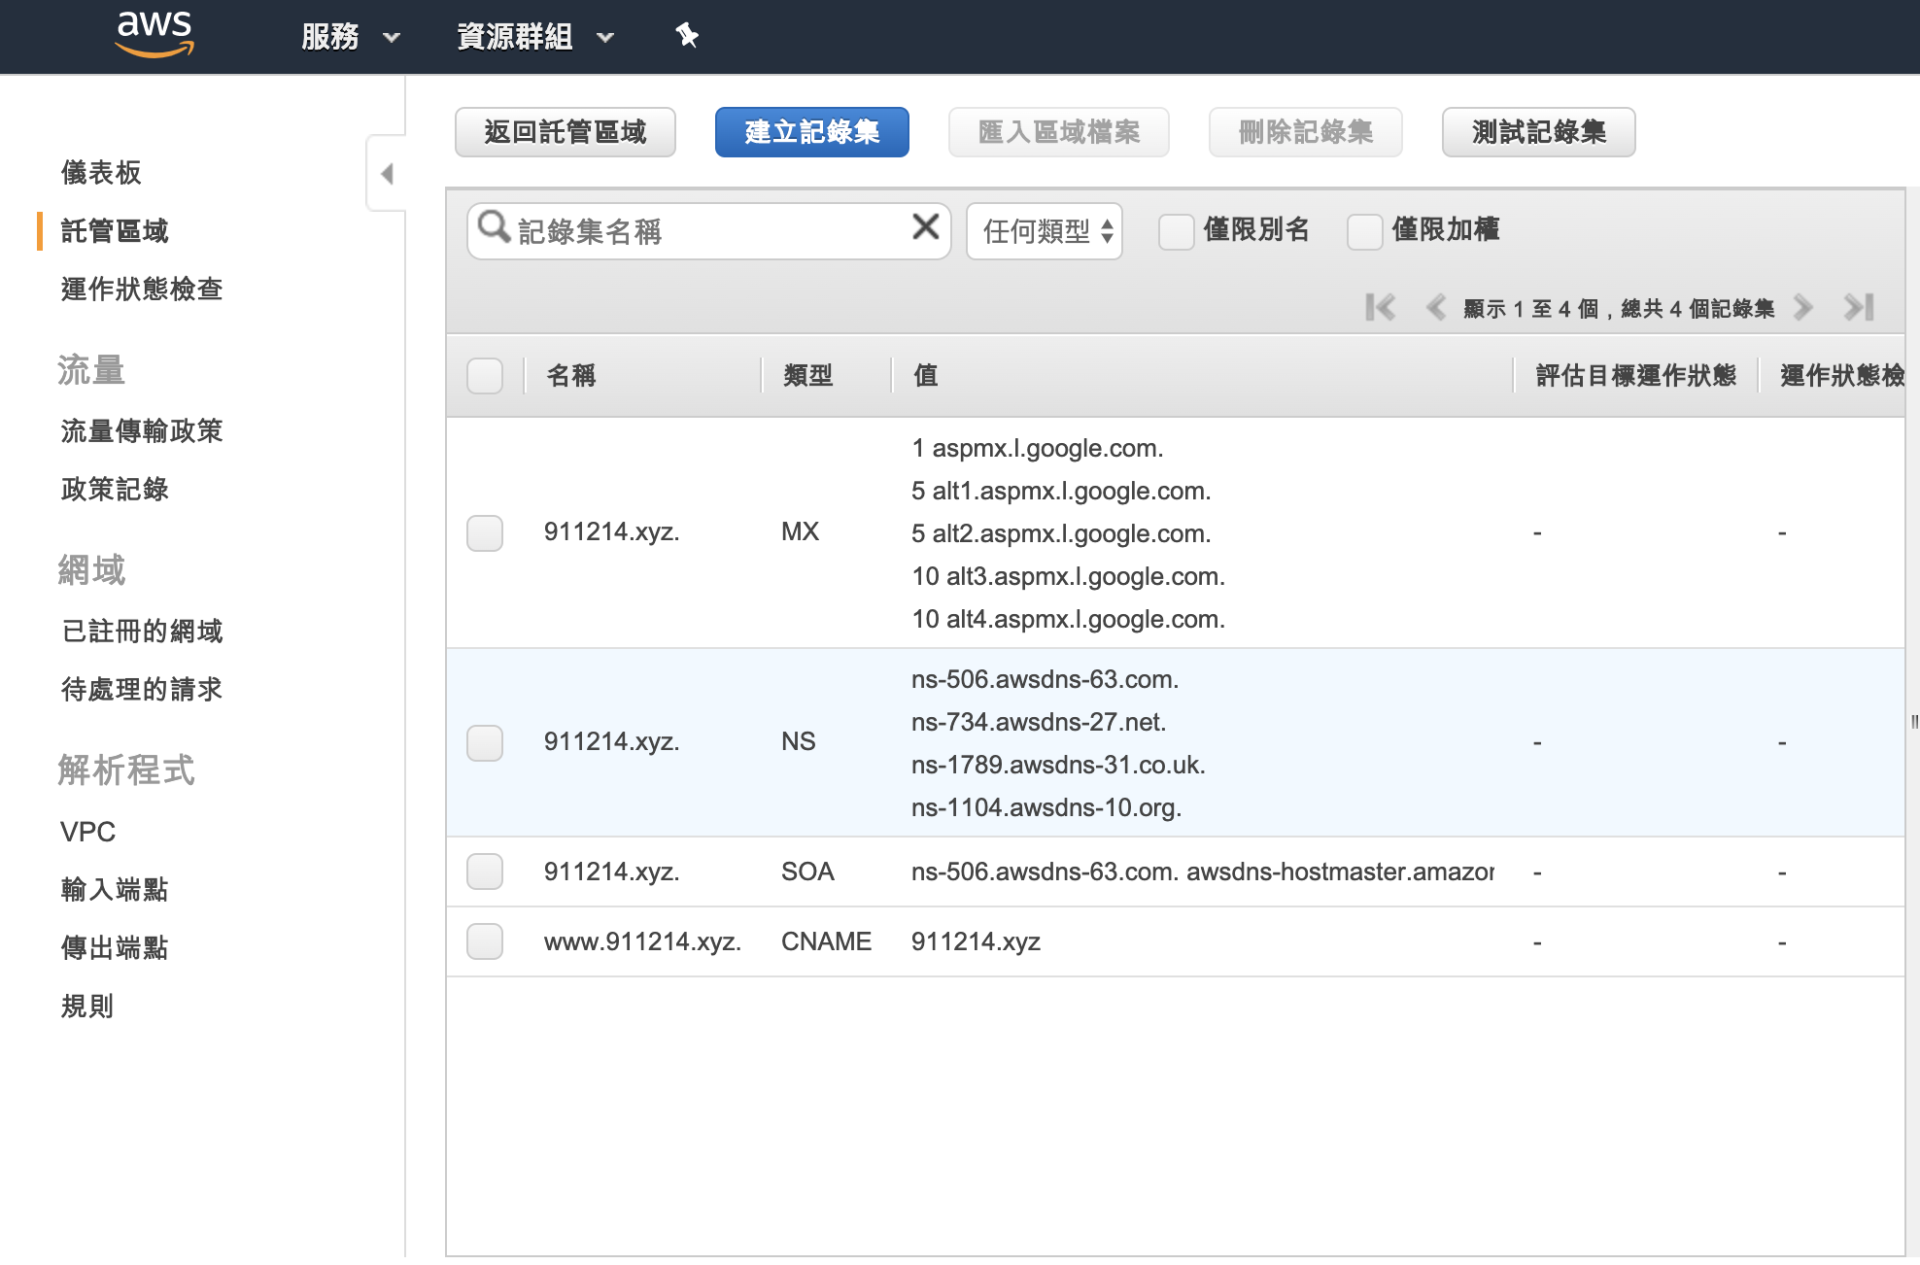
Then the system will create a hosted zone! (Remember to take note of the NS record, which will be used in the next step)
Set DNS Server
We have just created a DNS hosted zone in AWS Route 53. Next, we need to go to the domain registrar to set the DNS server!
First, open the domain management page (this article demonstrates using Gandi) and find the Name Server or Nameservers.
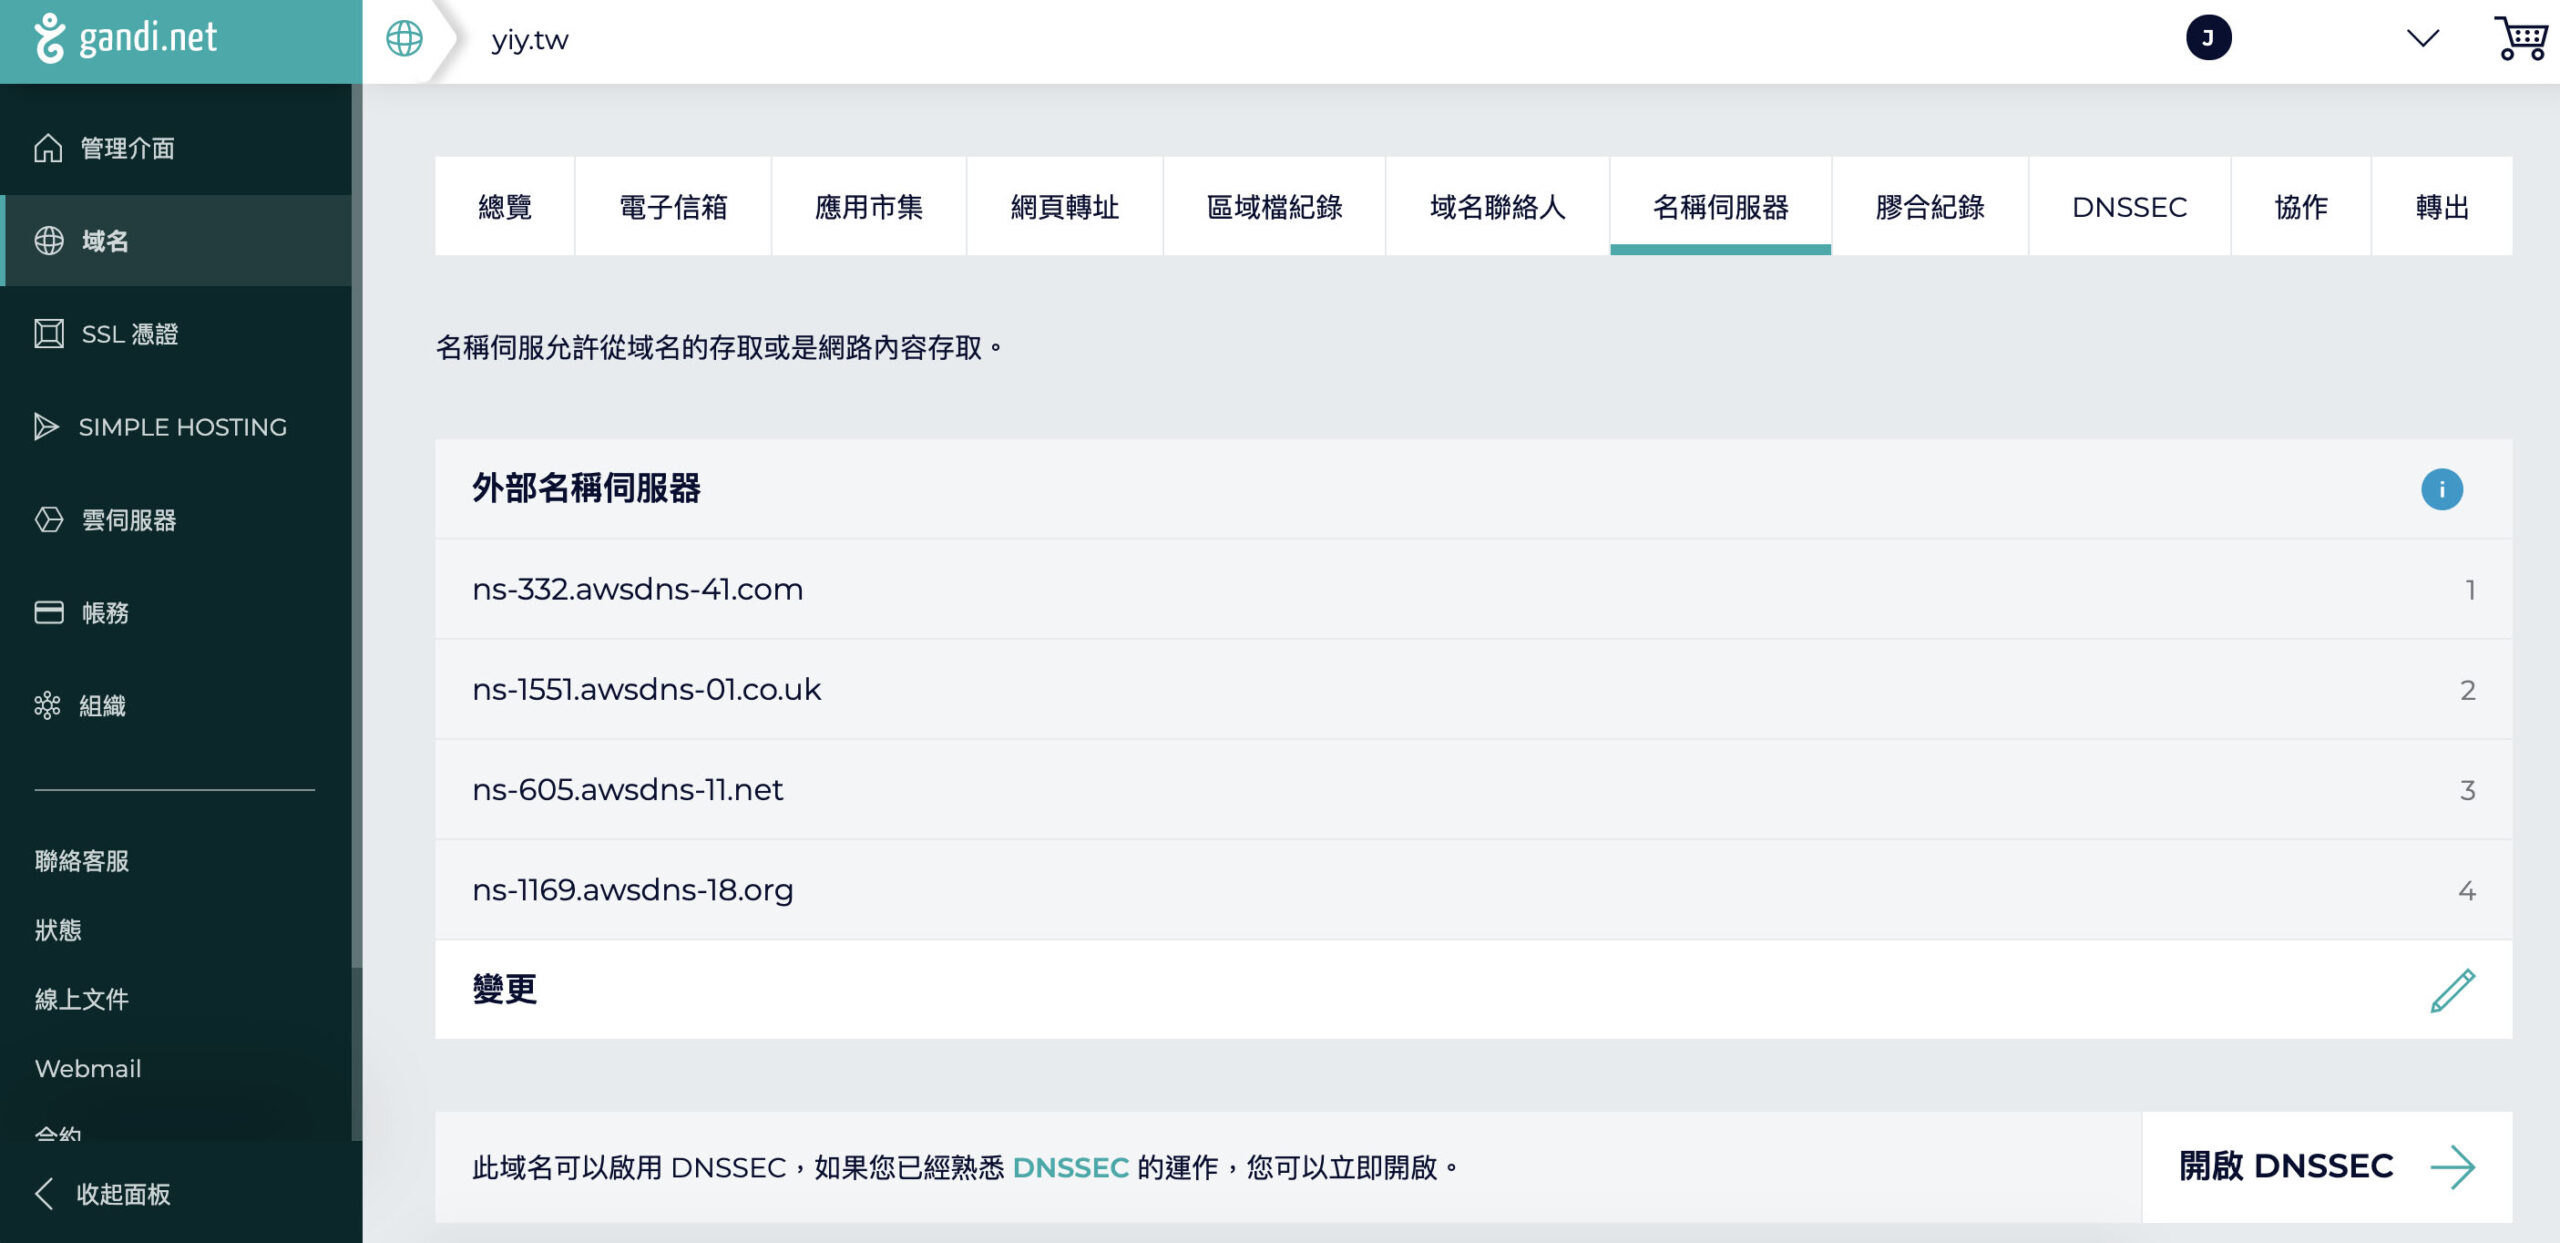
After clicking on Change, delete the original record and paste the NS record automatically generated by AWS Route 53.
Then wait for it to take effect! It takes about 24-48 hours to take effect (actually it should take effect in 5-10 minutes XD).